How Location Notes Work for Product Stock
Learn where location notes are set up, how they appear in your inventory, and why knowing their source helps you avoid confusion.
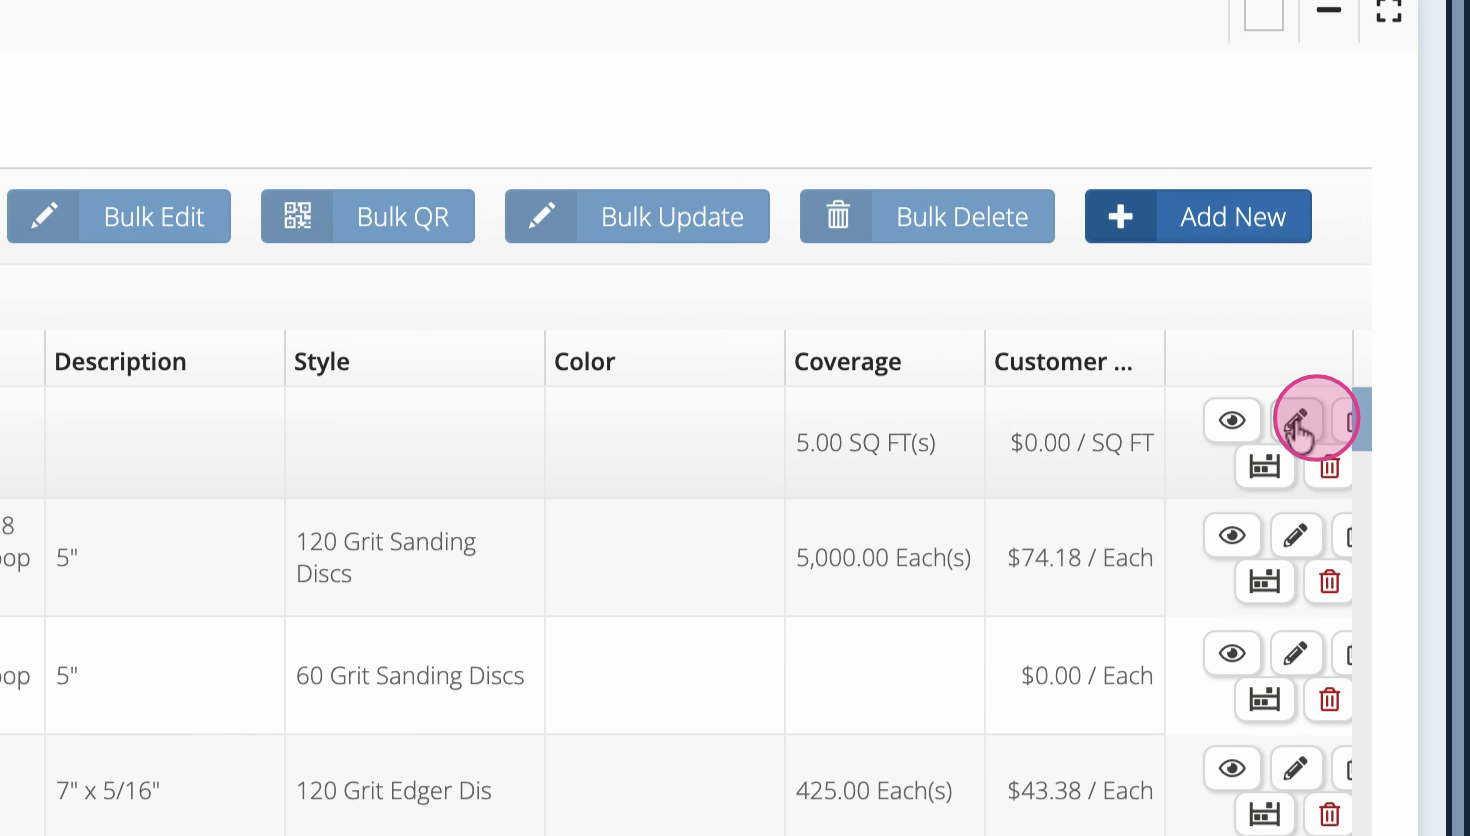
Step 1: Open your product list and select a product you recently created or want to edit.
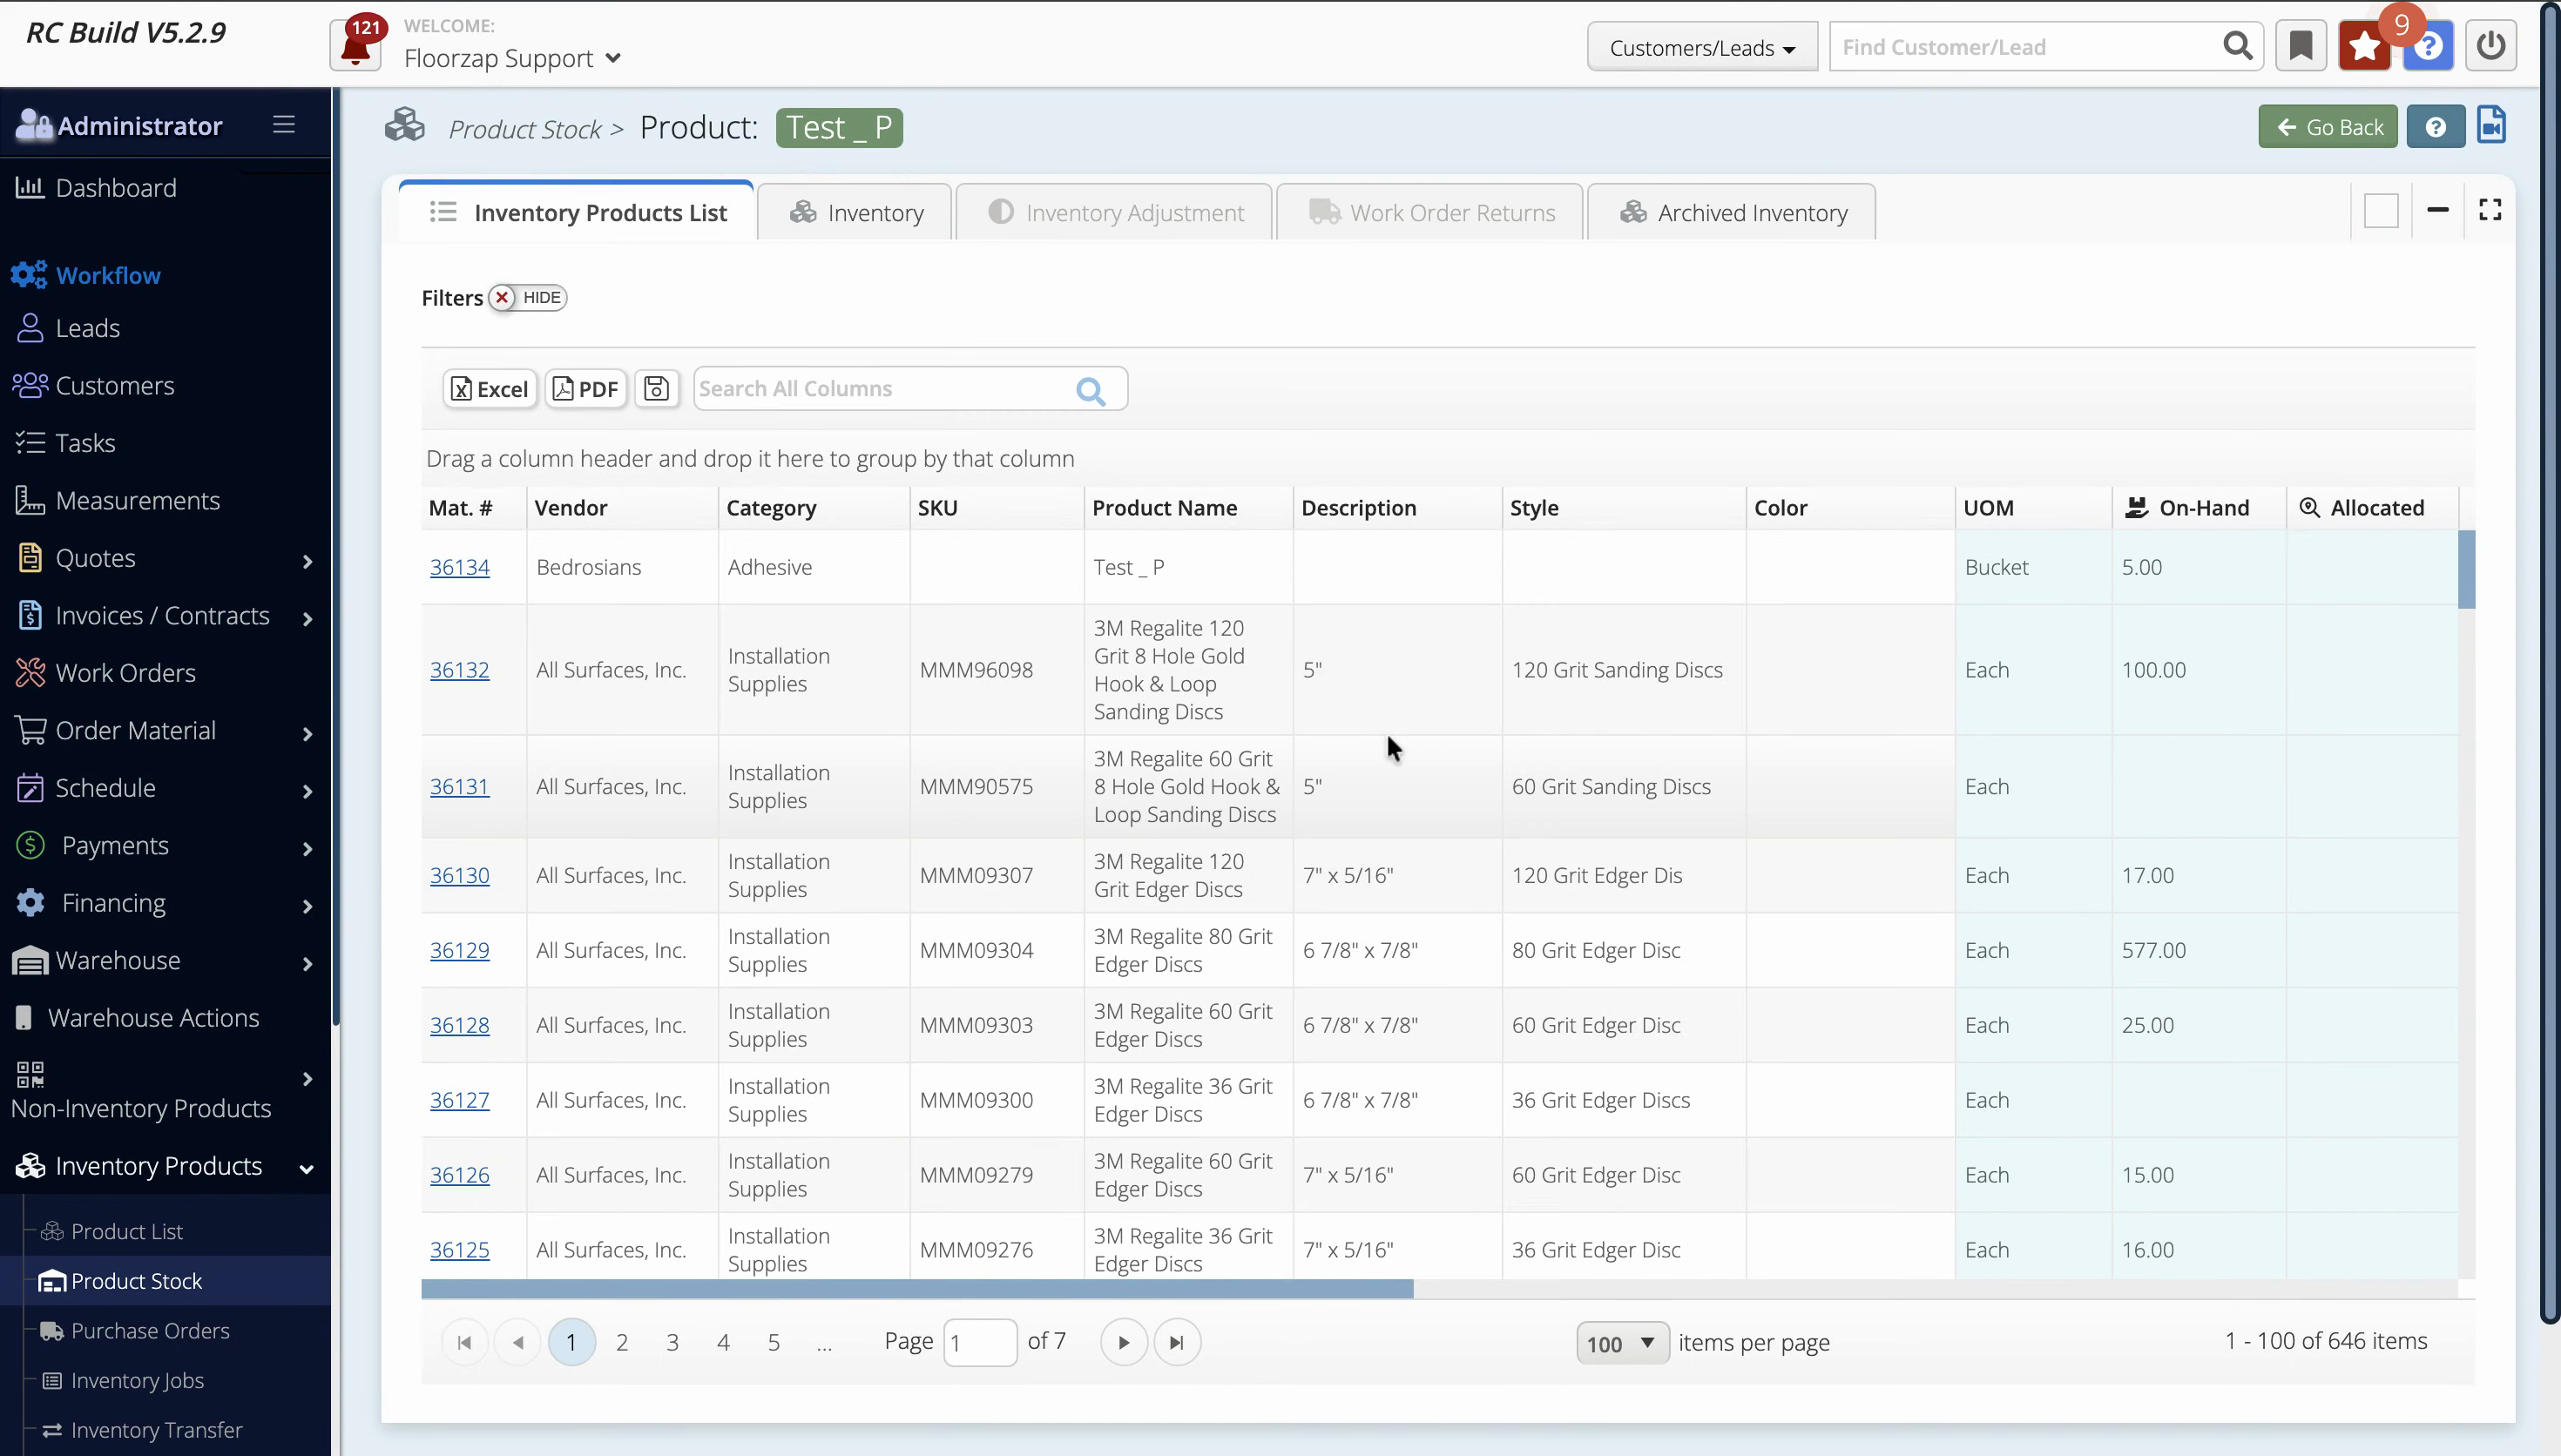
Step 2: Click the product to open its profile.

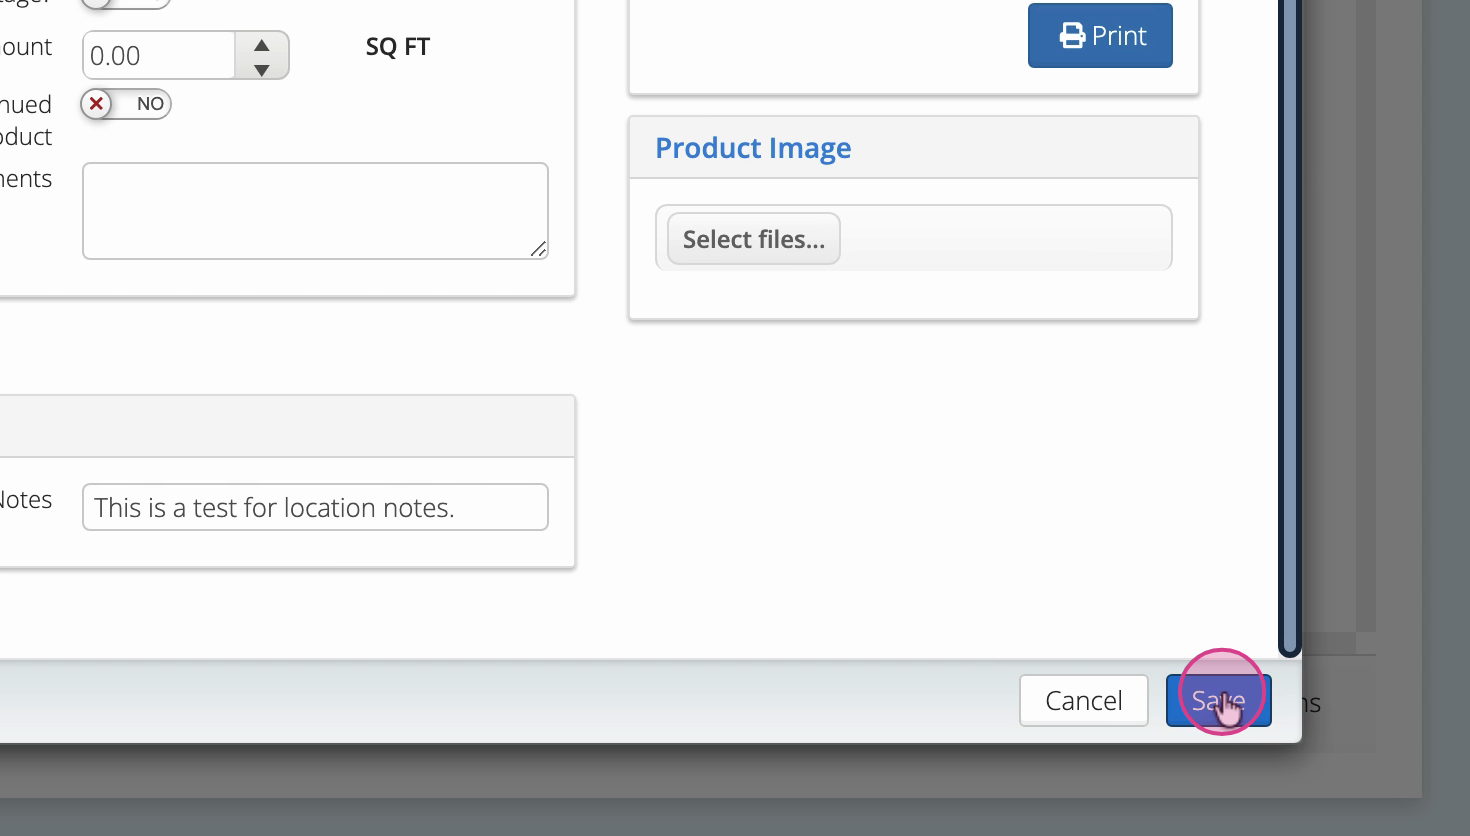
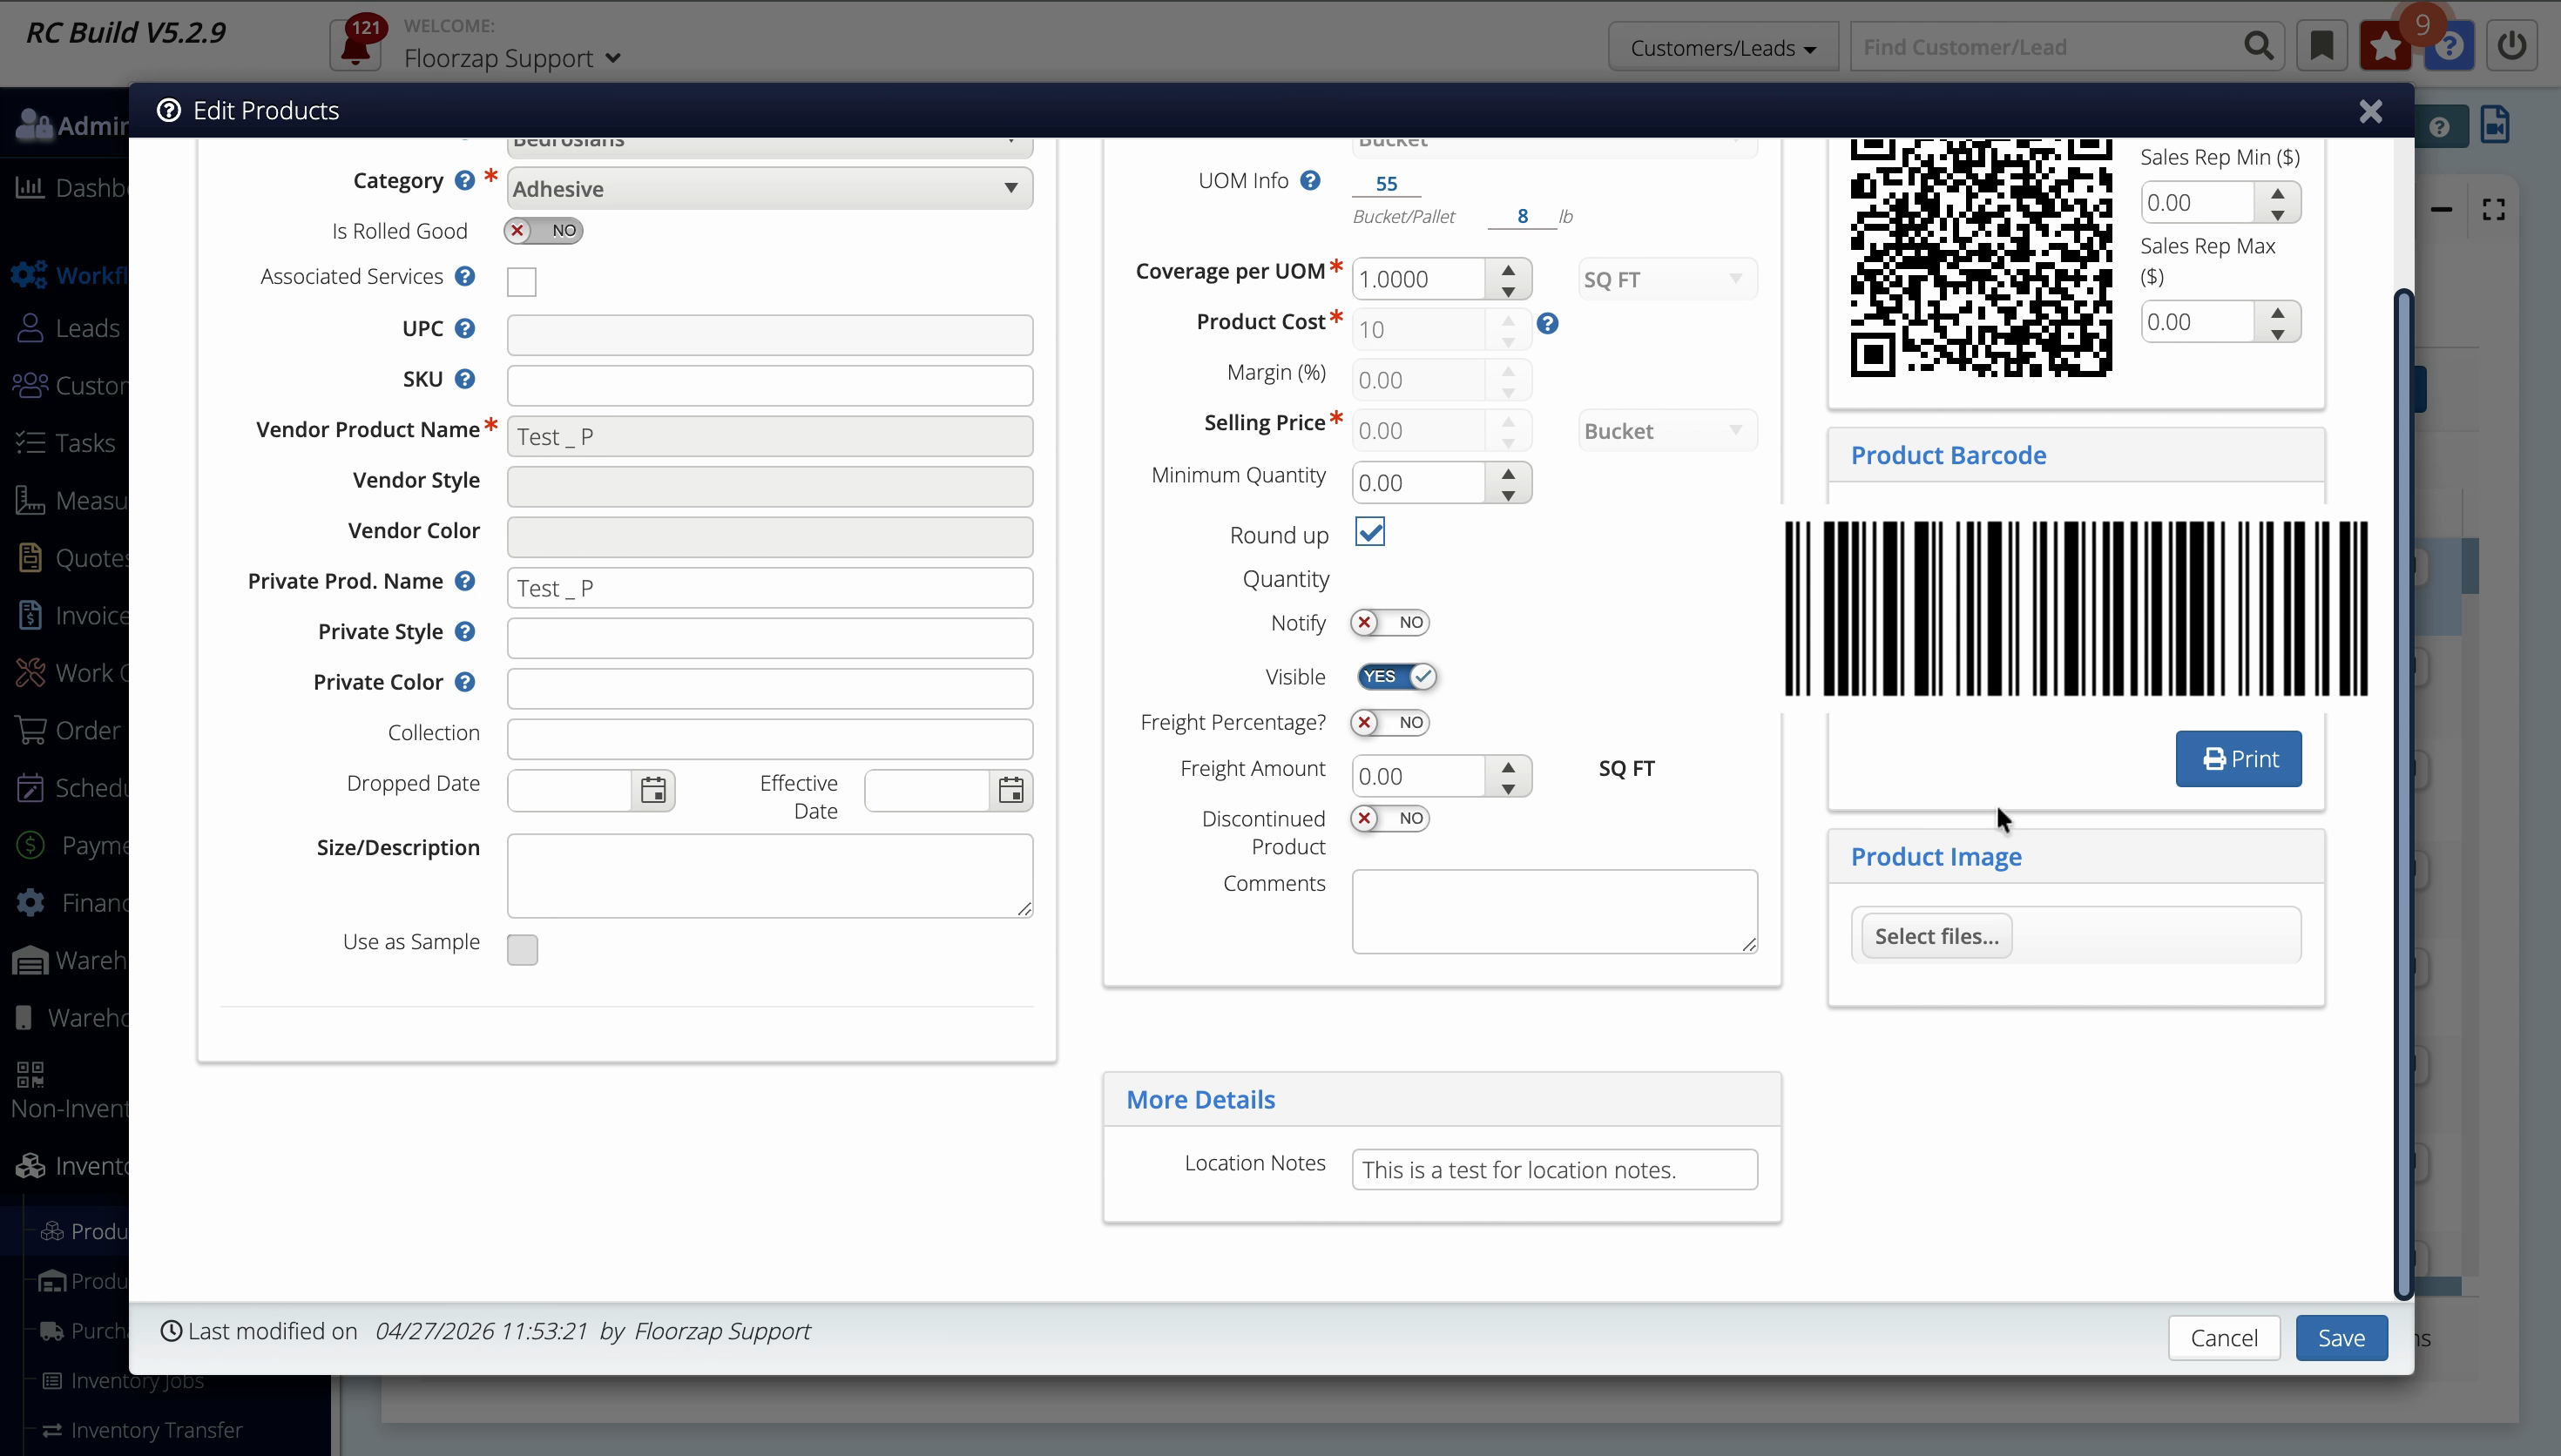
Step 3: Go to the More Details section. This is where you’ll enter your location notes.

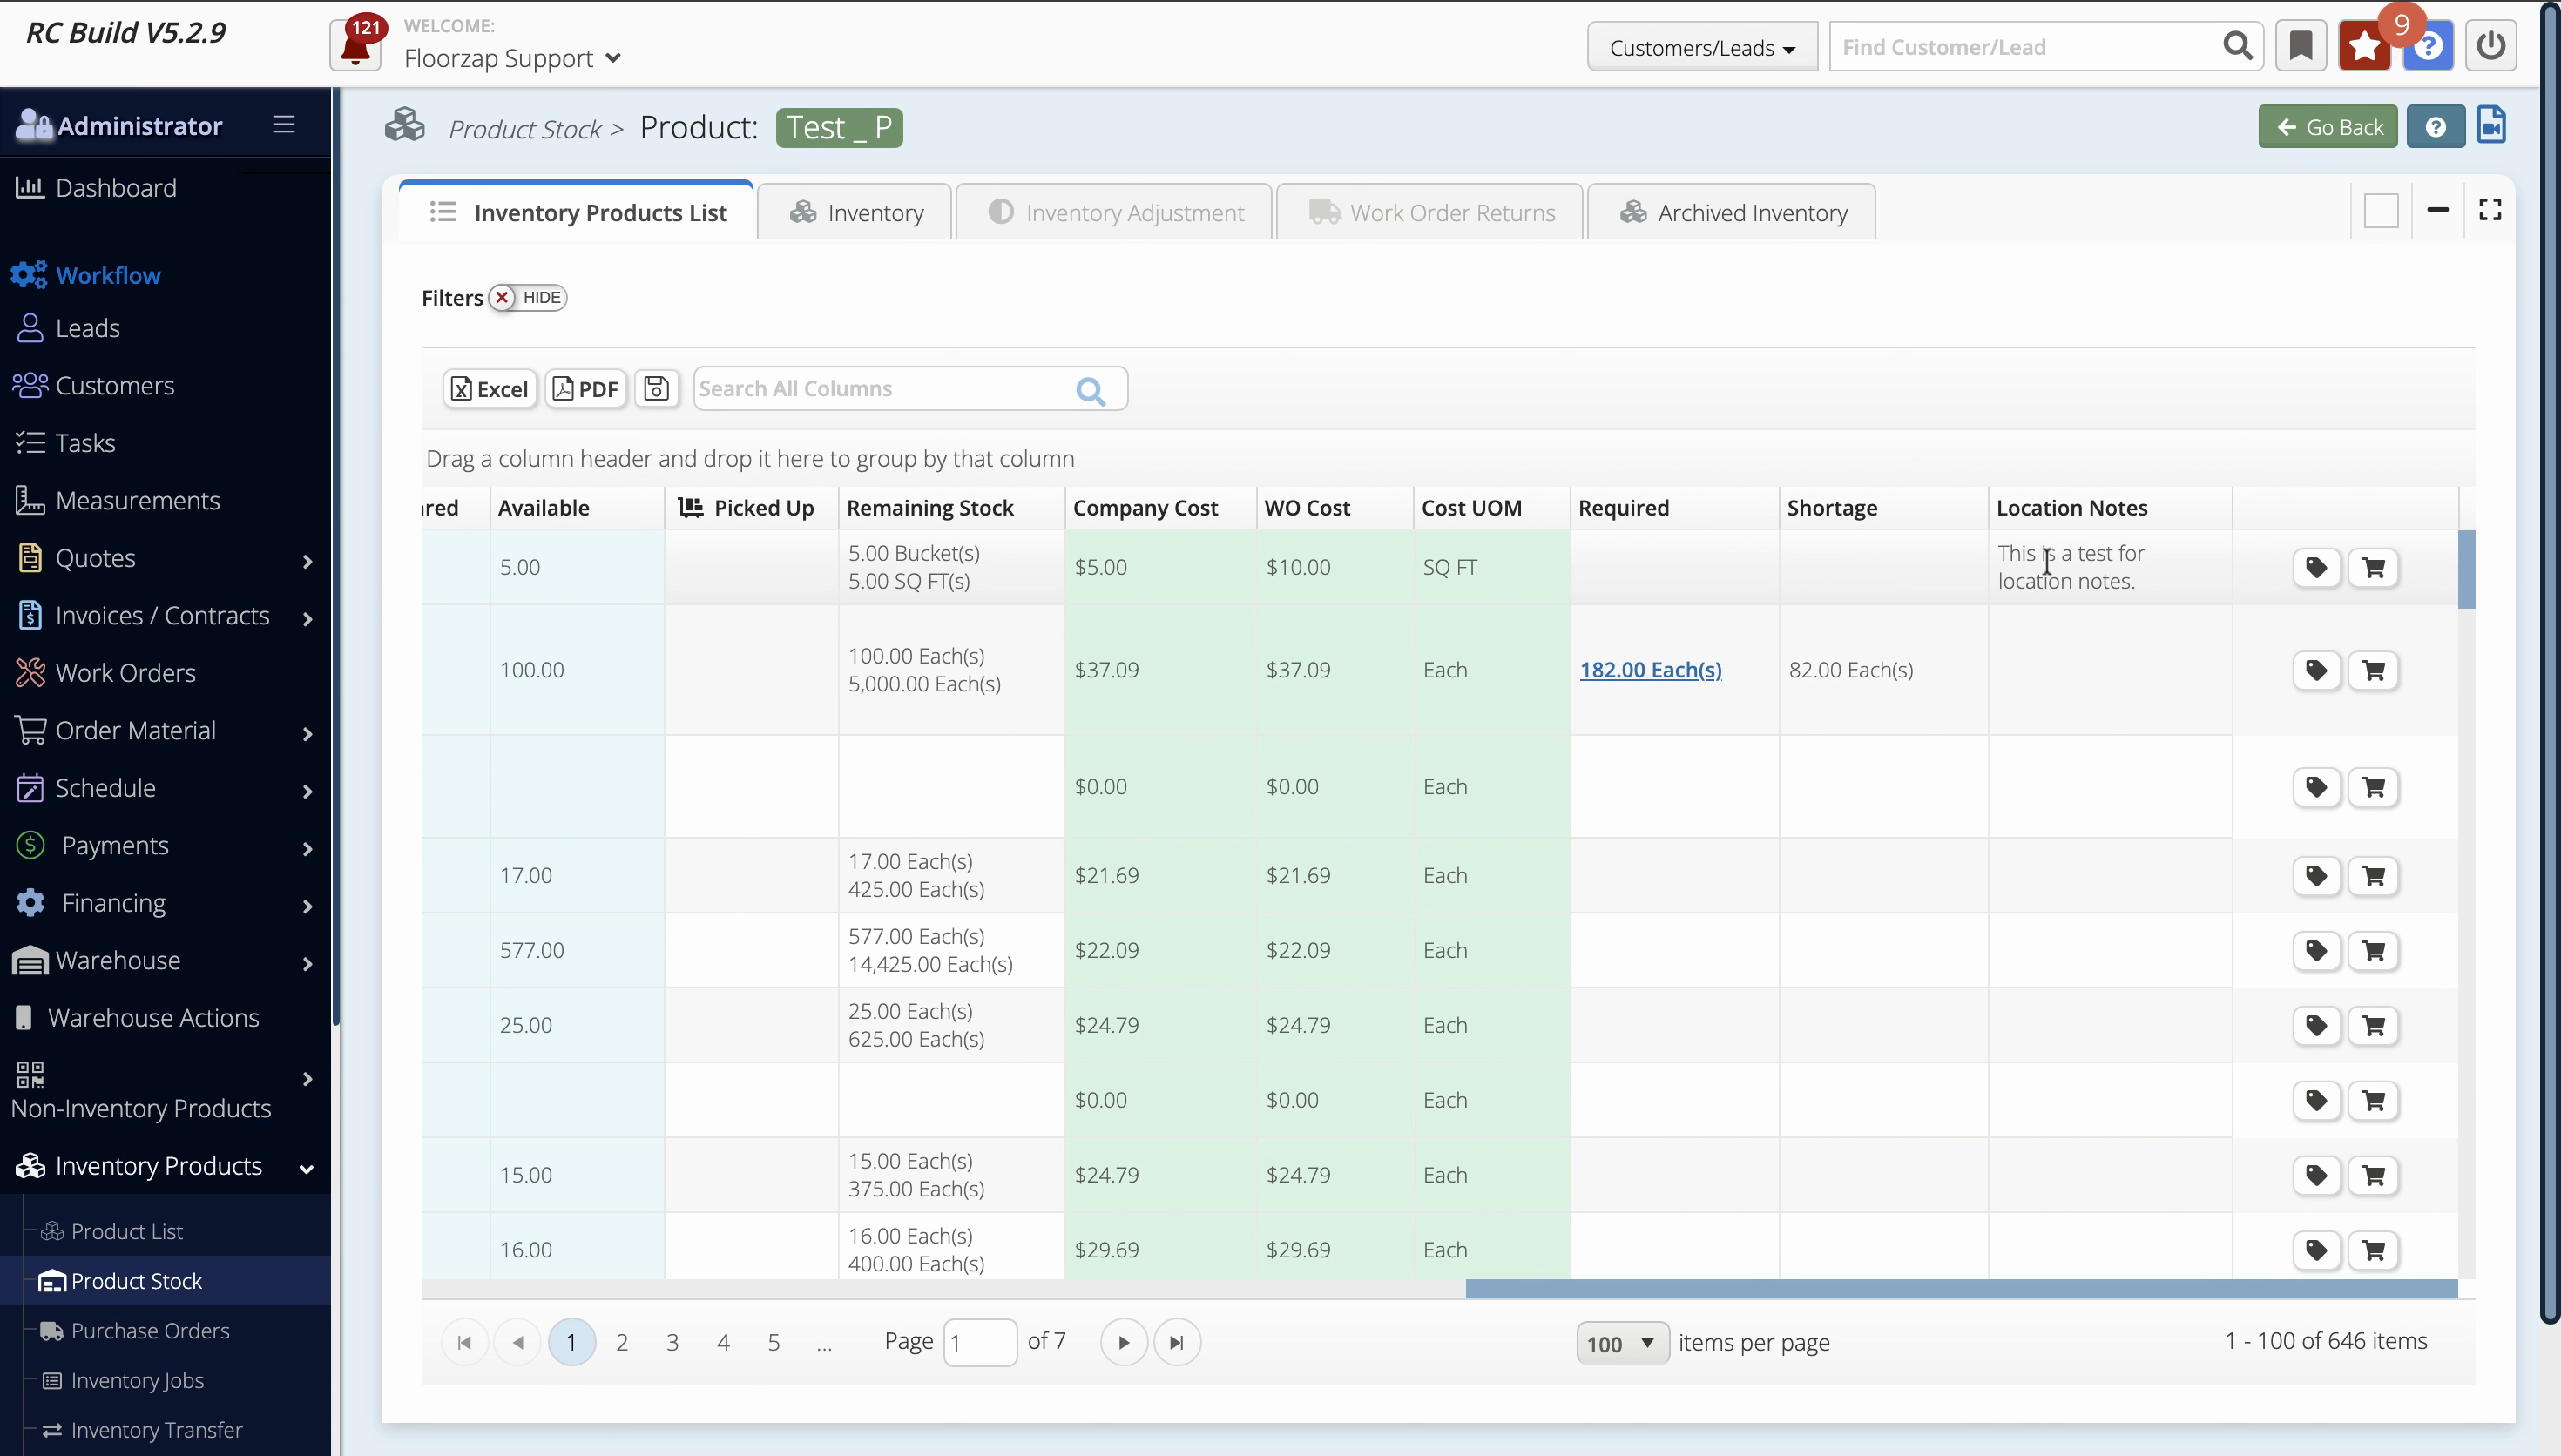
In FloorZap’s Product Stock page, the Location Notes column pulls notes from the Product Details section — not from the Inventory Product Details. If you’ve entered notes inside Inventory Product Details and they aren’t showing up in Product Stock, this is why. To ensure your notes appear in the Location Notes column, always enter them in the Product Details section instead.
Step 4: Type your notes—like “test for location notes”—in the provided field.

Step 5: Click Save to apply your changes.
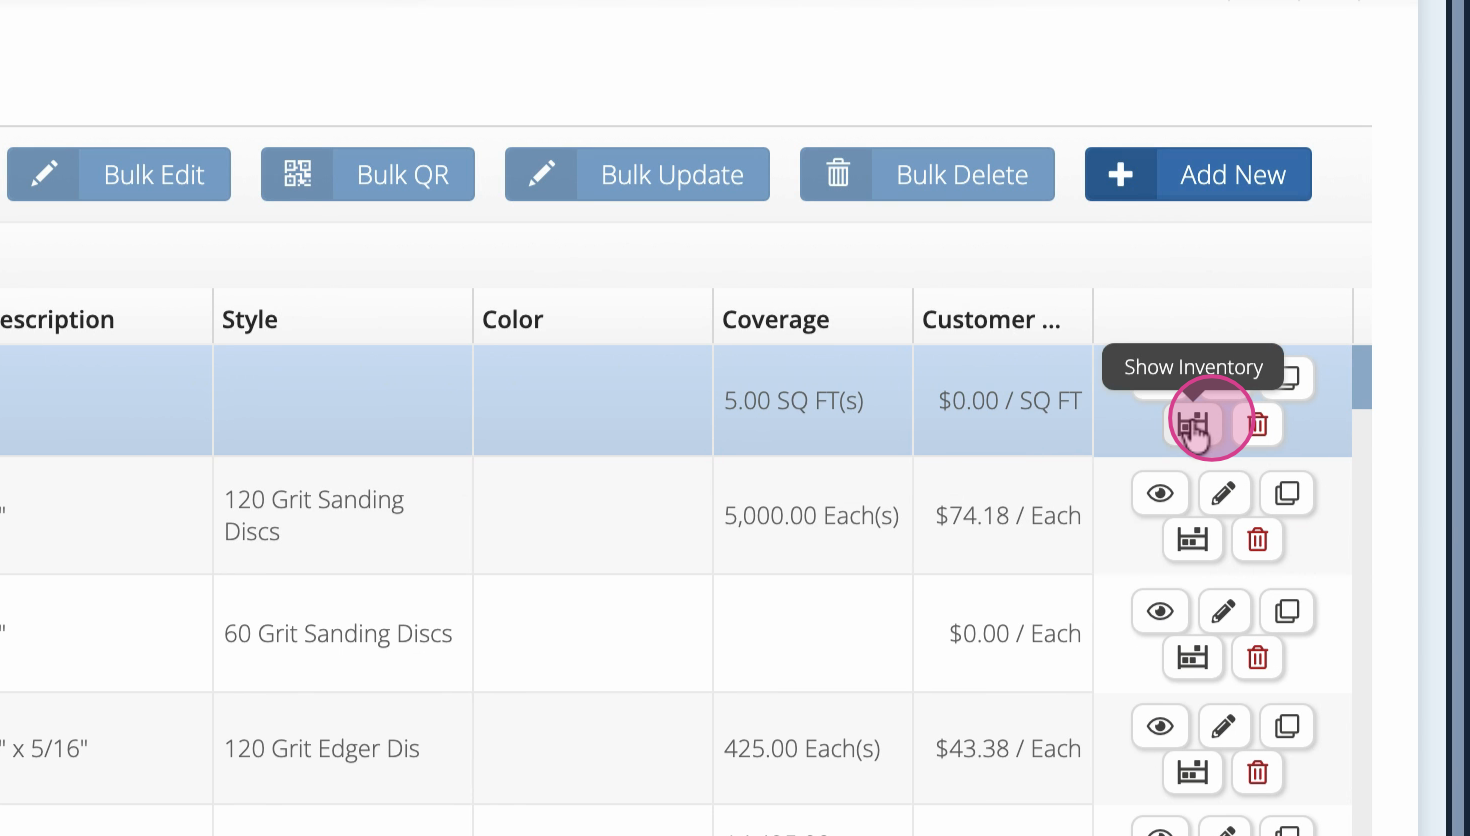
Step 6: Go to the product stock or inventory page. Select Show Inventory to review stock details.
Step 7: Find your product and scroll horizontally. Hover over the location notes area to see your note.
Step 8: If you want to update location notes, click Edit on the product profile. Any text you enter in the location notes section here will update what appears on the stock page.
Location notes on the inventory stock page always pull from the product’s profile, not from the stock or inventory details screen. Update your product profile to keep your notes current and visible where you need them.
Location notes help you track important details for each product’s storage or handling. Add concise, clear notes in the product’s profile to make them appear instantly across your inventory views.