In this article, you'll learn how to export your product list, update prices, and re-import it.
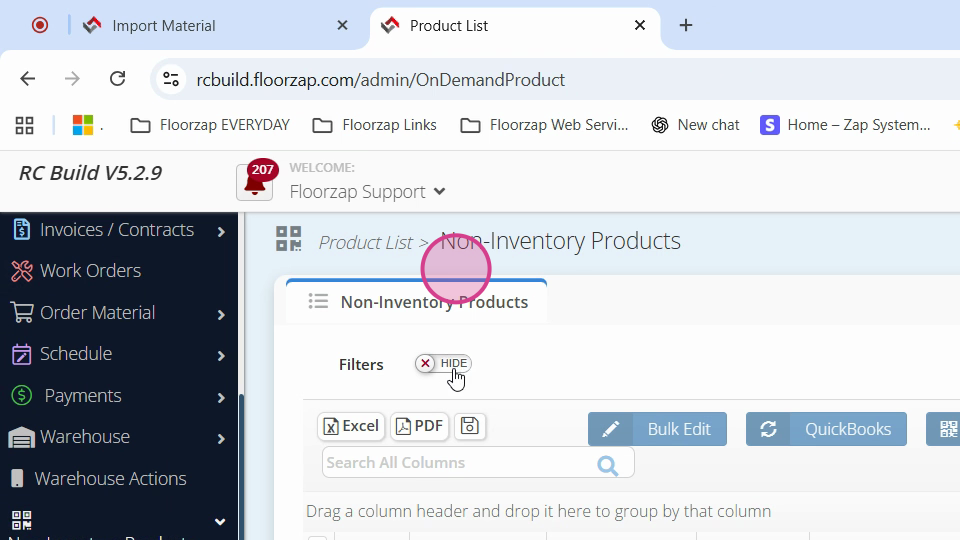
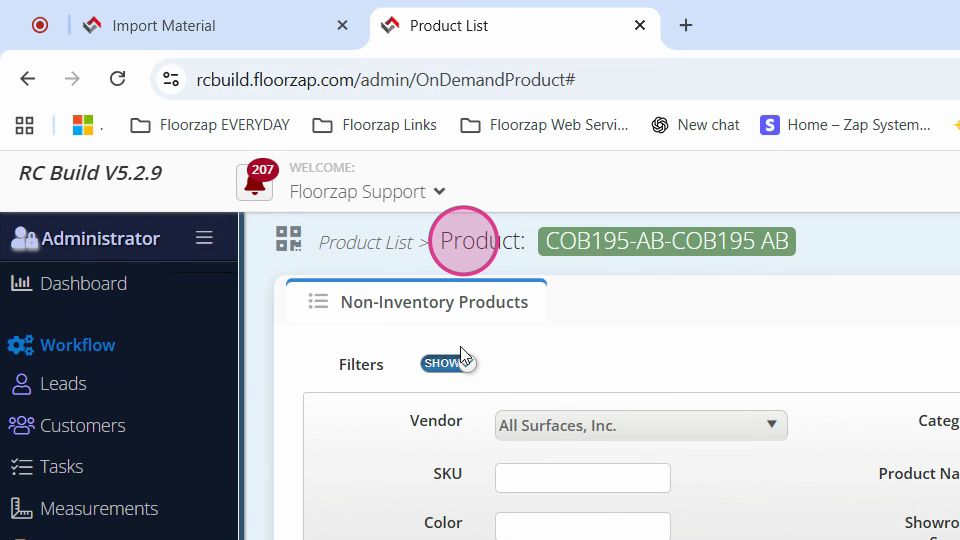
Step 1: Navigate to Non Inventory Products Product List.
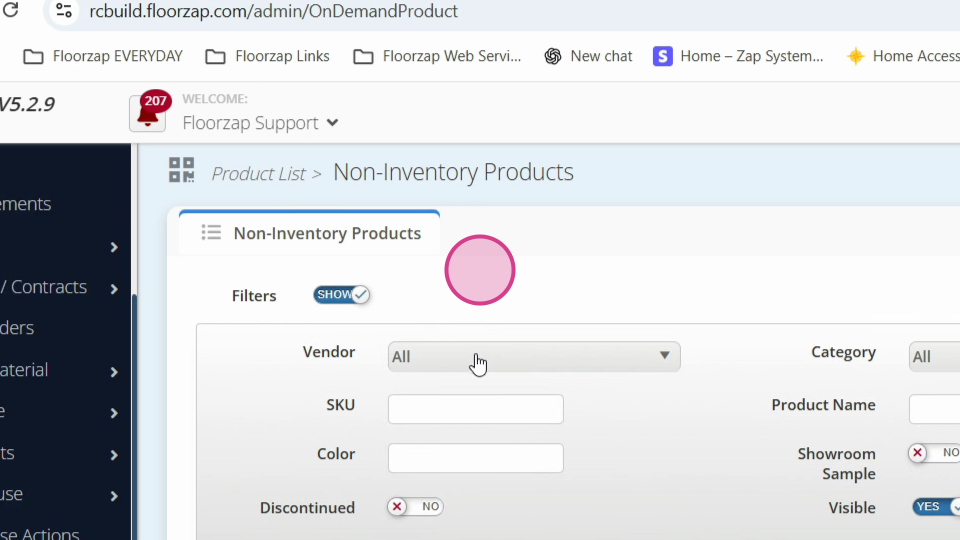
Step 2: Activate the filters.
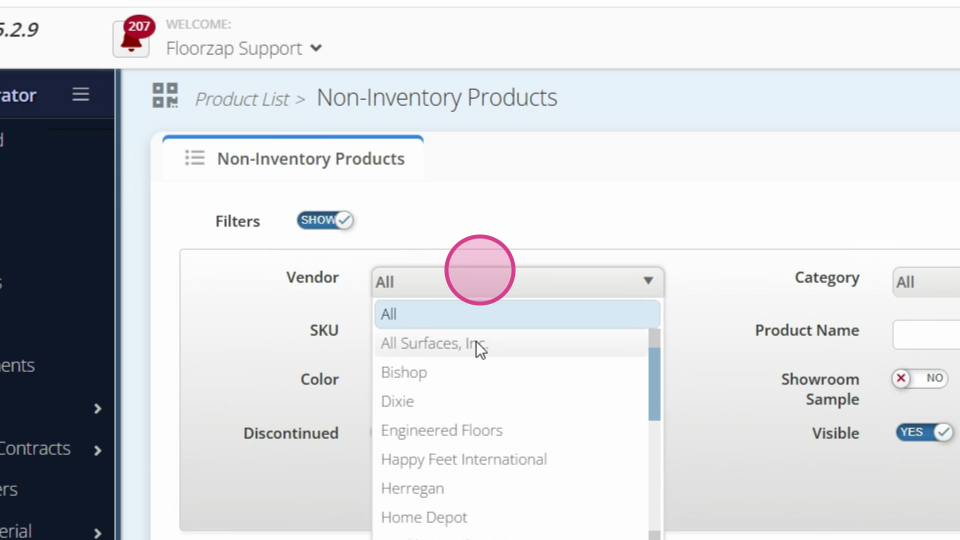
Step 3: Choose the vendor you want to update.

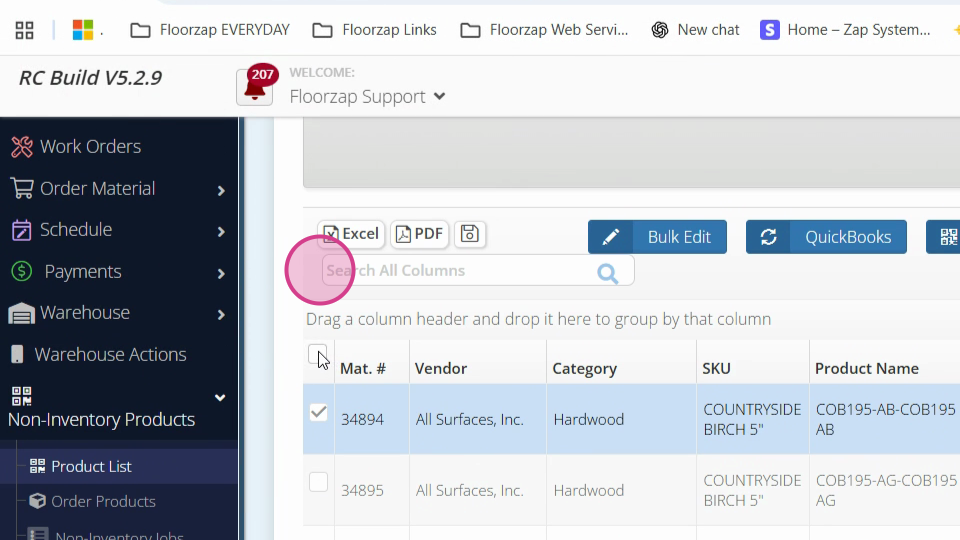
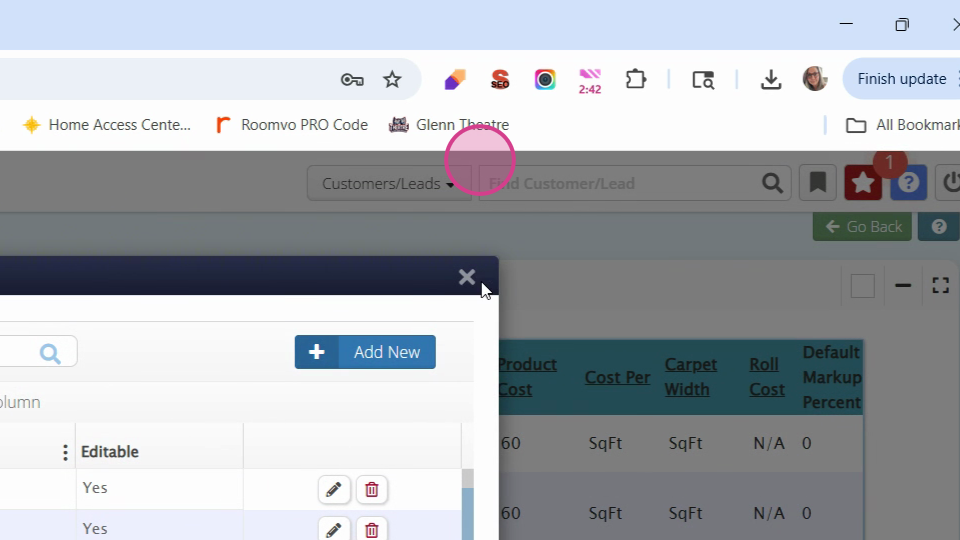
Step 4: Tick a checkbox on the left and click on Bulk Export.

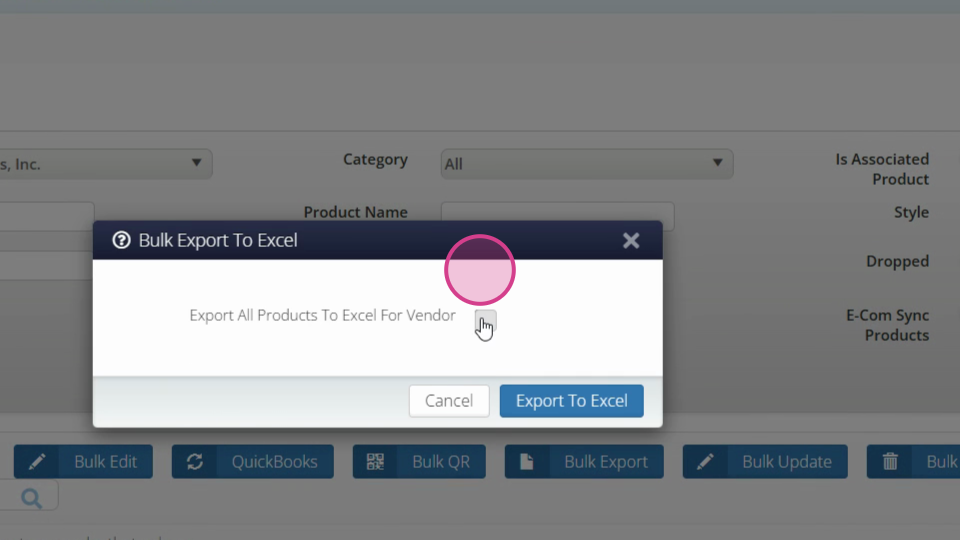
Step 5: Tick the box to export all products for the vendor.
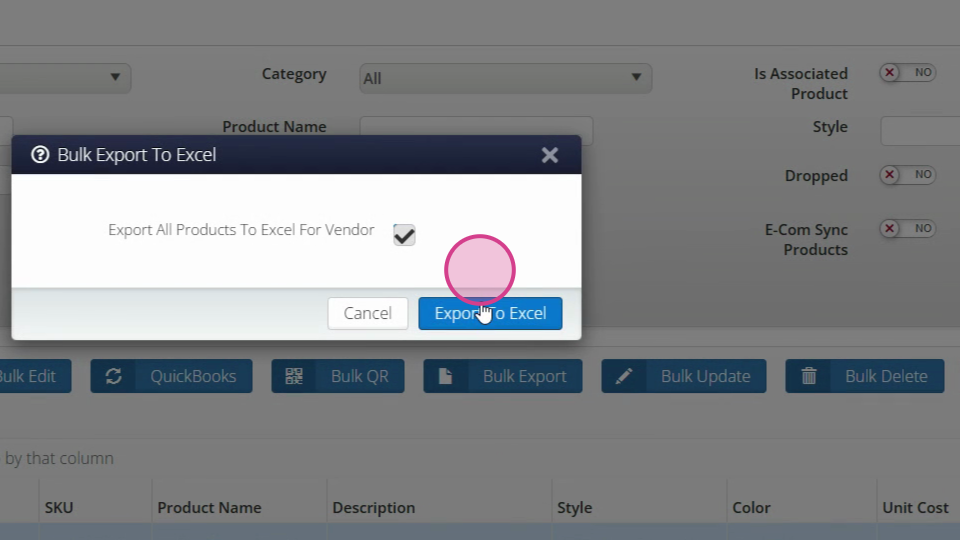
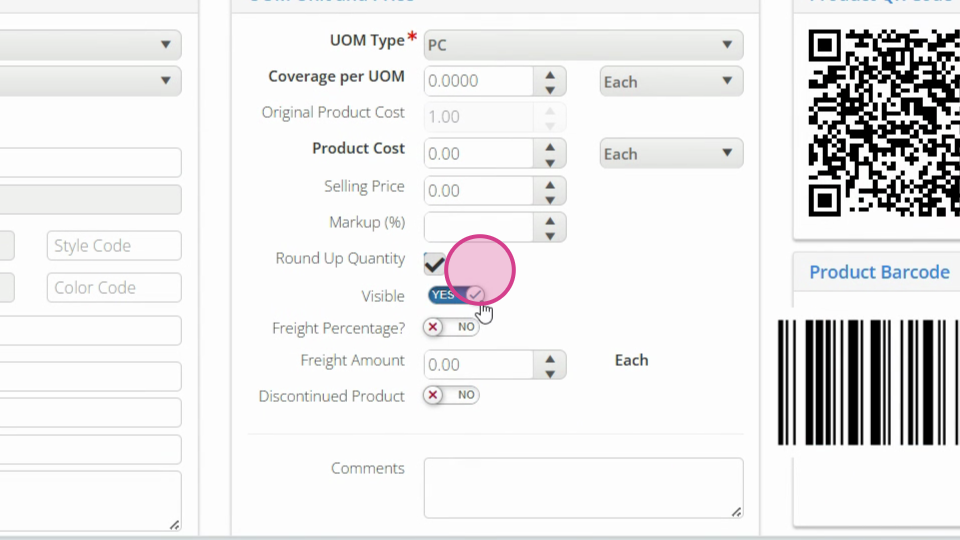
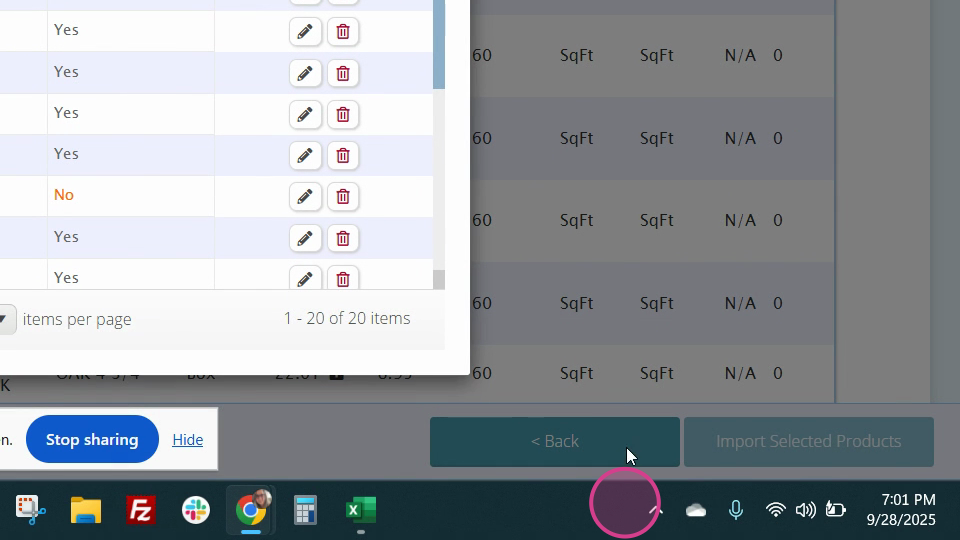
Step 6: Export the list to Excel. You'll see various fields where you can verify and adjust your profit margin percent and product cost. Remember to save any changes.
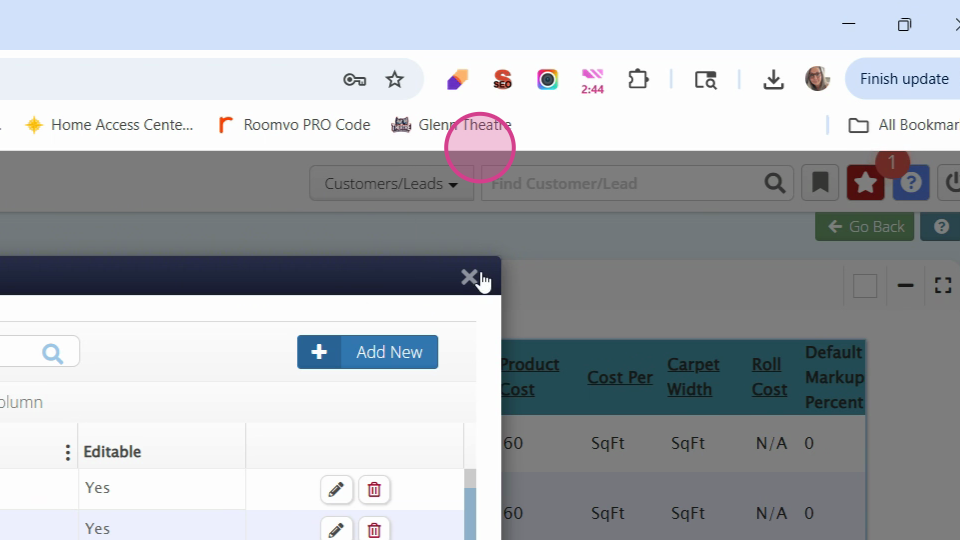
Step 7: To re-import the updated list, return to the Force app. Delete the existing products.
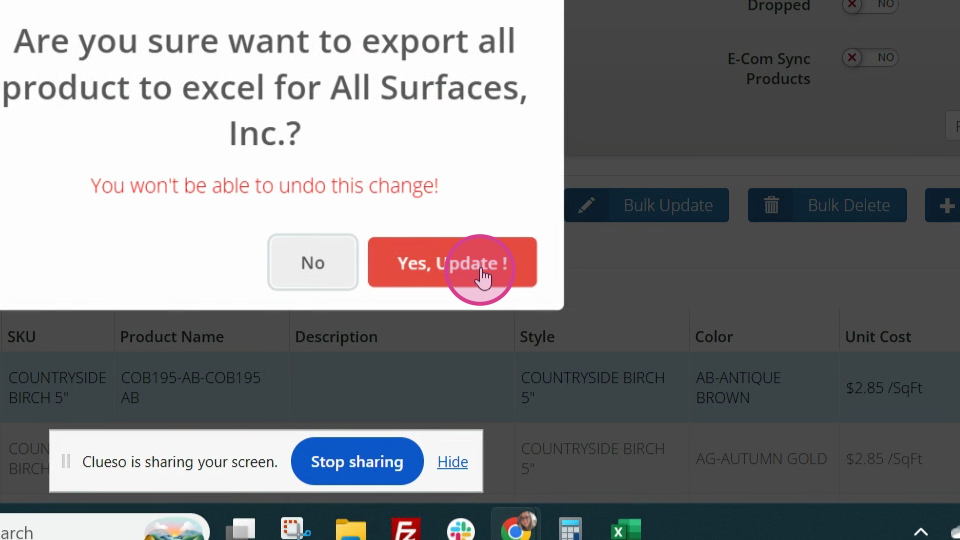
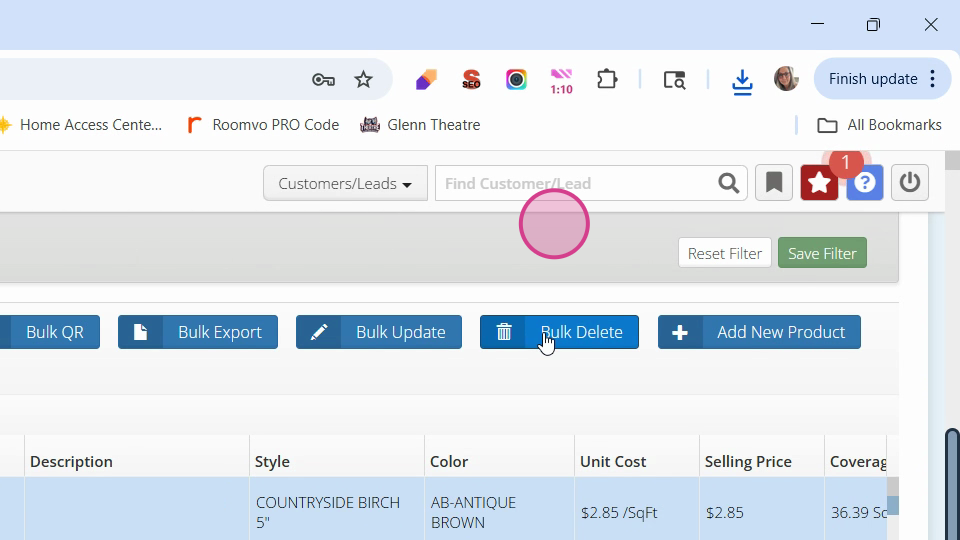
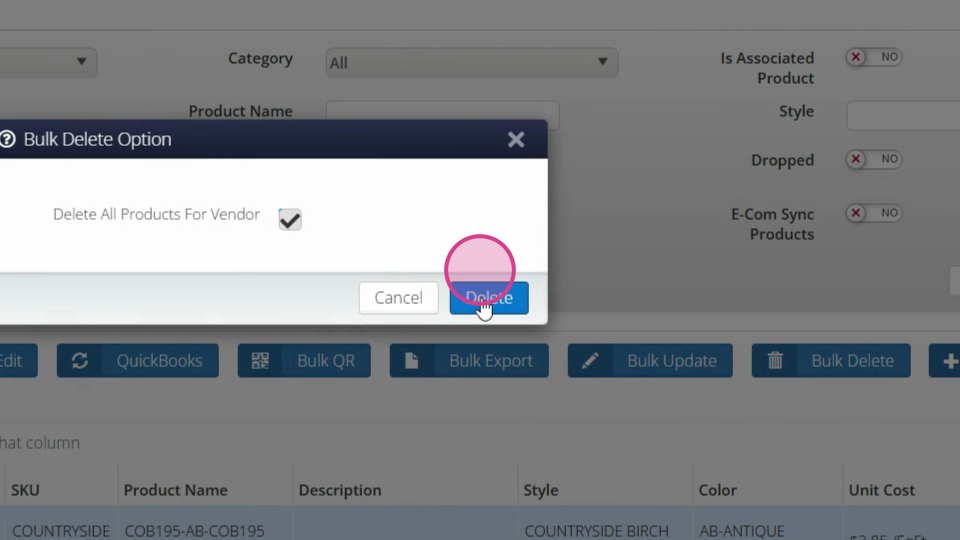
Step 8: Do this by ticking the checkbox and selecting Bulk Delete.
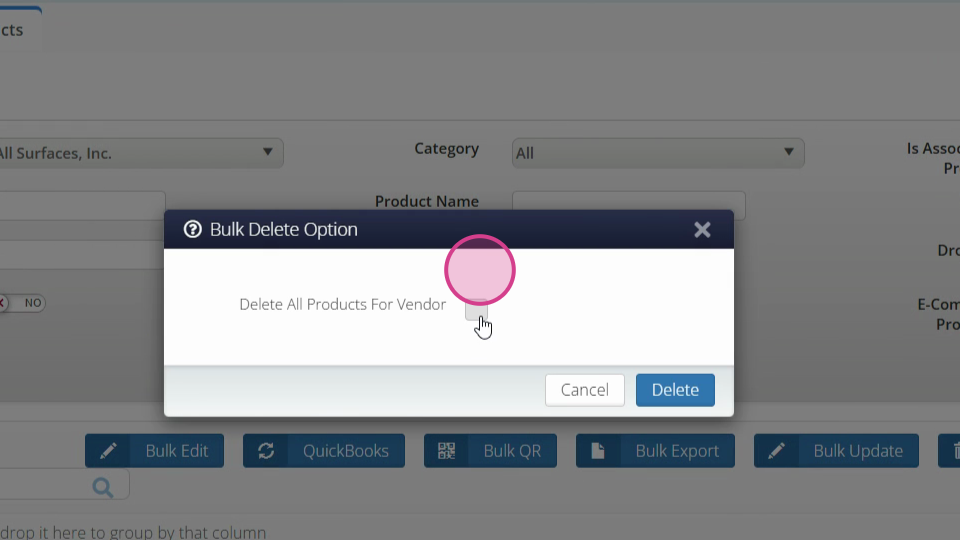
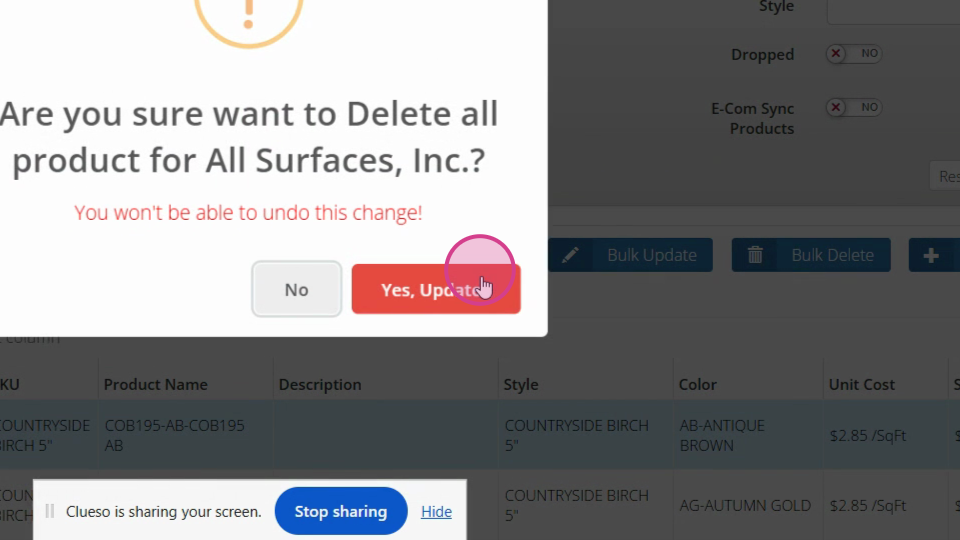
Step 9: Delete all products for vendors.
Note: Any product used in the system can't be deleted. If you find items that need to be hidden, click on the pencil icon.
Step 10: Click on the pencil icon and mark them as invisible. This will remove the item from the product list.
Step 11: To import your new products, go to Non Inventory Products Import Material List.
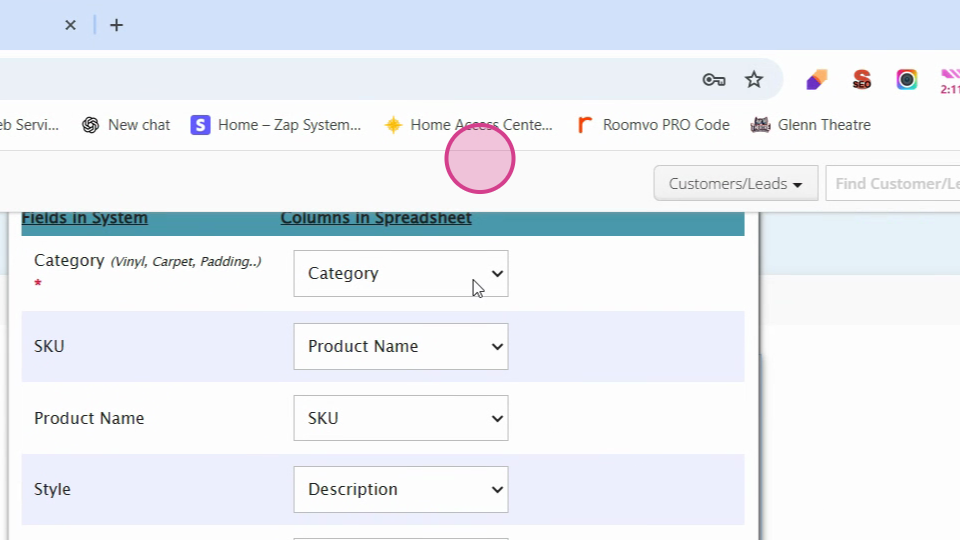
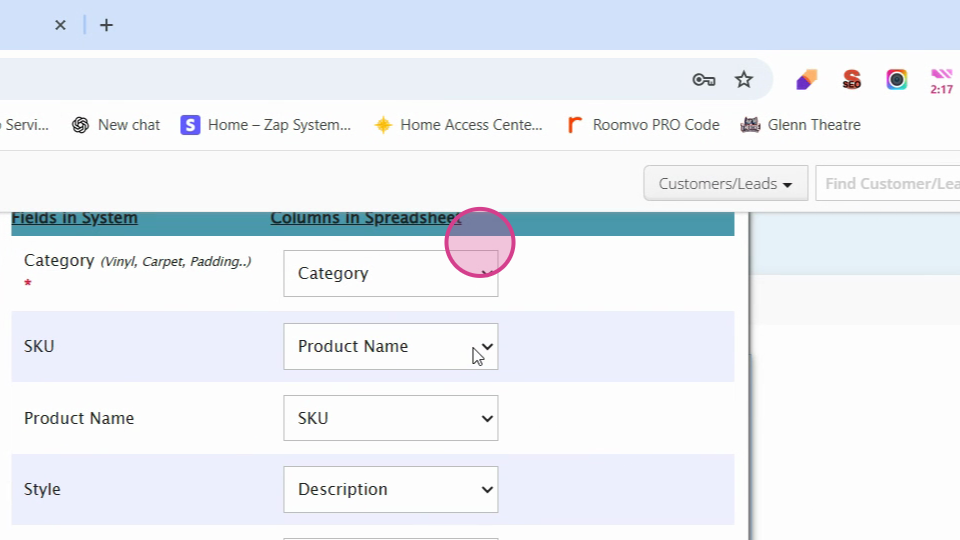
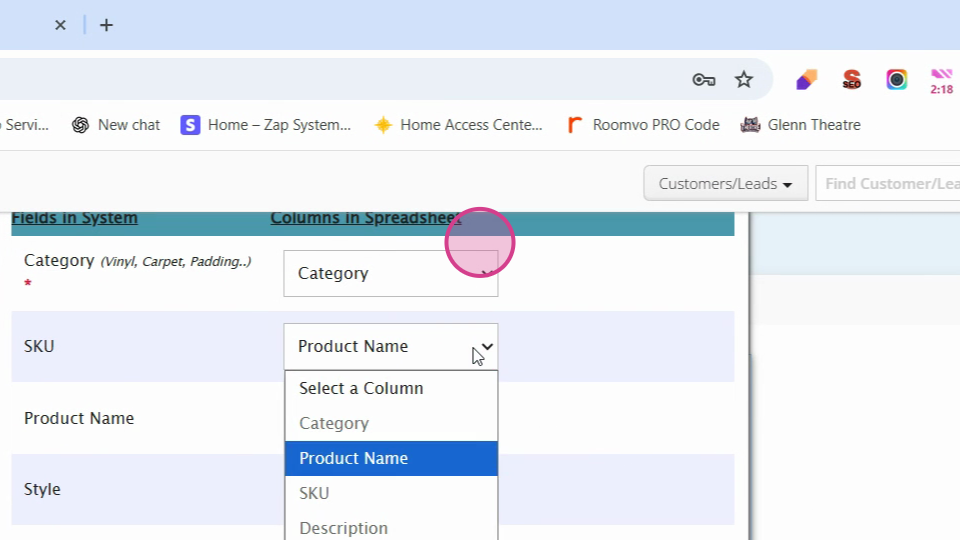
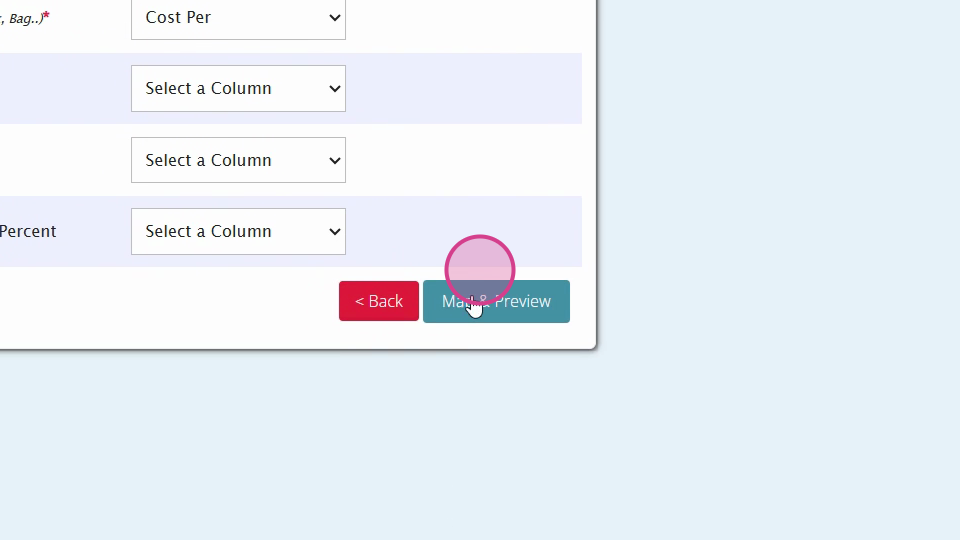
Step 12: To align your columns with our product mapping, select your column names from the drop-down menu.
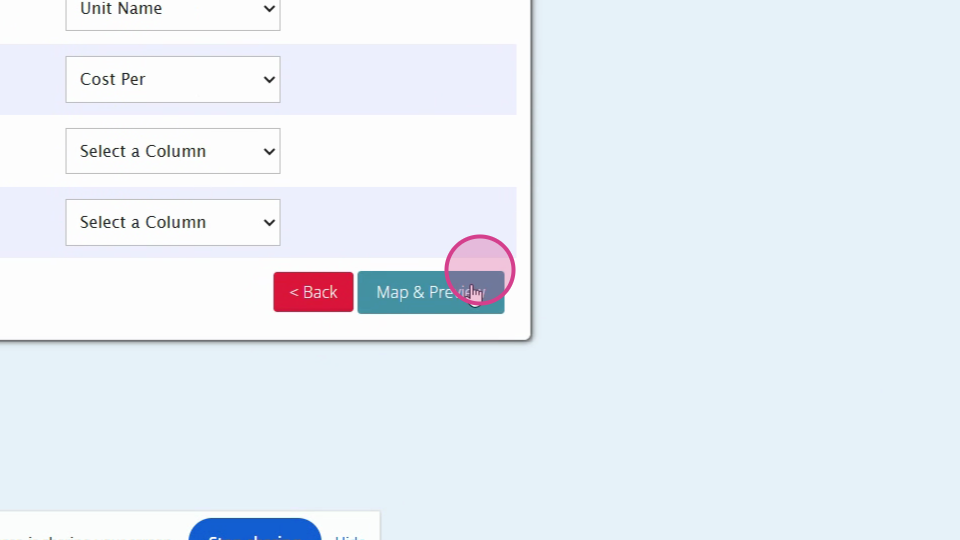
Step 13: After assigning each field, click on Map and preview.
Step 14: If there's anything that needs to be changed on your import, you'll see a red exclamation point. If everything is correct, you'll only see black checkboxes on the left.
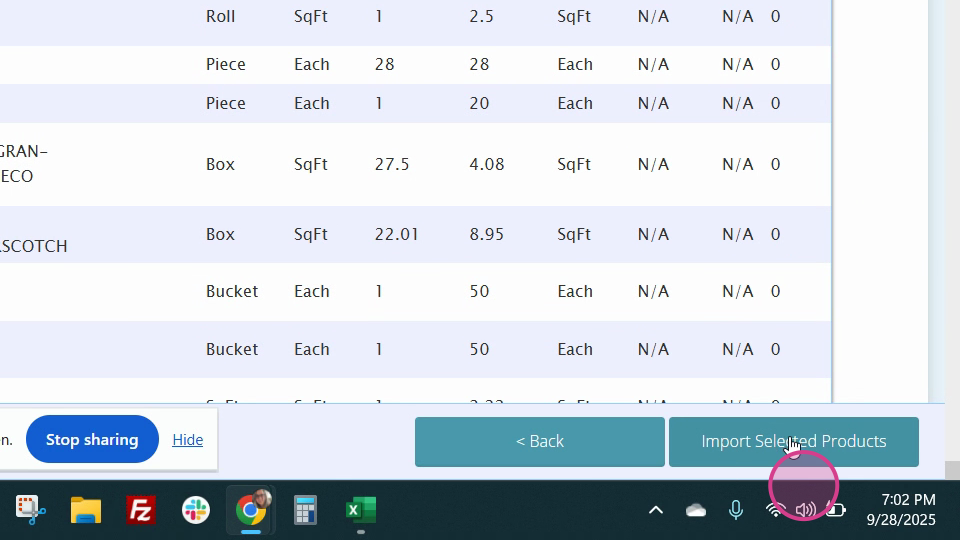
Step 15: Select the Import Selected Products option.
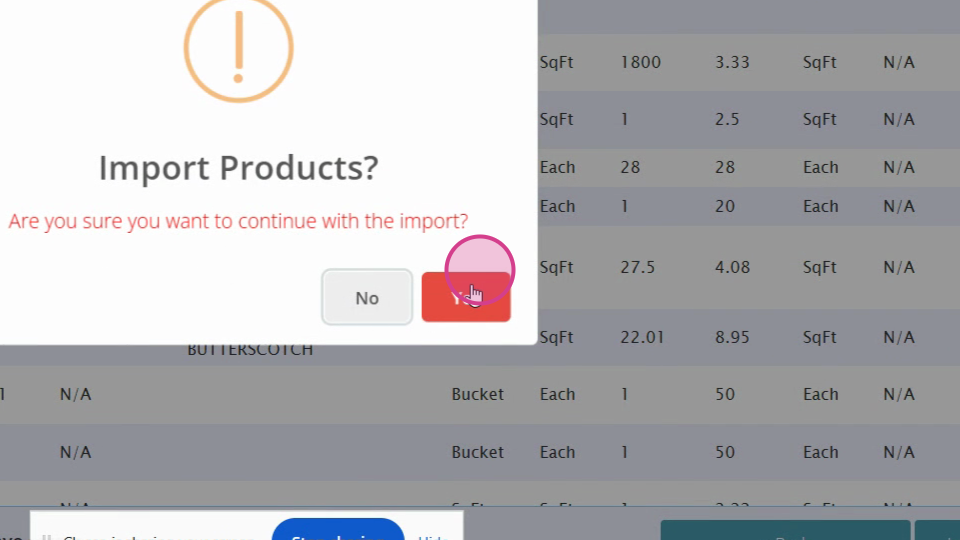
Step 16: Confirm the import to update your product list.
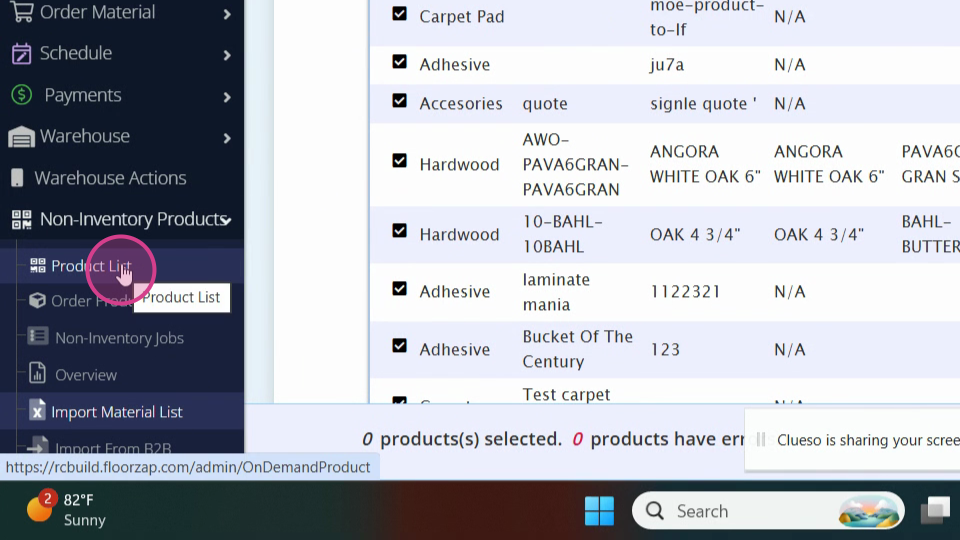
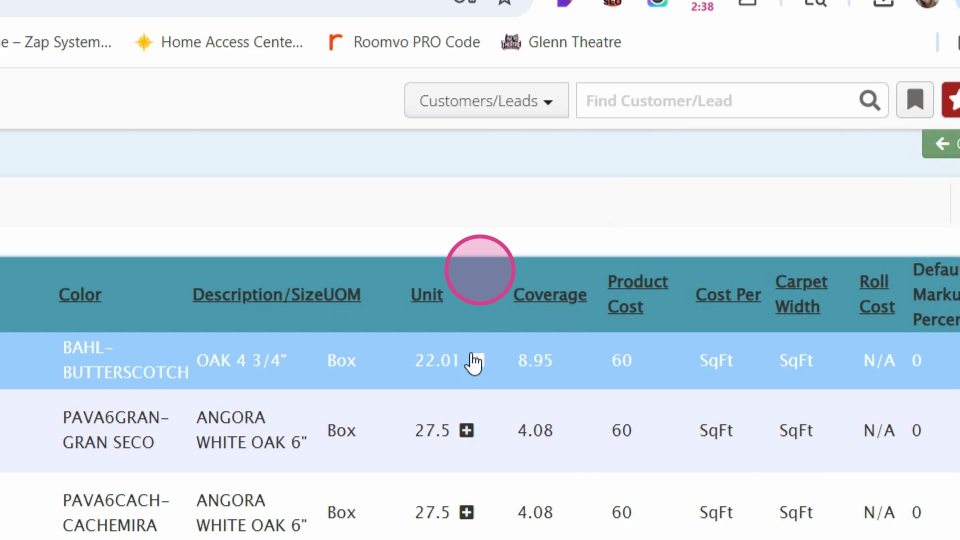
Step 17: Go to Product List to see your newly imported products at the top.