This article will guide you through the various buttons and features in your work order, helping you to understand their functions and how to use them effectively.
Step 1: Start by understanding the Payments button. This button directs you to the payment screen where you can manage customer payments, vendor payments, sales rep, contractor, and adjustments.

Step 2: Next, familiarize yourself with the Import Template button. Use this button to import a template to your invoice, allowing you to add an additional service if required.

Step 3: The Add Service button is another important feature. Use this button to add a service to your work order.

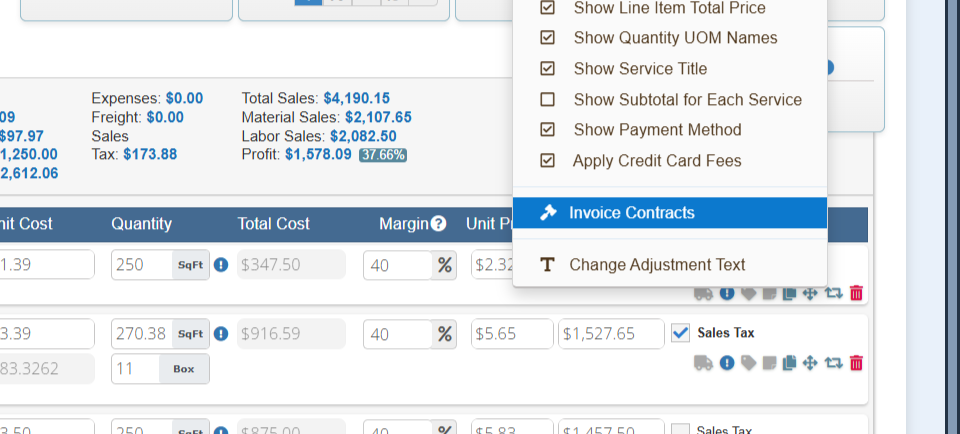
Step 4: Under Invoice Actions, you'll find options to view contracts, view invoice, view edit details, add a custom add a second salesperson, sync with QuickBooks, reset the invoice, and send the SMS review link.

Step 5: Click on Payment Settings to adjust the down payment if necessary.


Step 6: In the same area, you have the option to modify the payment terms.


Step 7: You're also able to change the invoice date and due date, and view different versions.

Step 8: Enable the Material Balance feature to request a payment for the balance of the materials on the invoice.


Step 9: Use the Final Invoice toggle to lock the invoice.


Step 10: The Paper Icon directs you to the original quote, while the Tools Icon takes you to the work order, which is automatically created once the invoice is approved.

Step 11: Click on the Work Order Changes button to view any modifications made to the work order.


Step 12: The Paper Airplane button allows you to mark the final invoice as sent.


Step 13: Use the Customer Options Invoice Options to manage several options within the invoice.

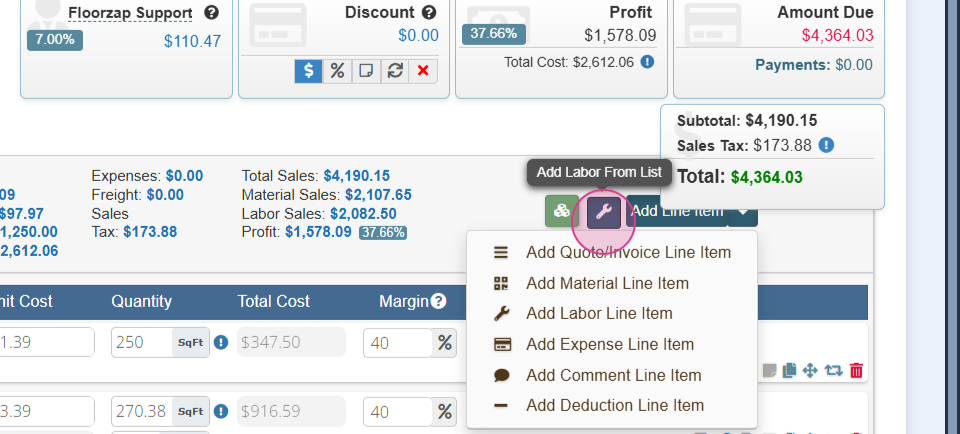
Step 14: Choose which contracts to use, add a comment, and add line items using the options available.


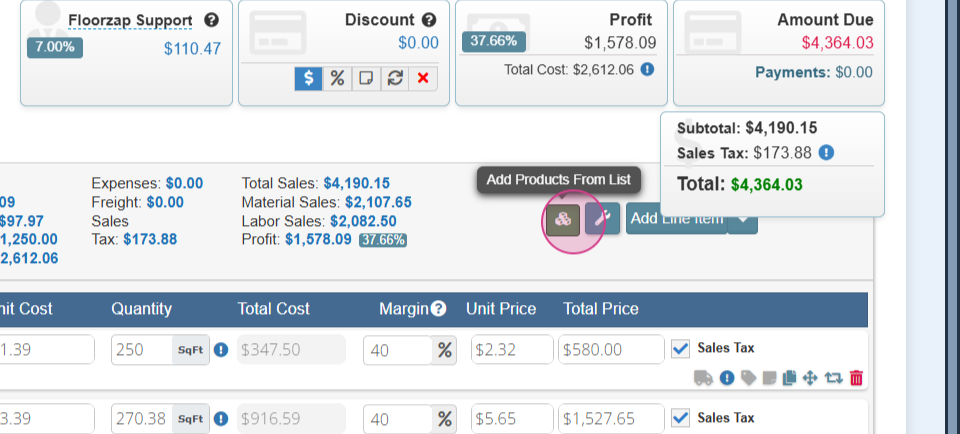
Step 15: Add labor item line items and materials to your work order.


Step 16: Update your square footage and profit margin by typing in the numbers and clicking on the update icon.


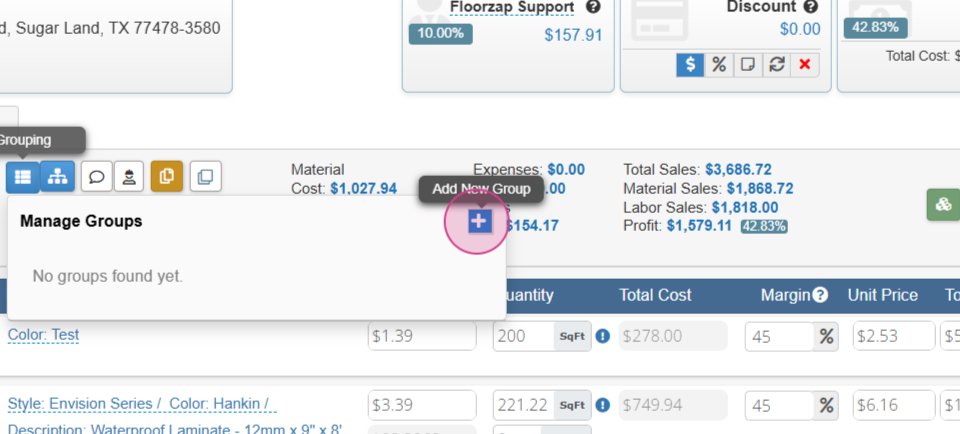
Step 17: Use the Grouping Icon to group your invoice or quote by area of the home or any other category.


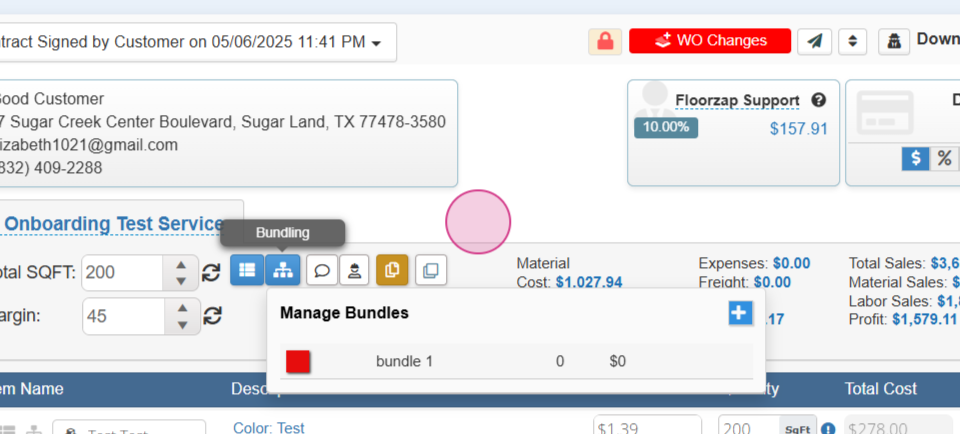
Step 18: Bundle items together to create a one line item price in the Bundling Section.


Step 19: Add internal notes or contractor notes using the provided options.


Step 20: Duplicate the service or save it as a template using the corresponding buttons.

Step 21: Finally, review and edit details such as the invoice created or confirm date, customer sales rep, or any other pertinent information.


