Manage user permissions in Floorzap to control what each team member can view or change. Follow these steps to set roles and adjust access, making sure everyone has the right level of control for their work.
Step 1: Log in to your Floorzap account.
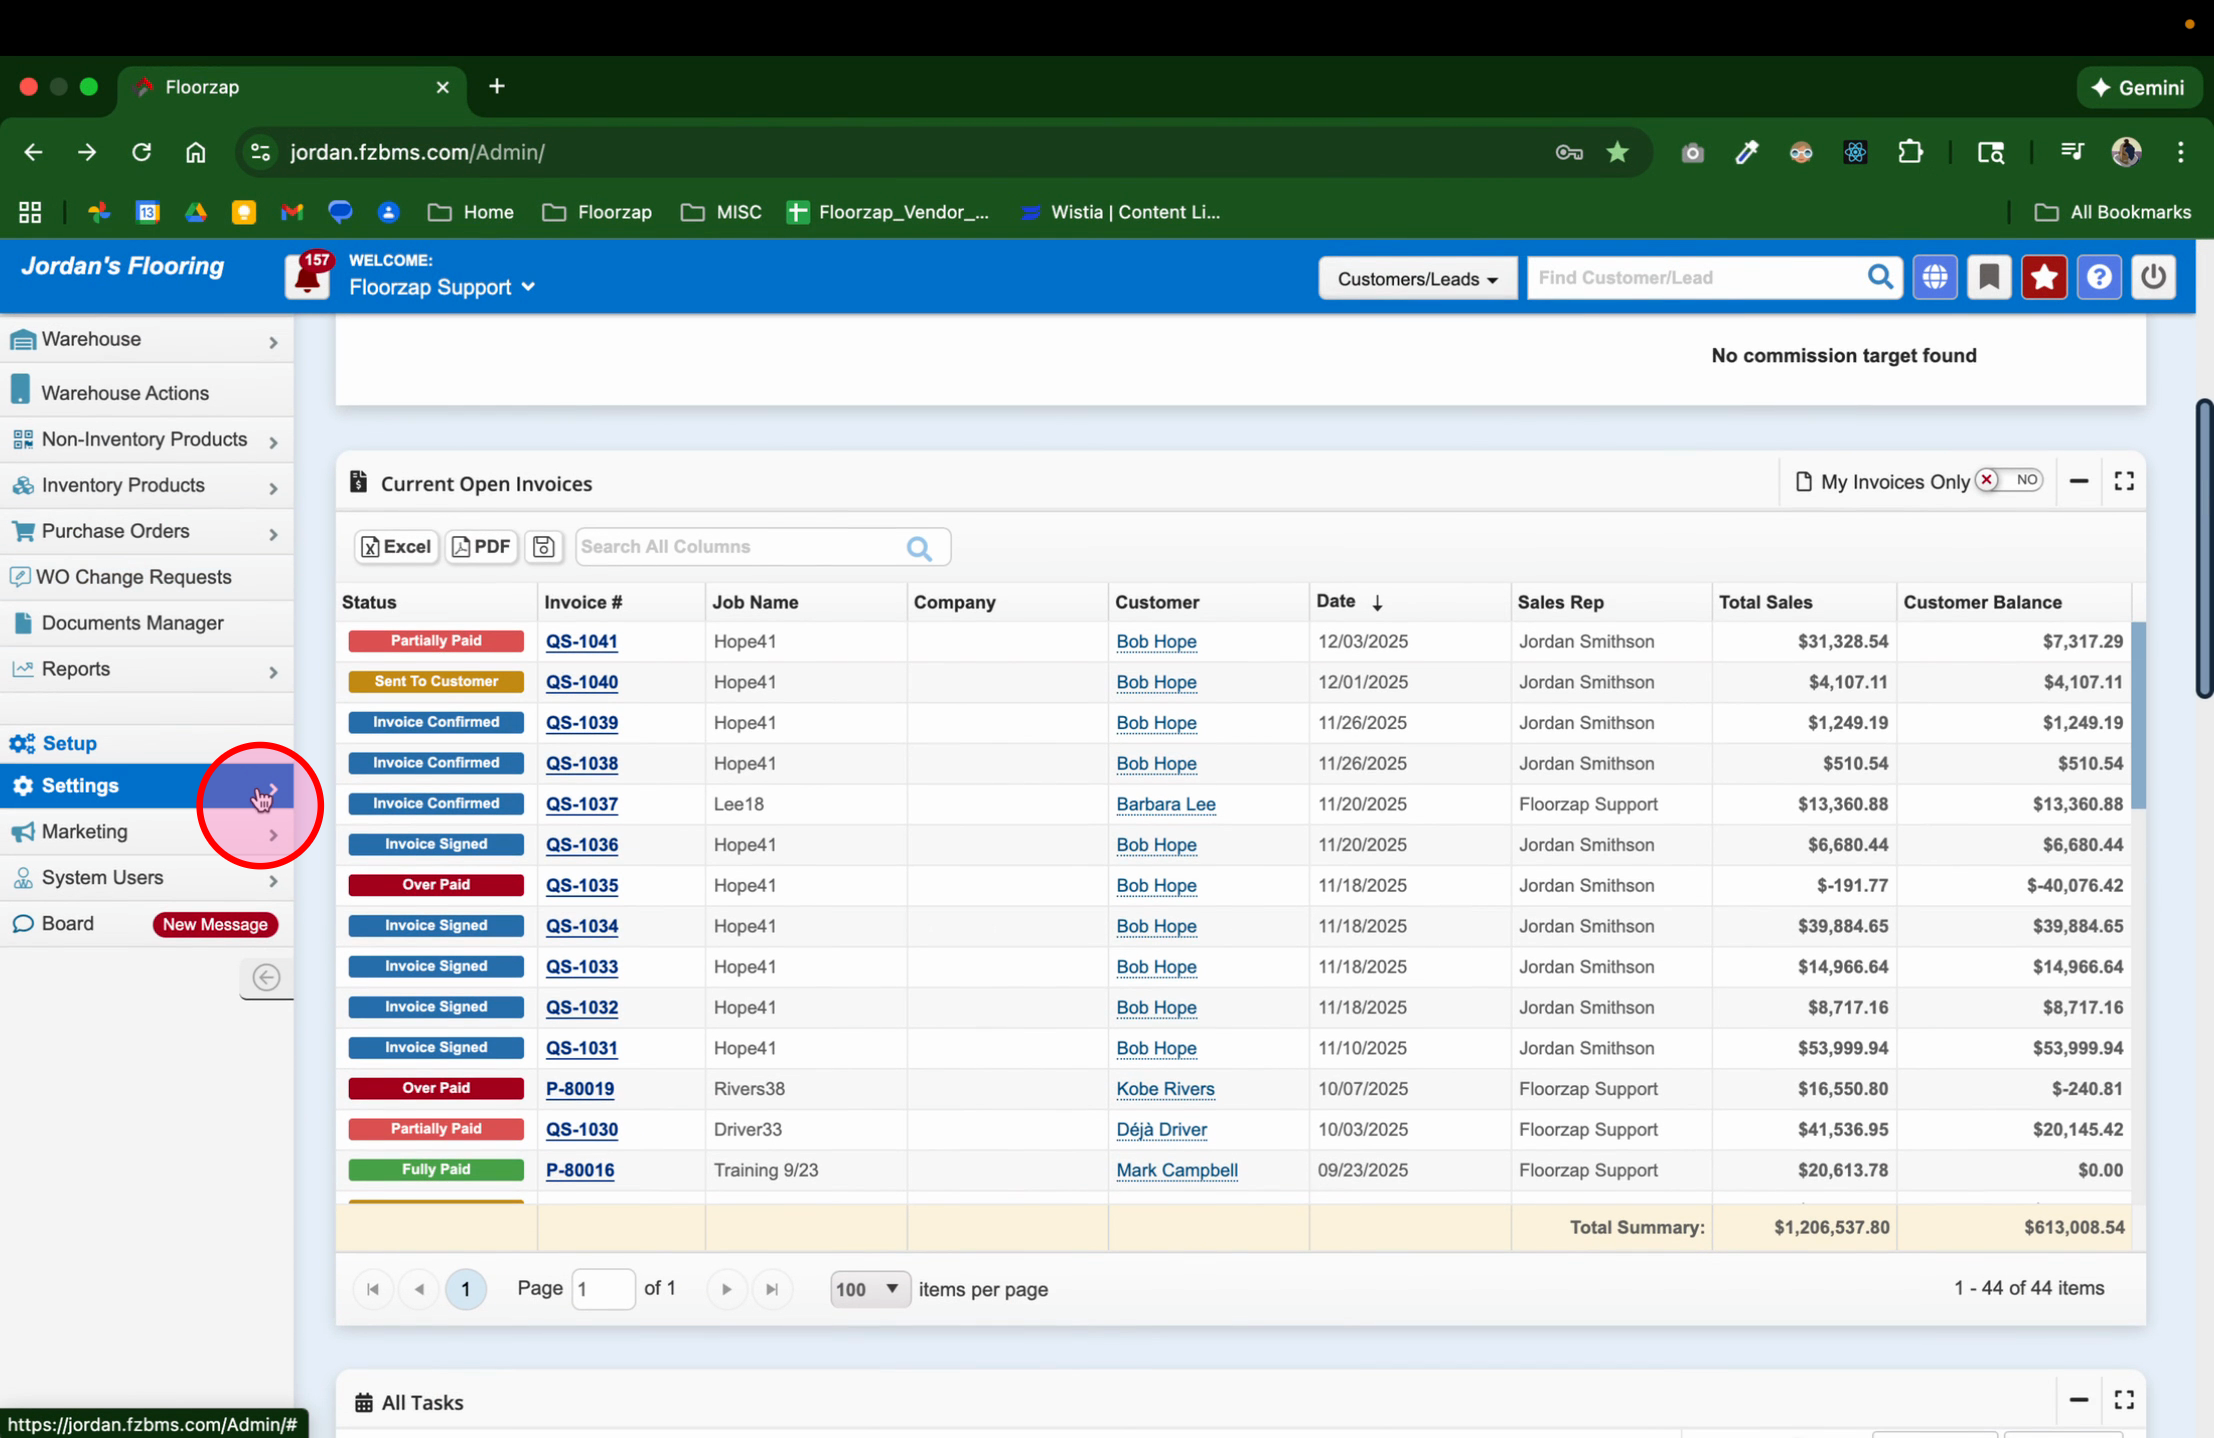
Step 2: Click the Settings menu from the main navigation.
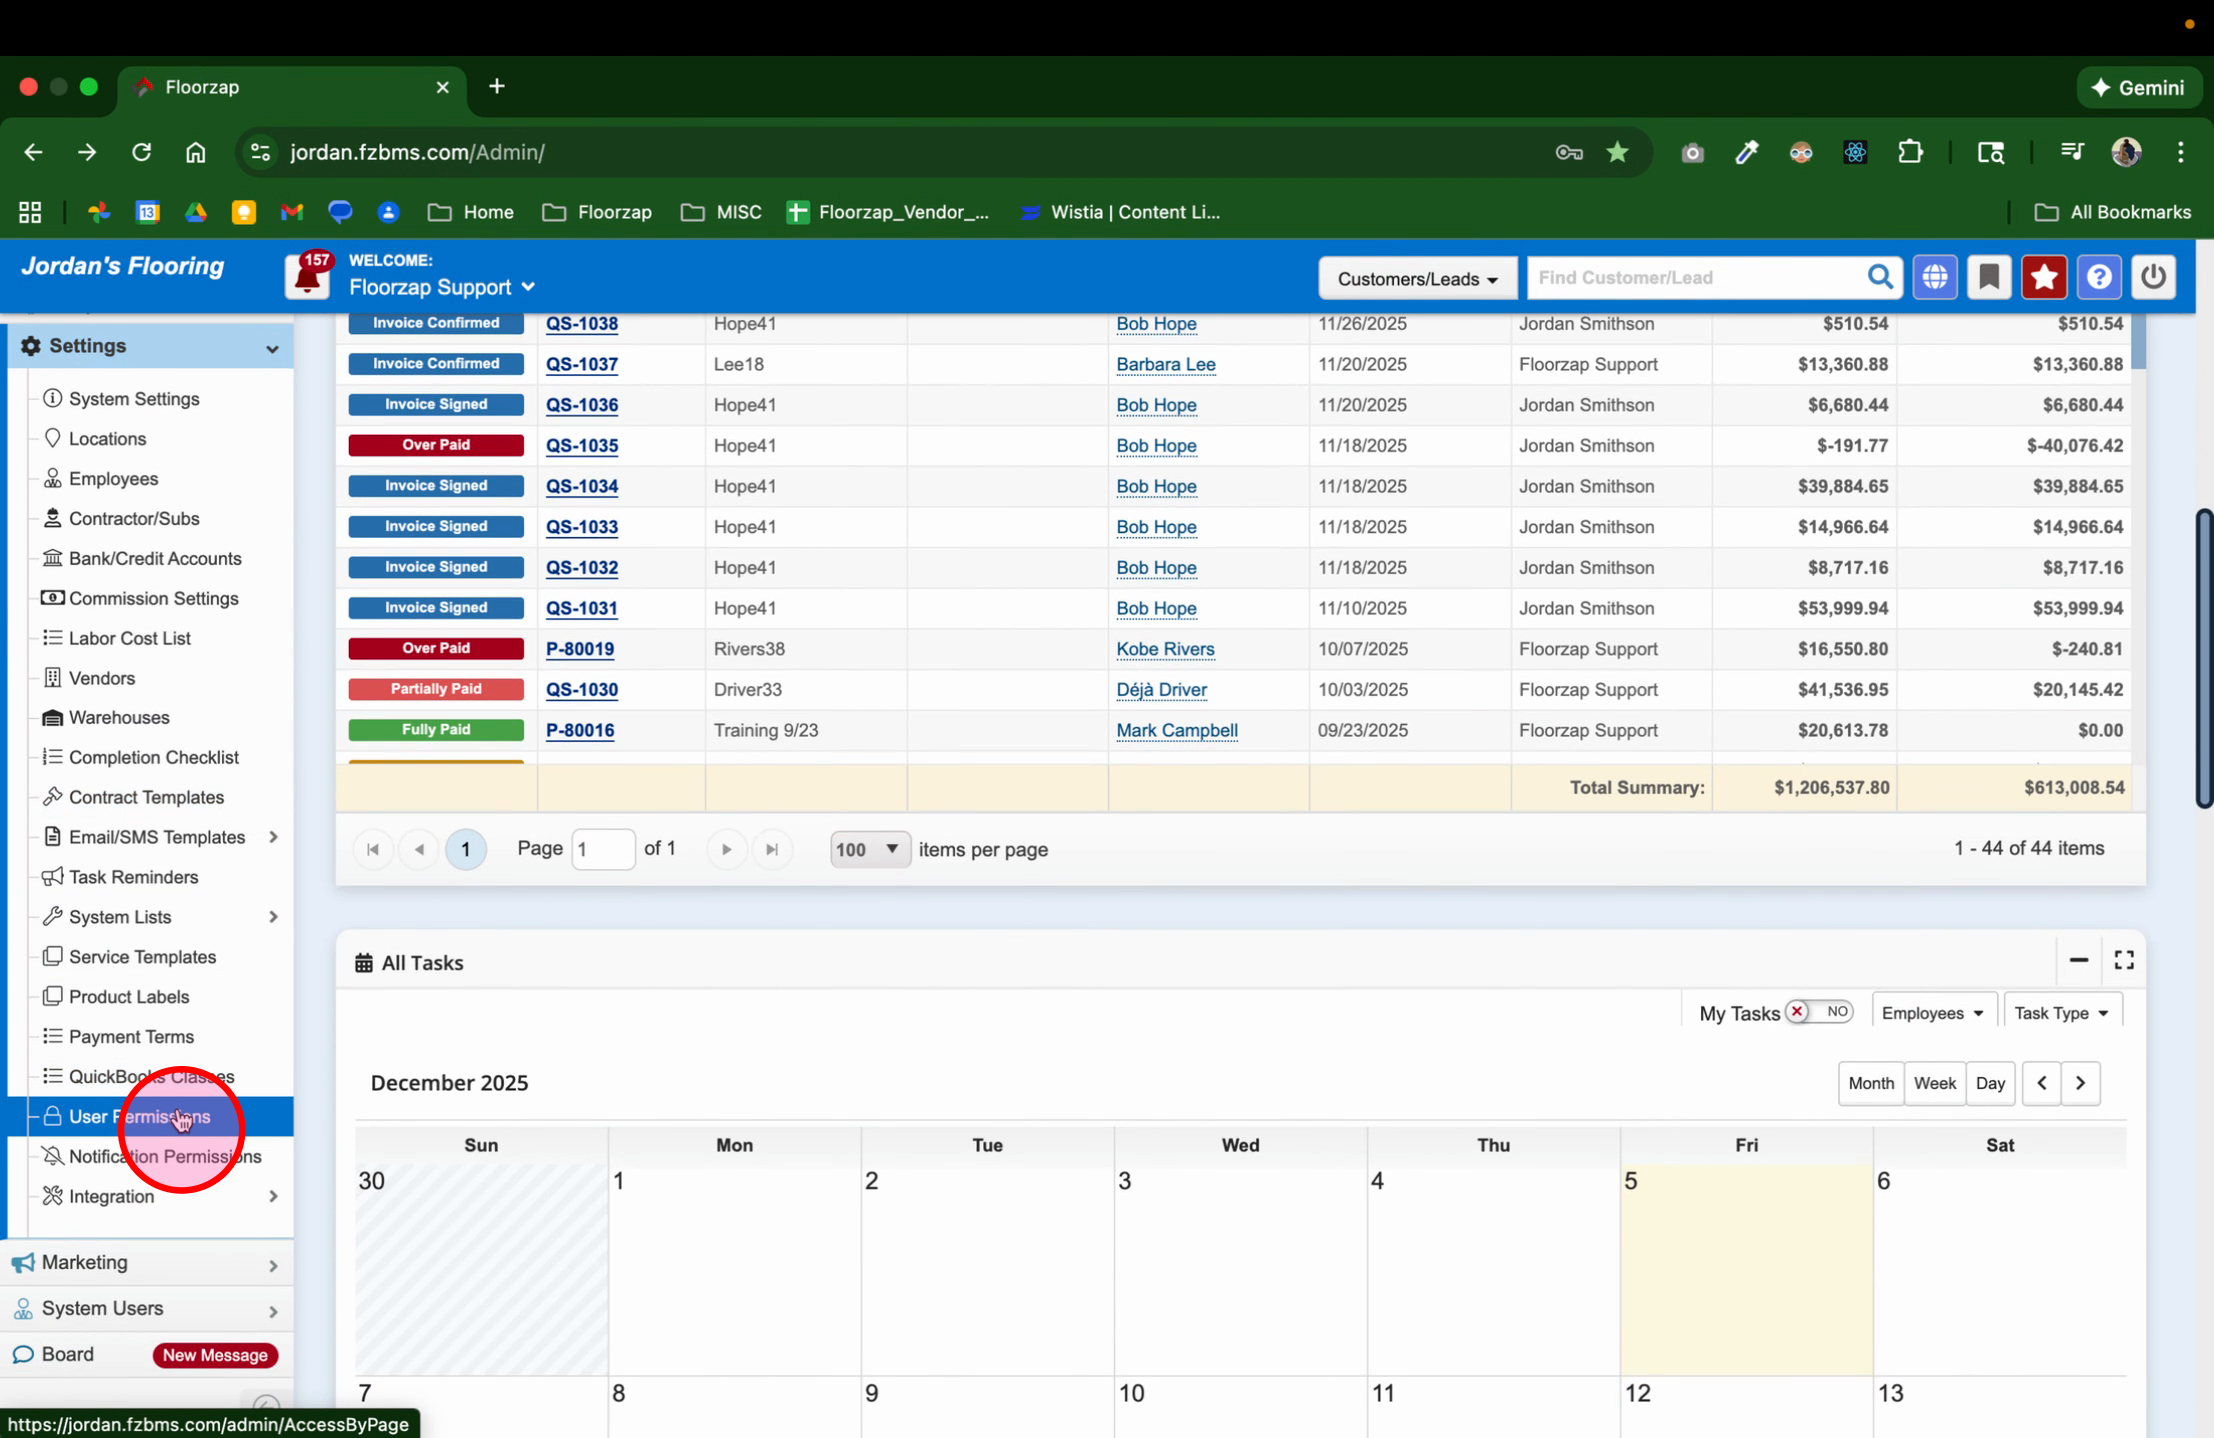
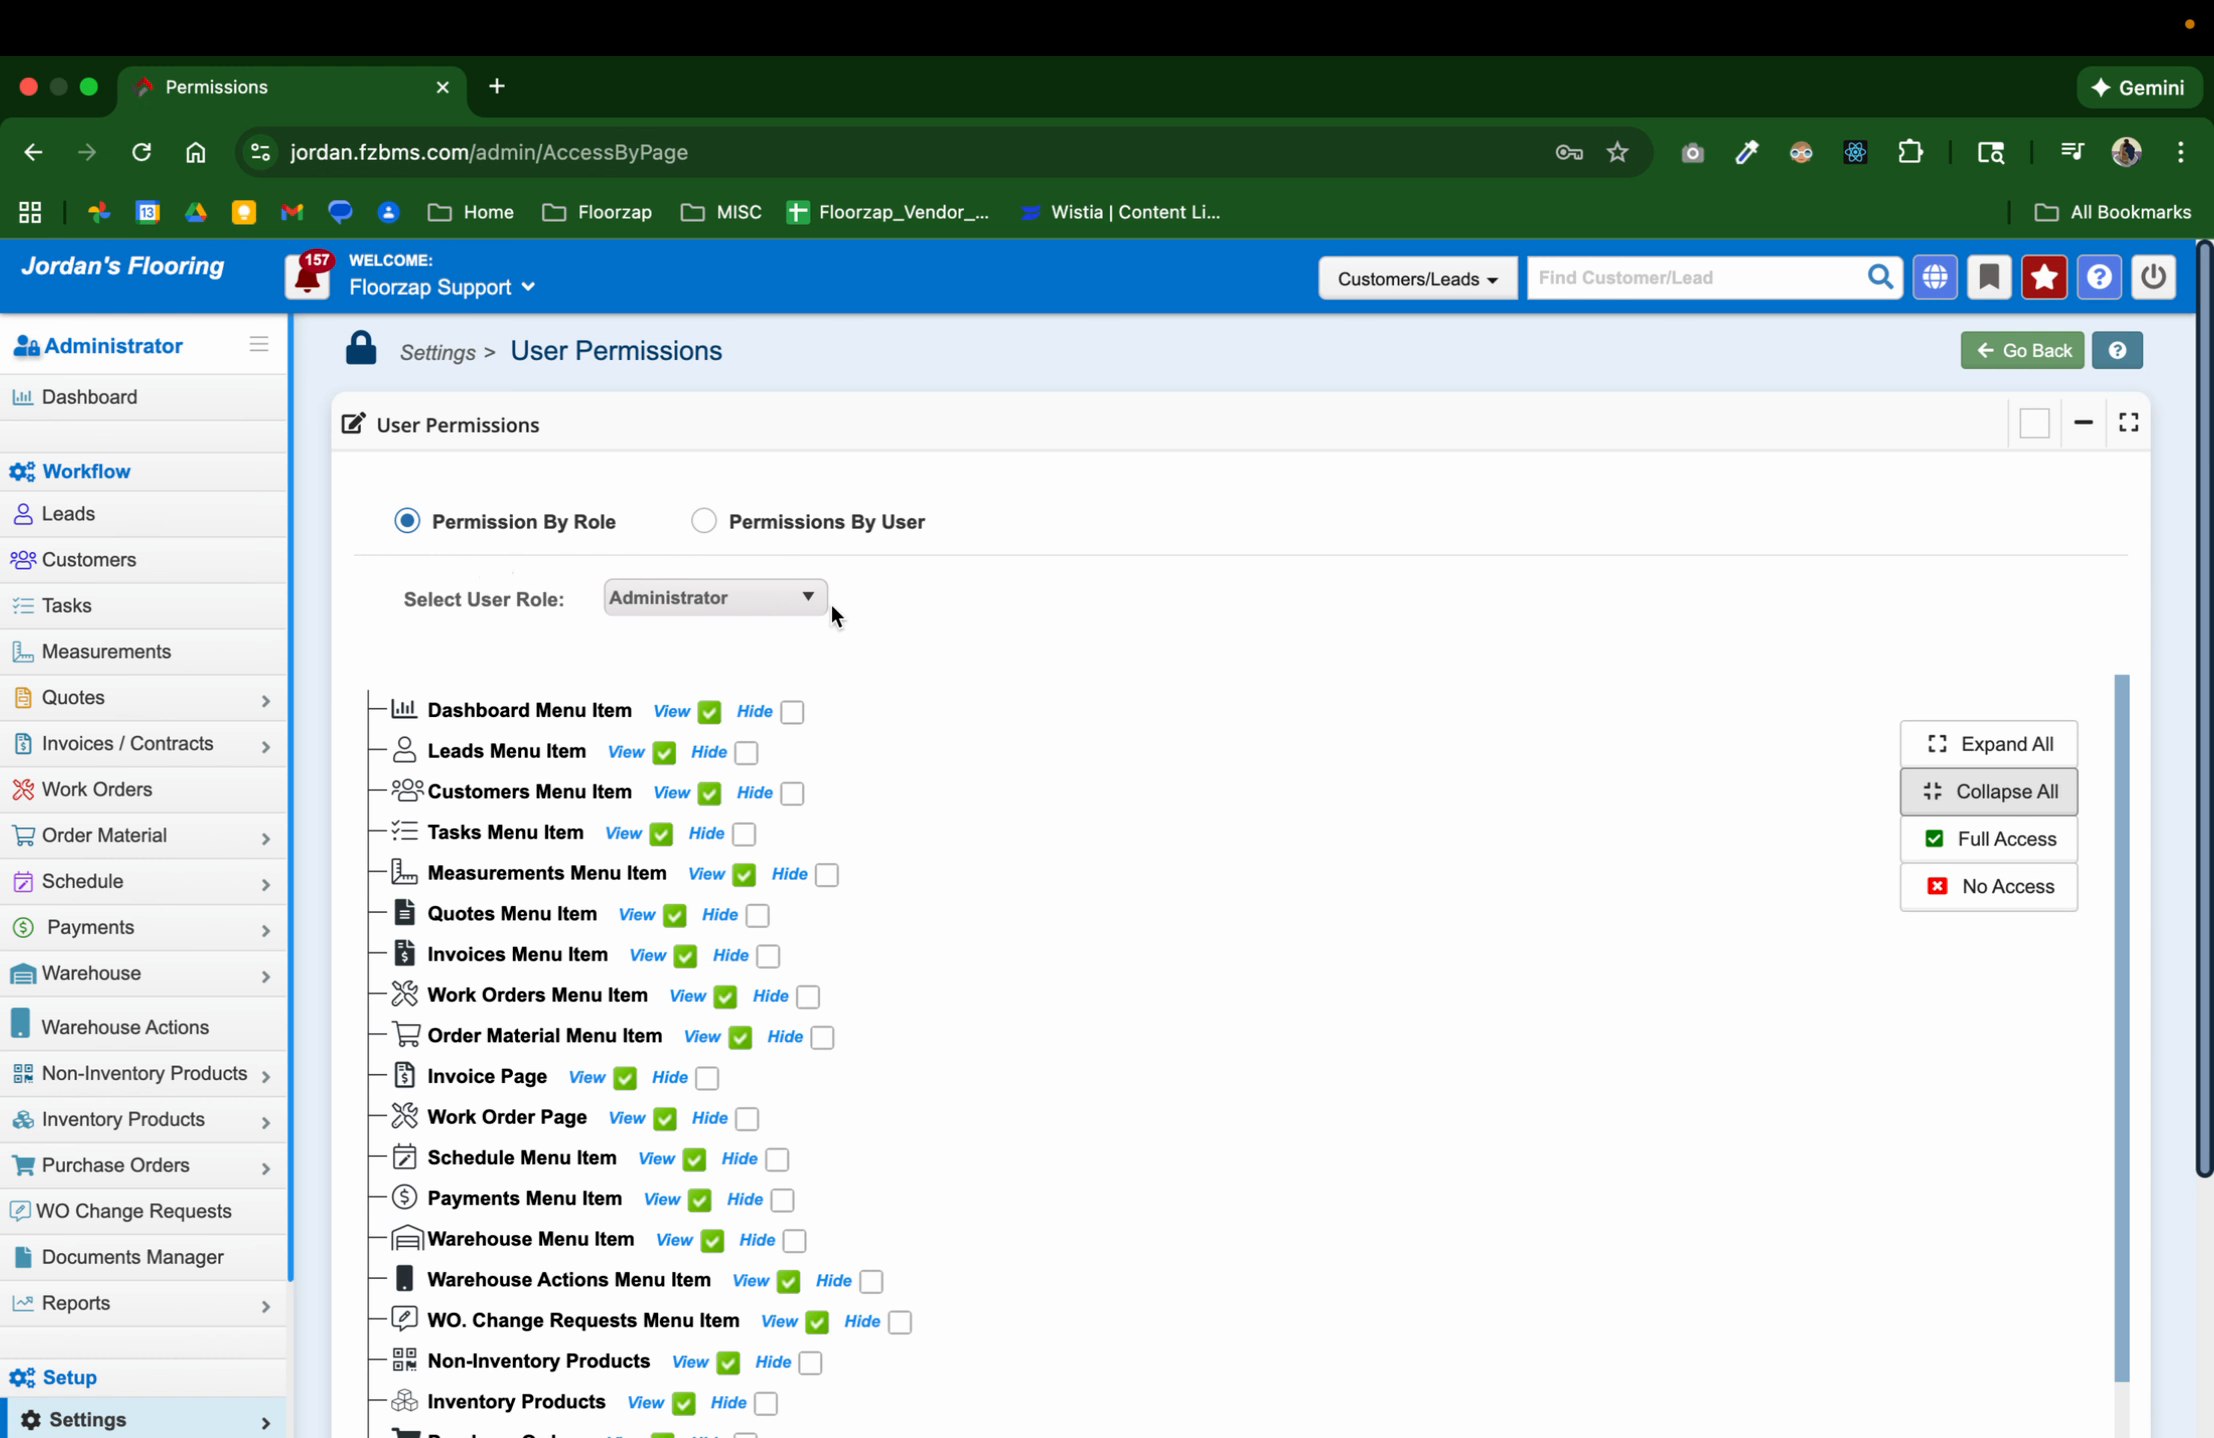
Step 3: Select User Permissions to open the permission dashboard. You’ll see a detailed list of all permissions in Floorzap.

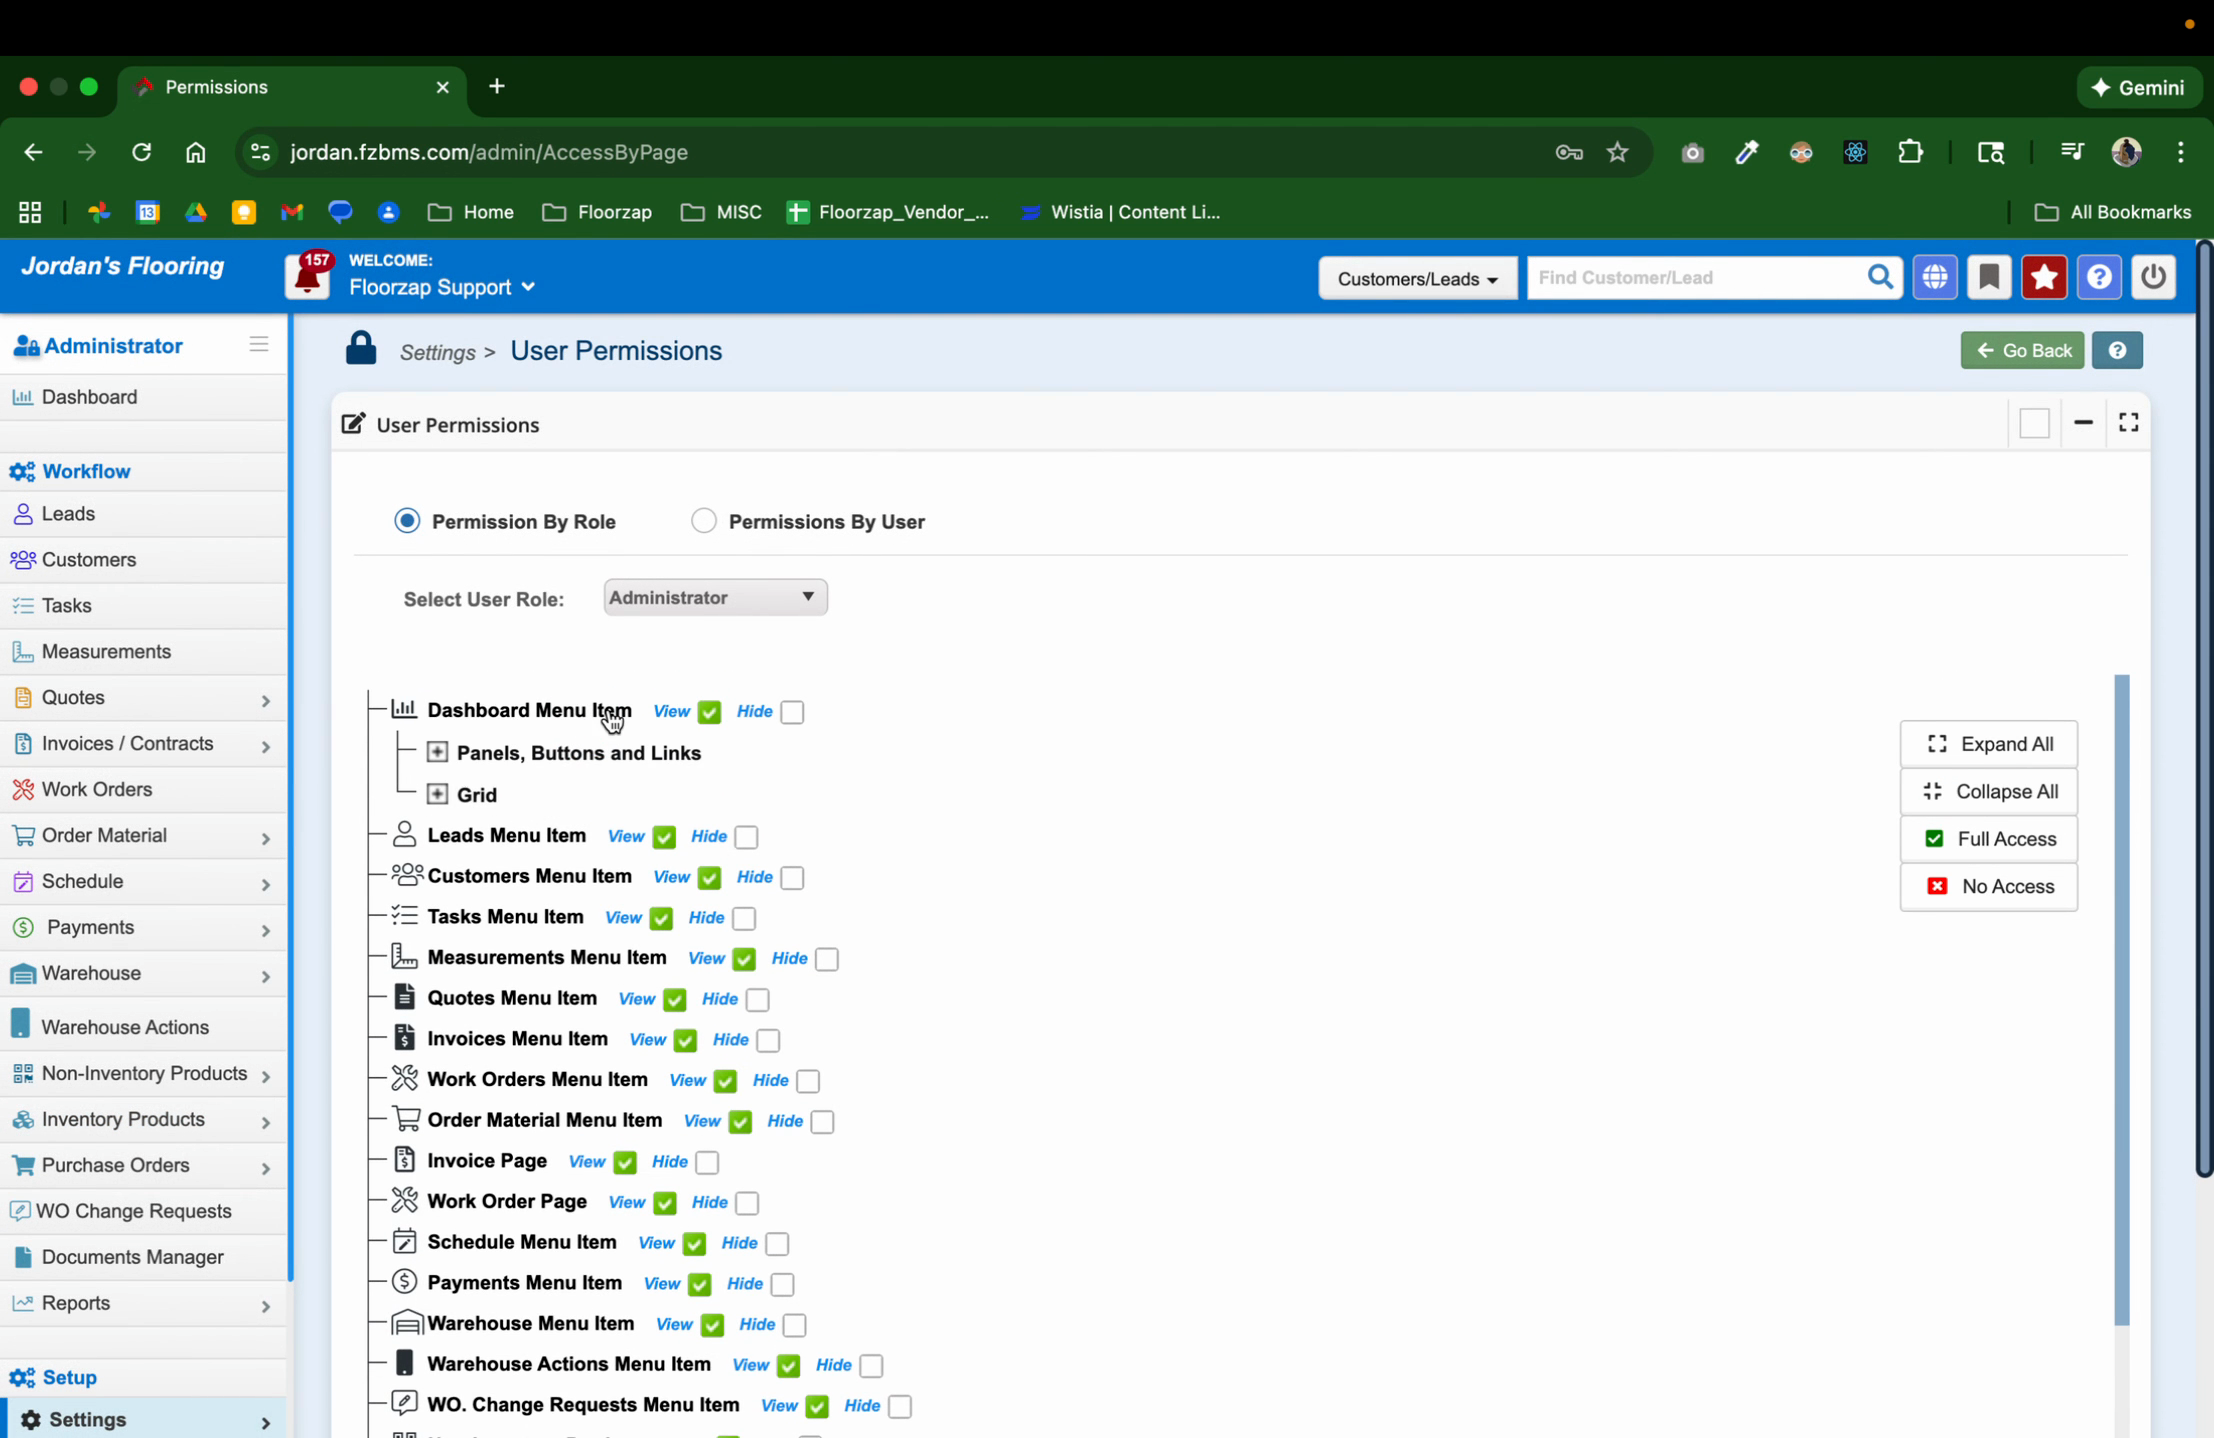
Step 4: Review the full permission list. It covers everything from project creation to settings adjustments.
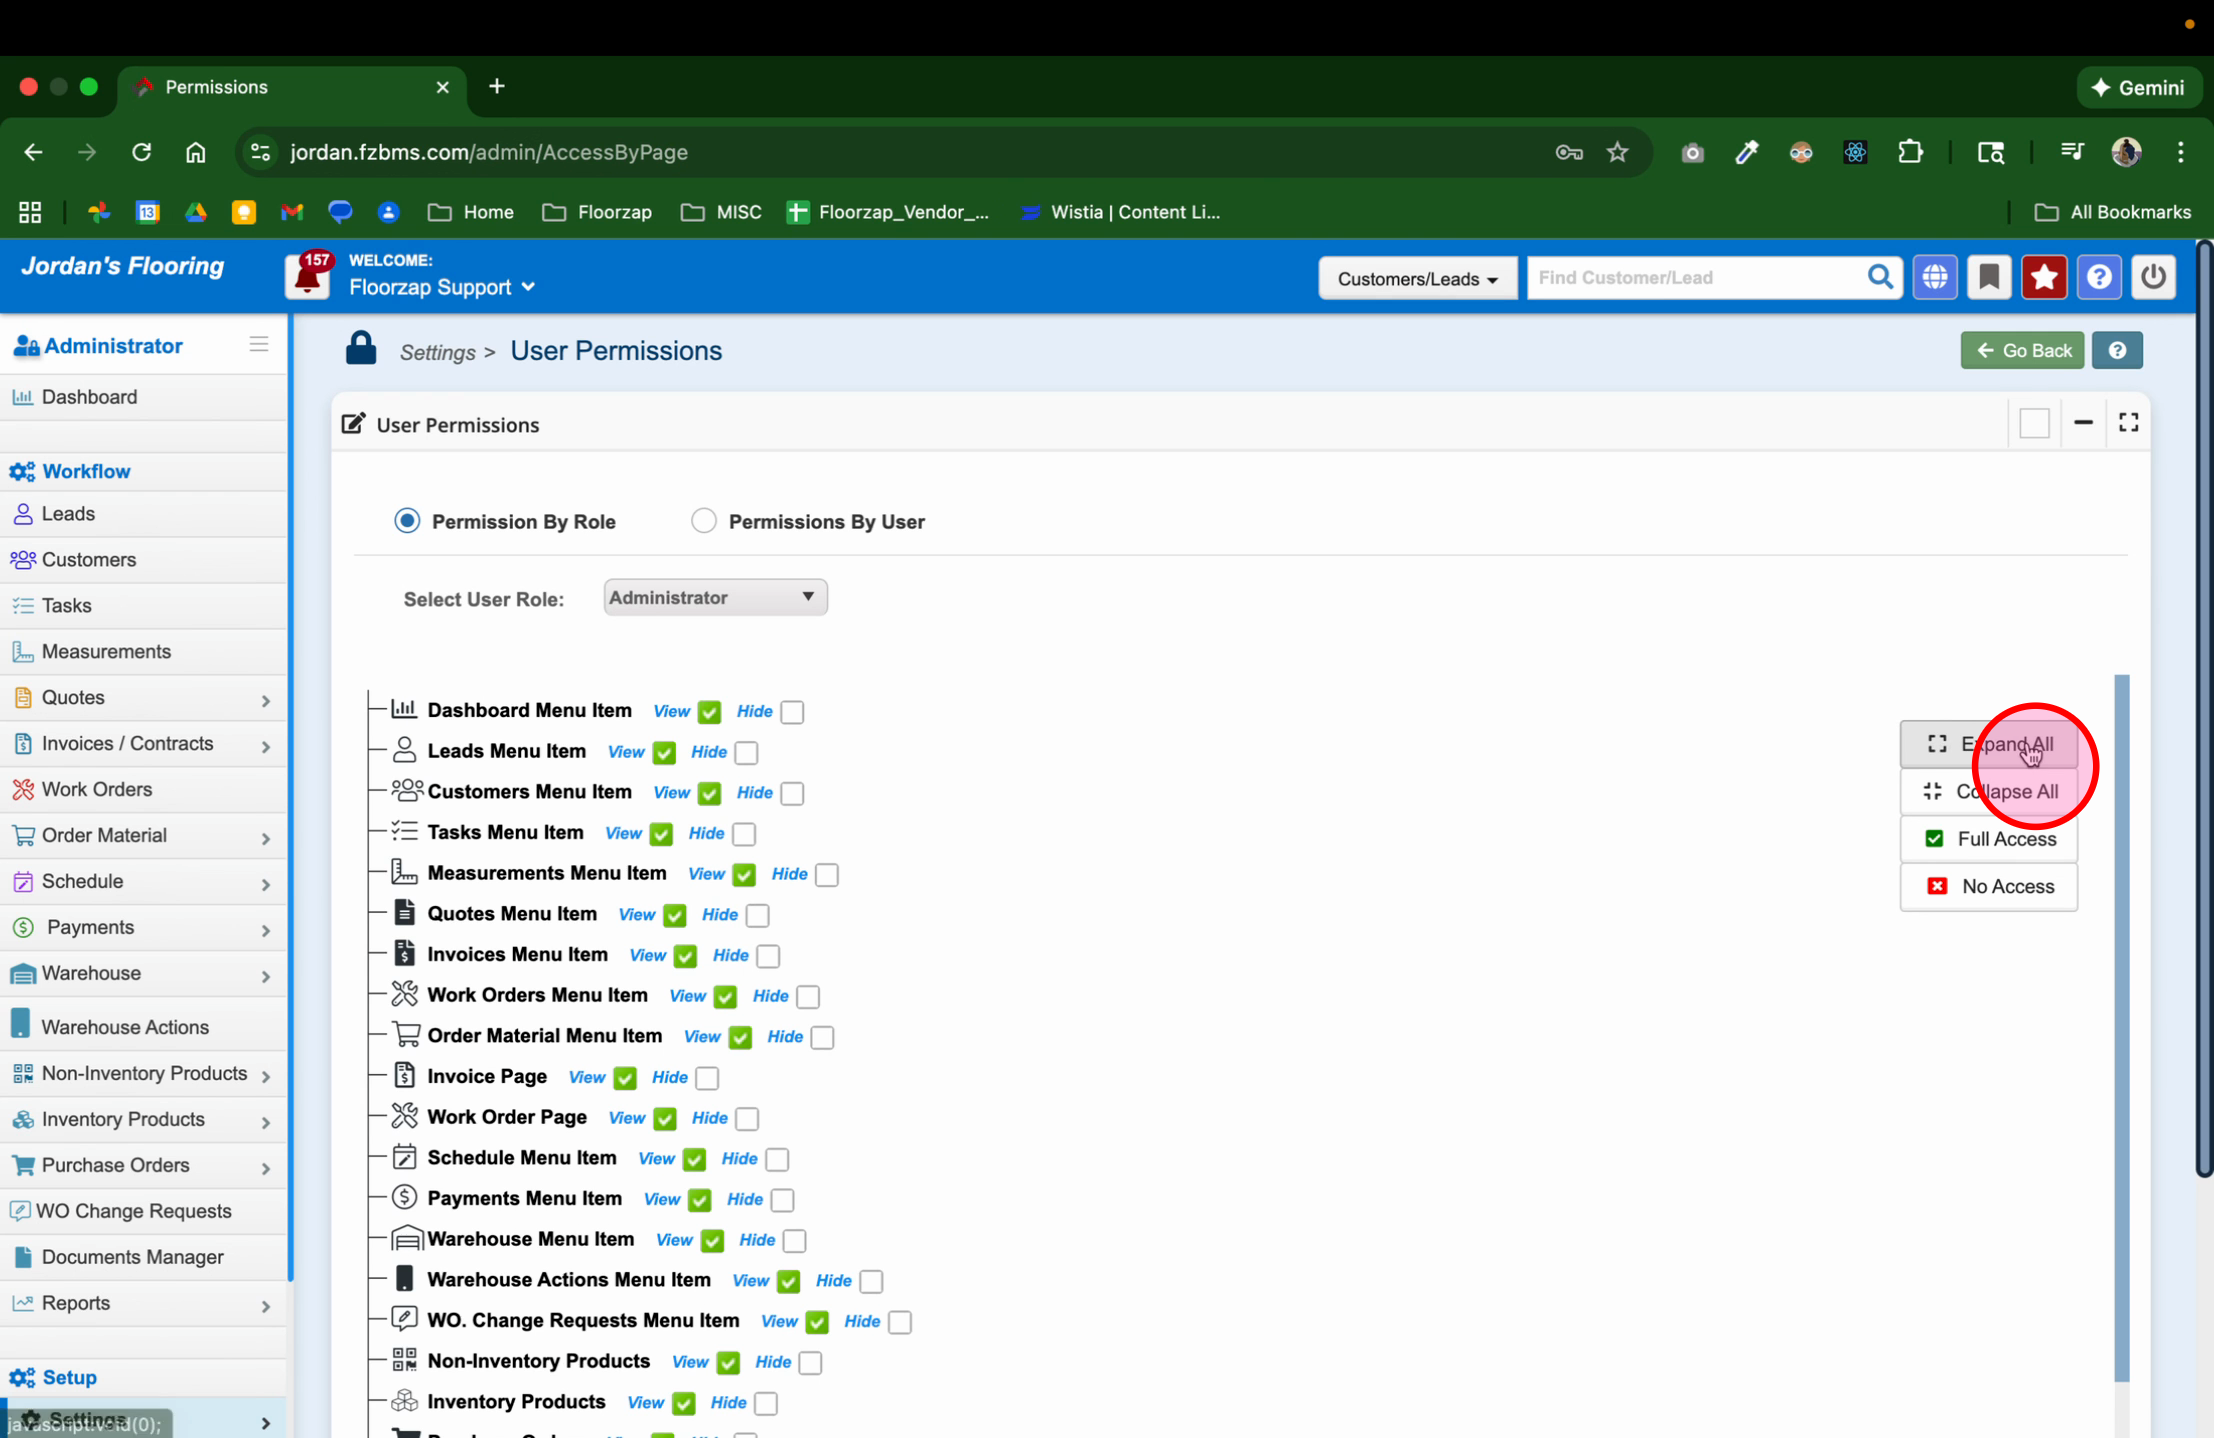
Step 5: If this is your first time, expand all permission categories. This makes every available permission visible and easy to scan.
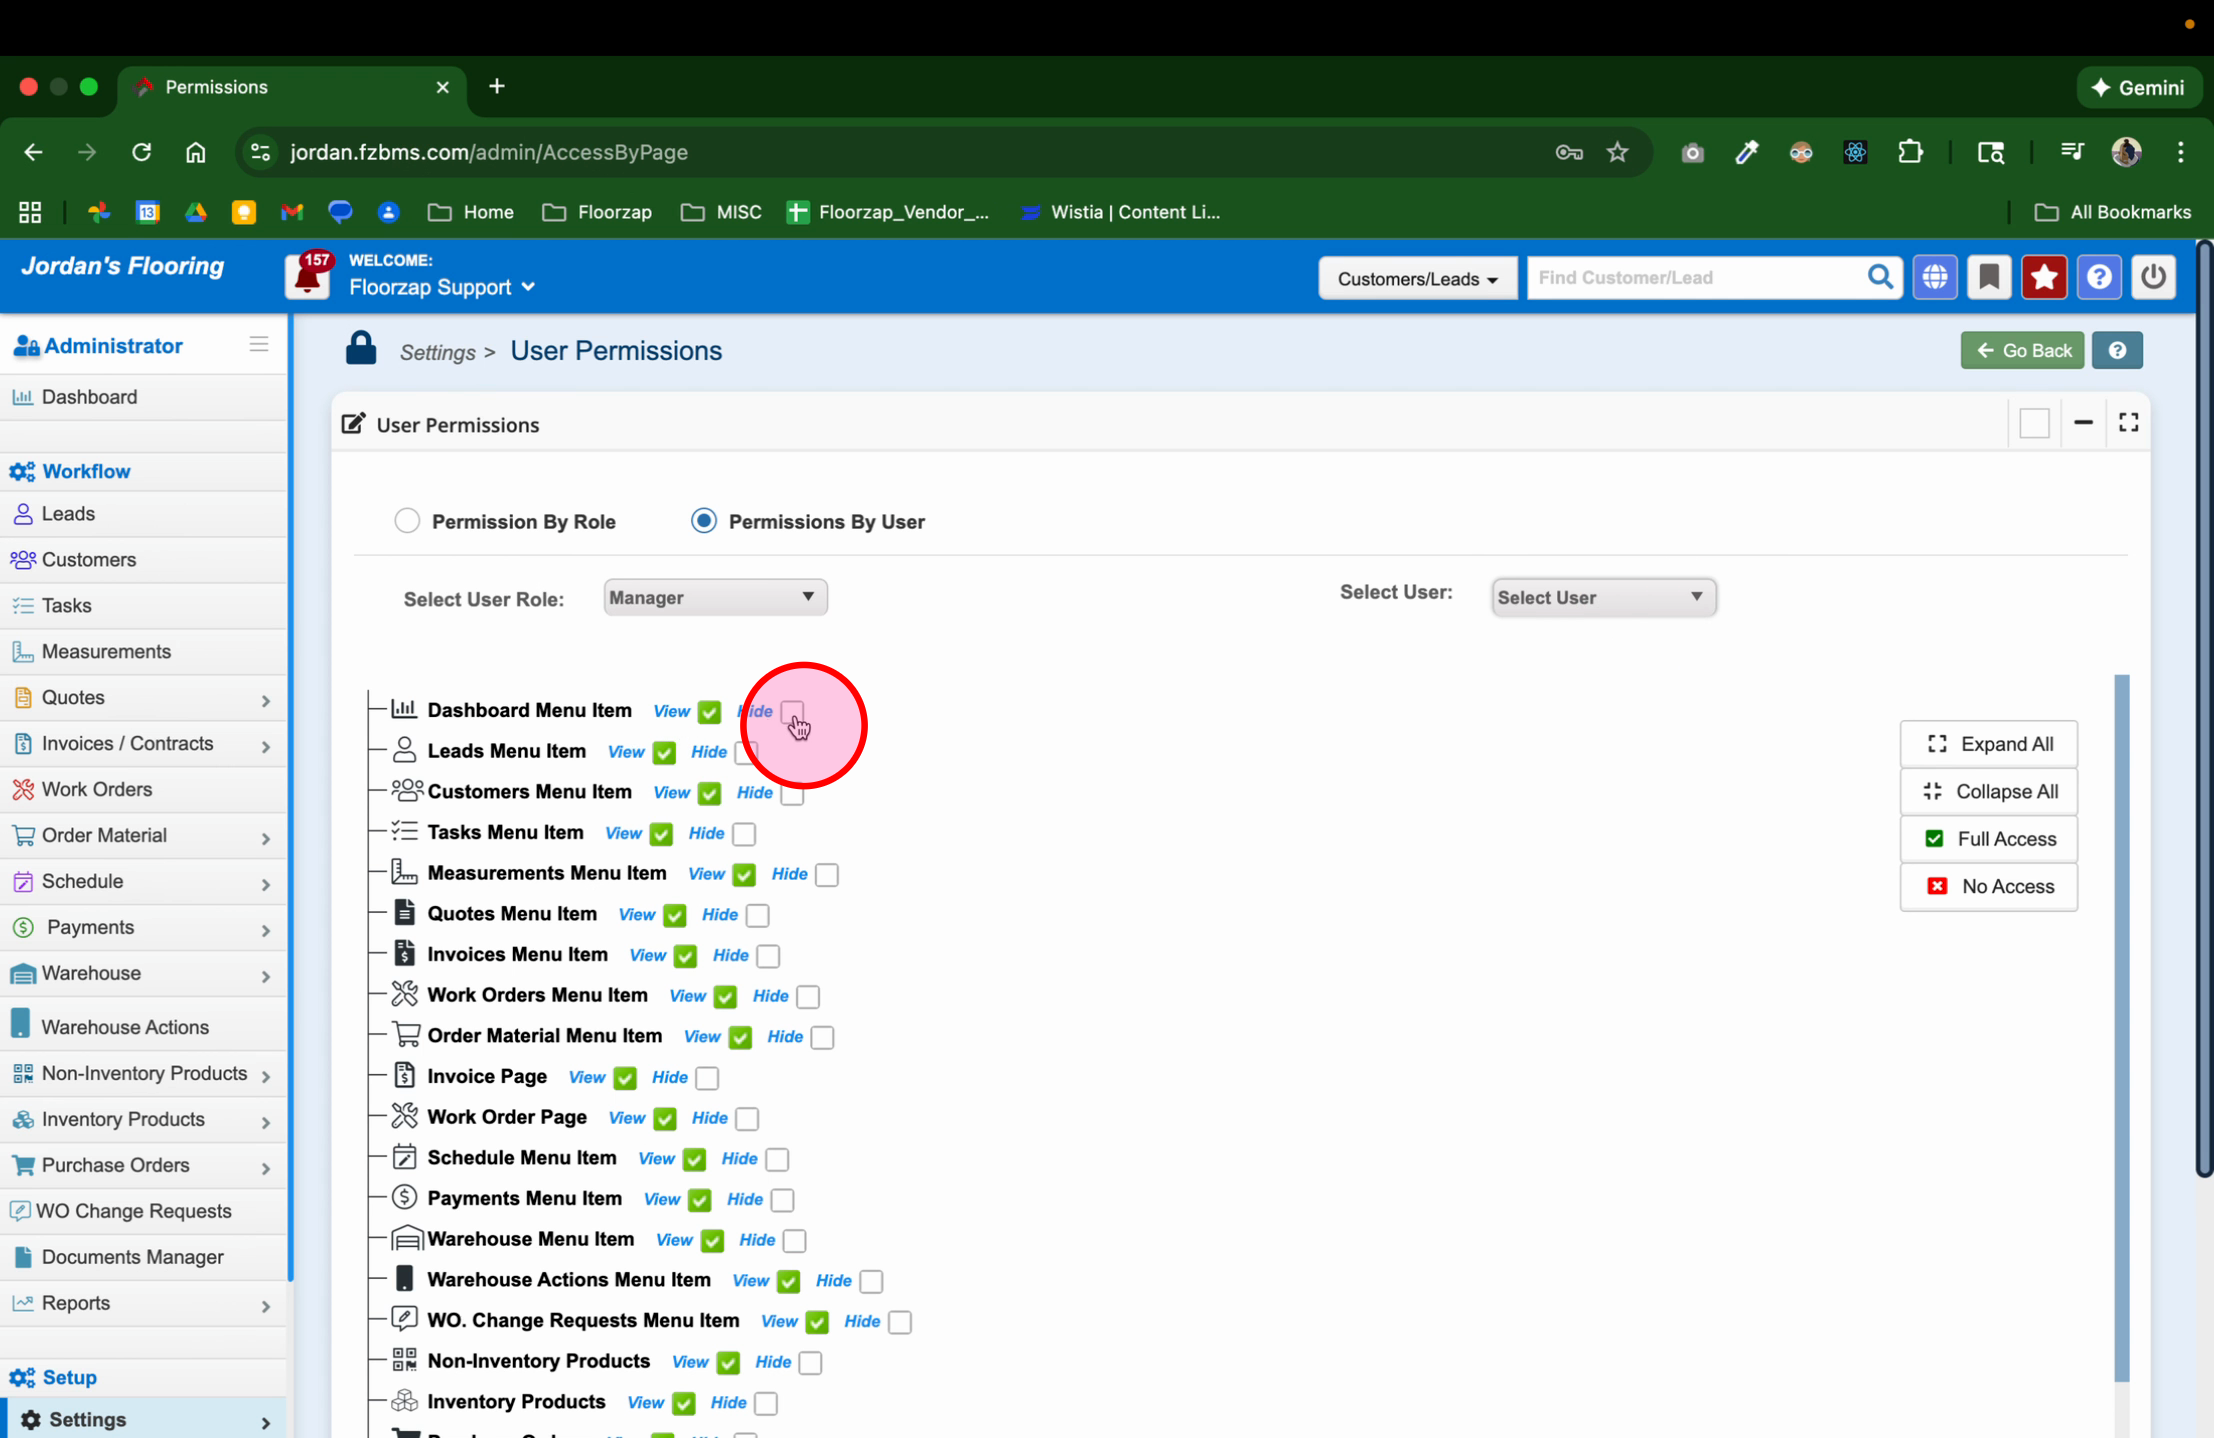
Step 6: Choose to adjust permissions either by role or by specific user, depending on how granular you want to be.

Step 7: For each permission, decide if you want it Viewable or Hidden. Toggle these settings by clicking the corresponding box.

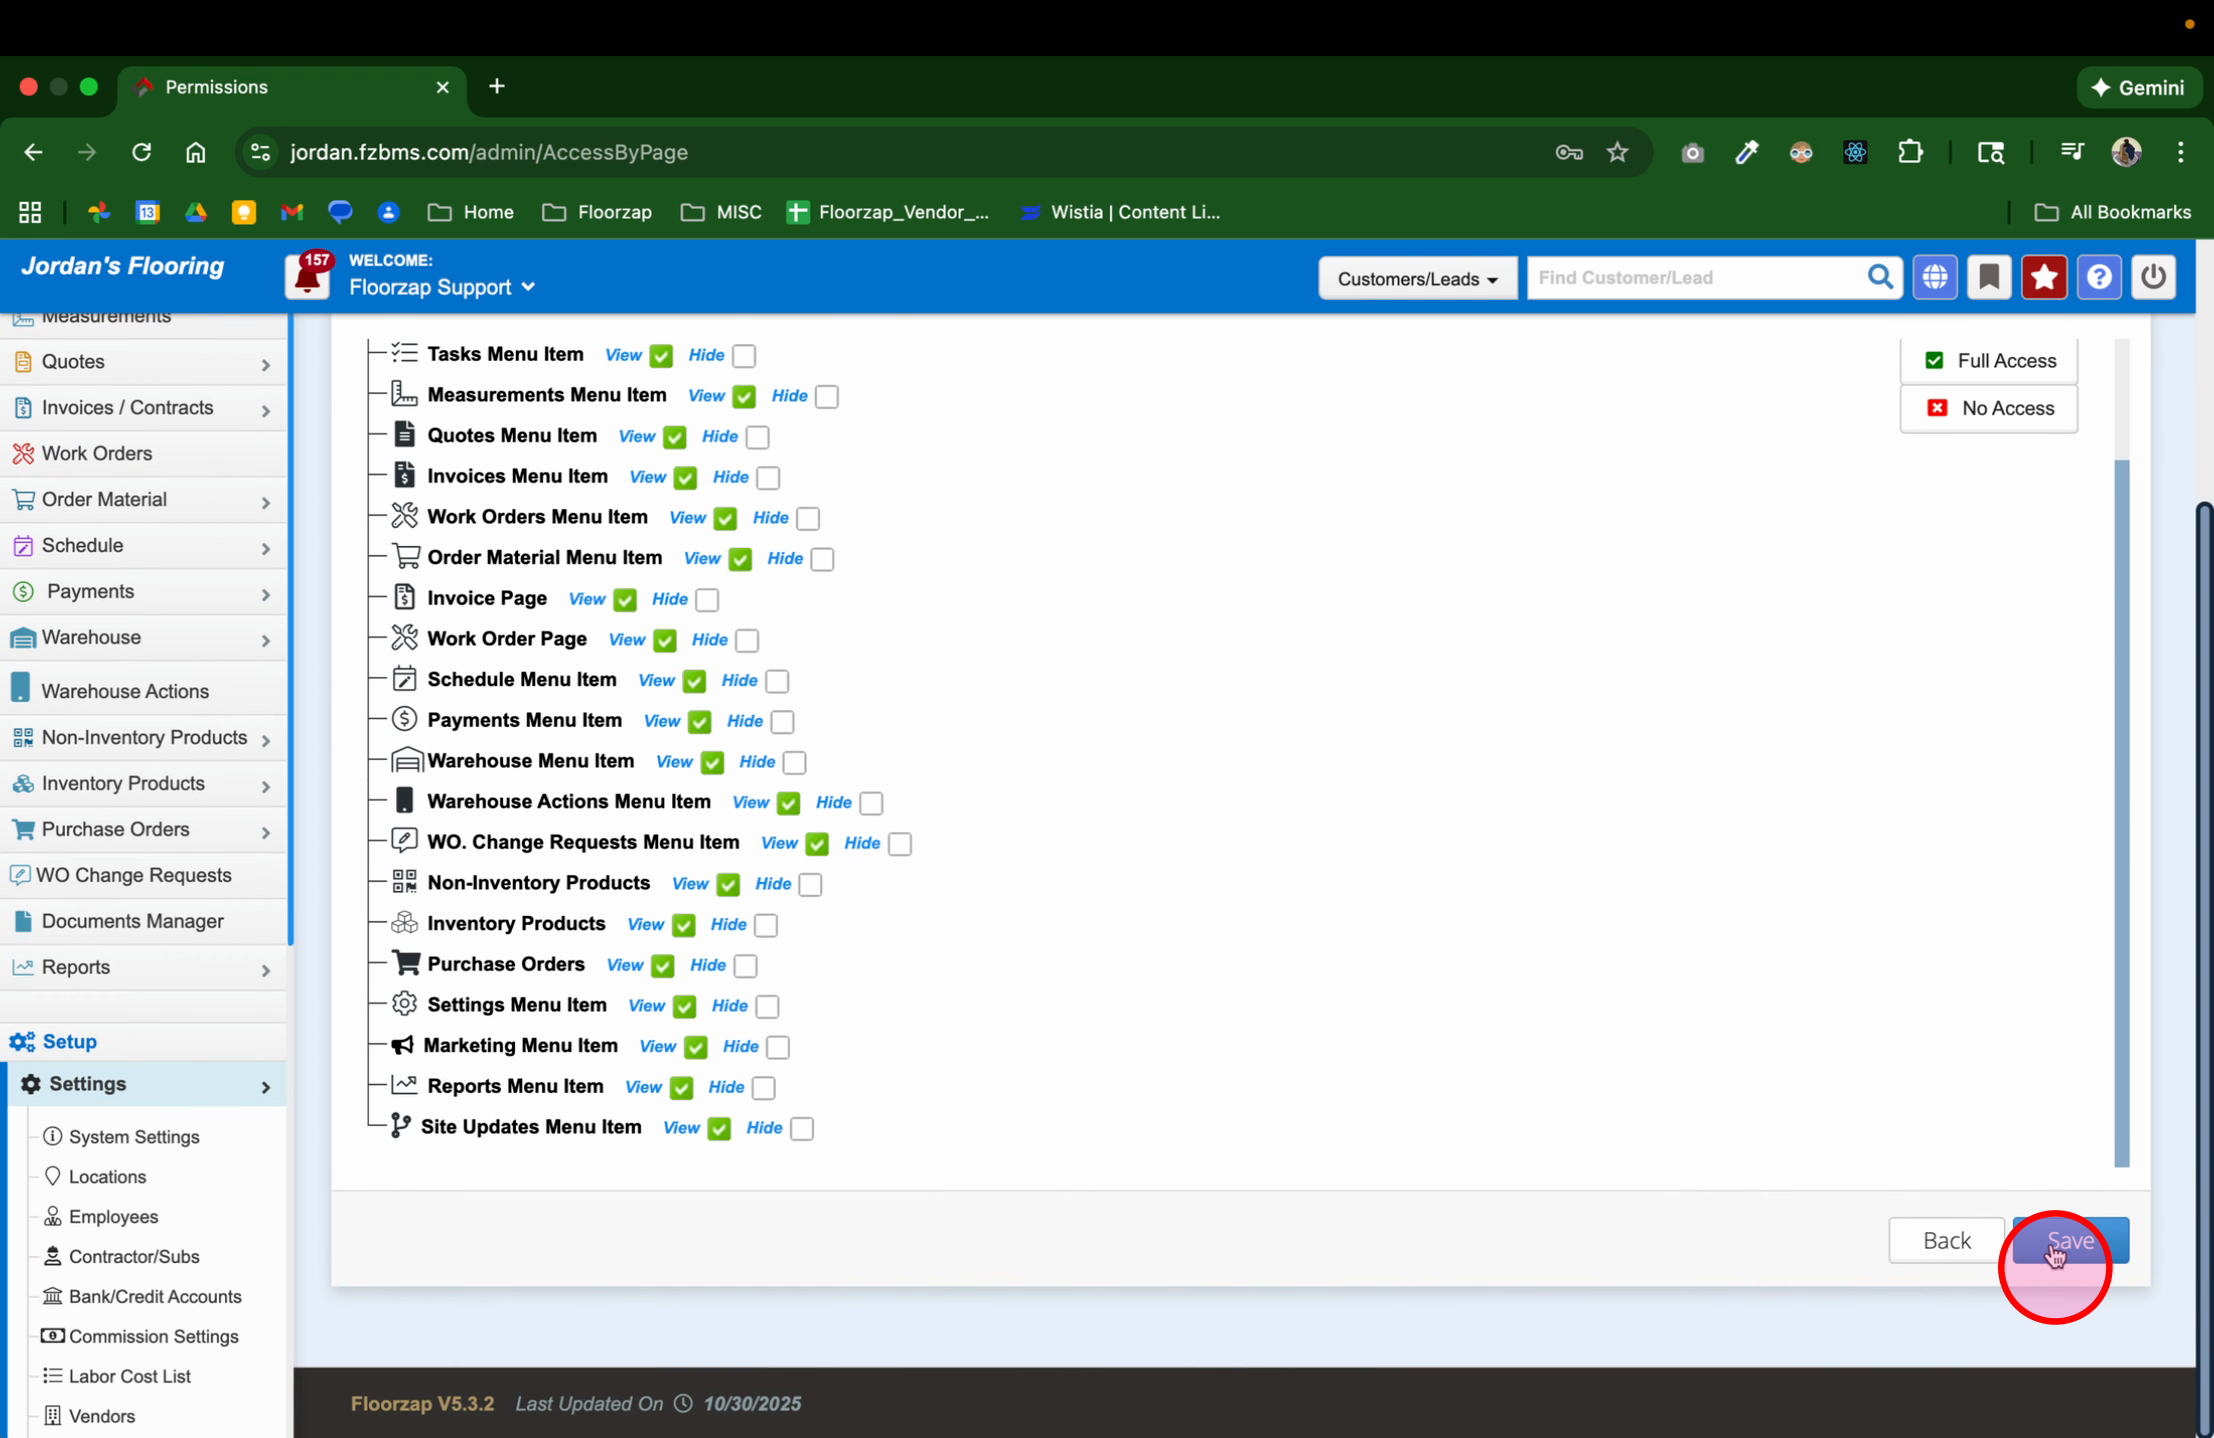
Step 8: When you finish updating permissions, scroll down and click Save to apply your changes.
You’ve now successfully updated user permissions. Use this feature to keep your team’s access safe and up-to-date.