This article guides you through the process of making a partial payment for non-inventory products in the Floors app and viewing it on QuickBooks.
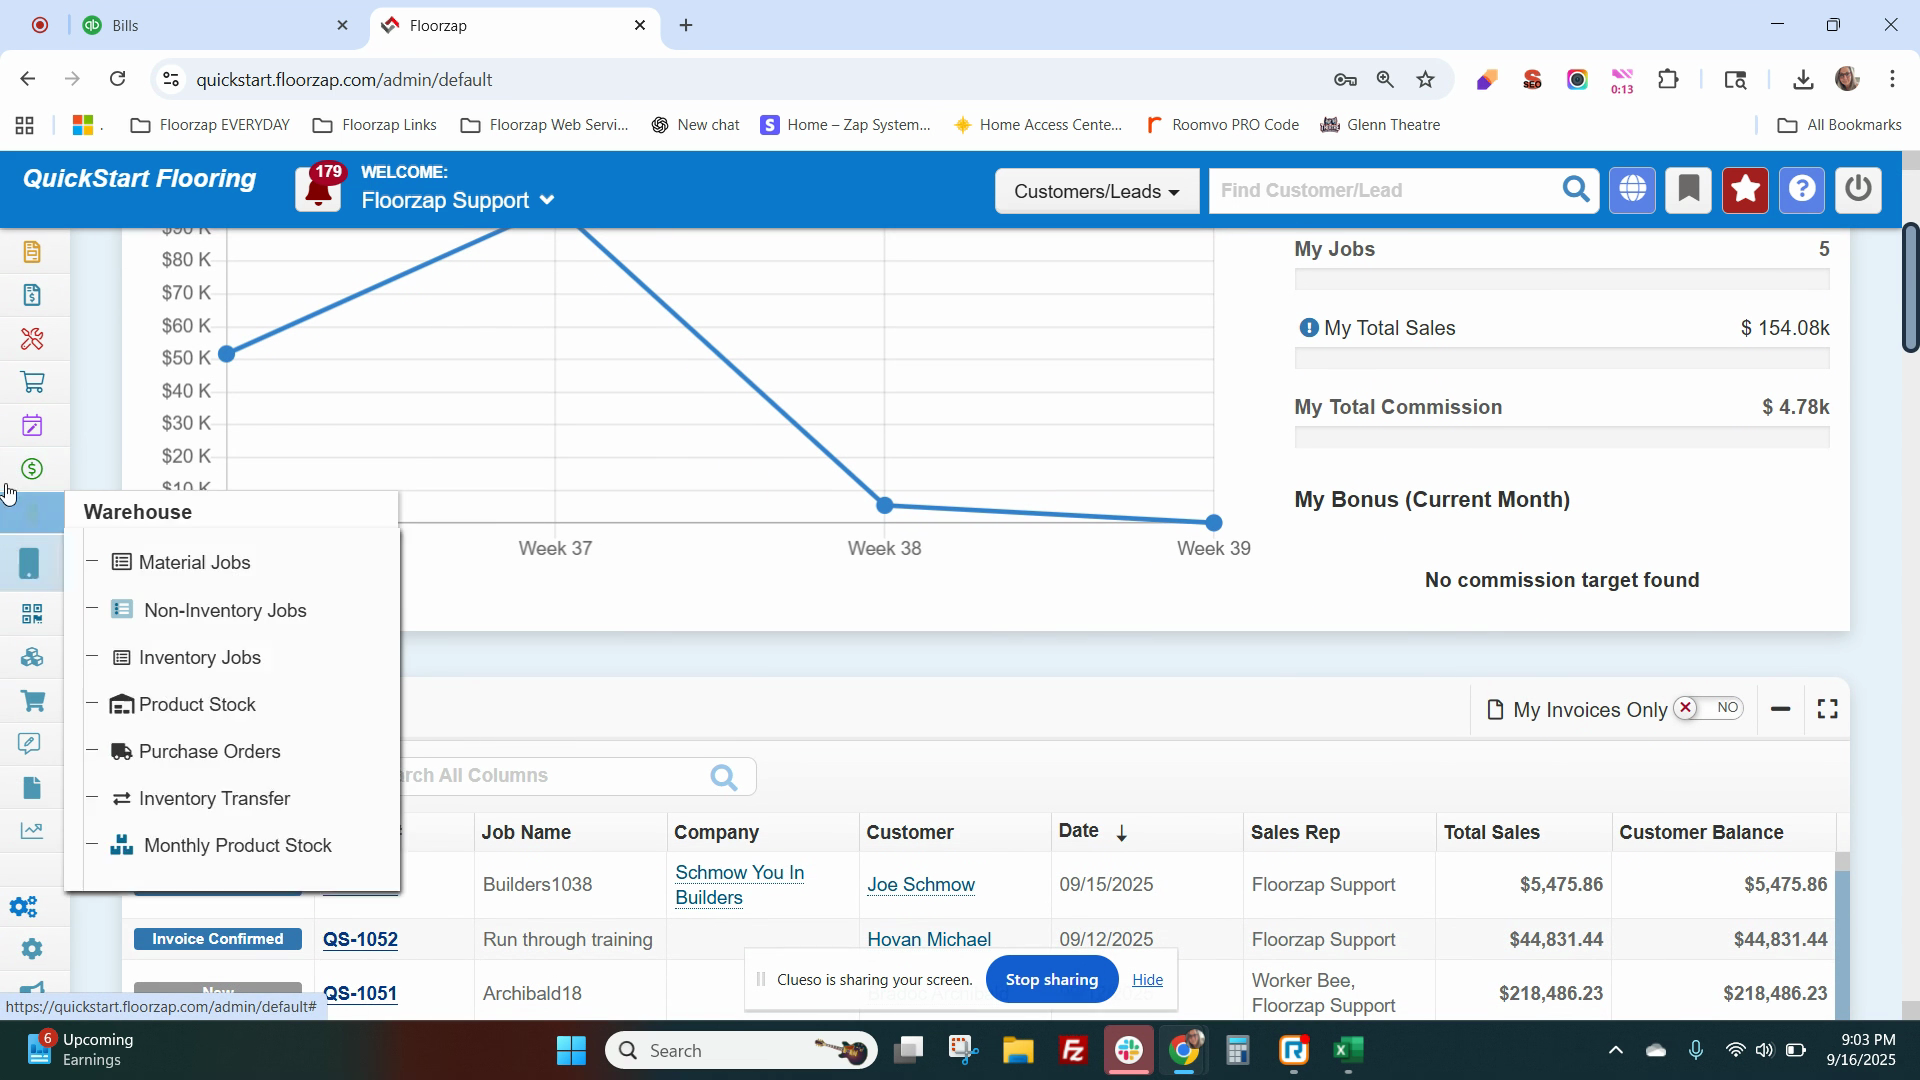
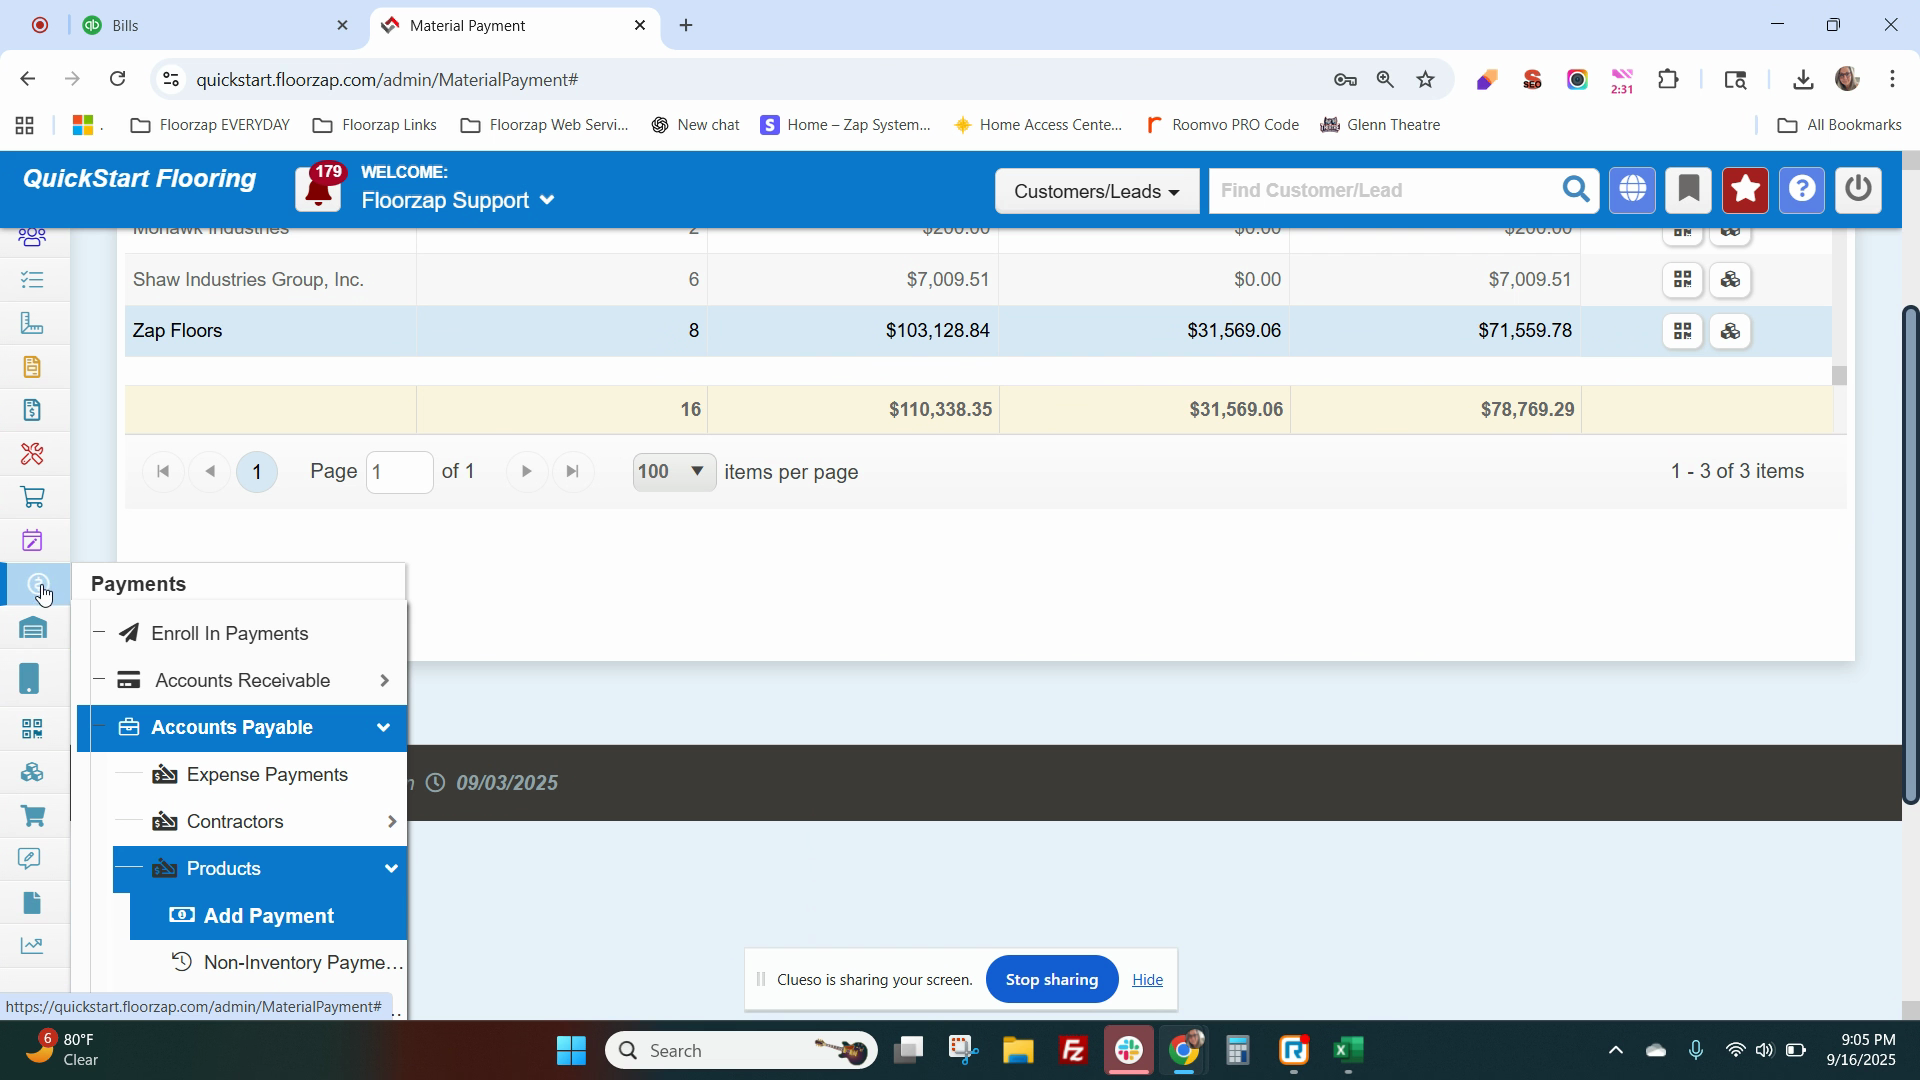
Step 1: Navigate to Payments Accounts Payable Products.
Step 2: Click on Add payment. Find the vendor and click on the four stack boxes.
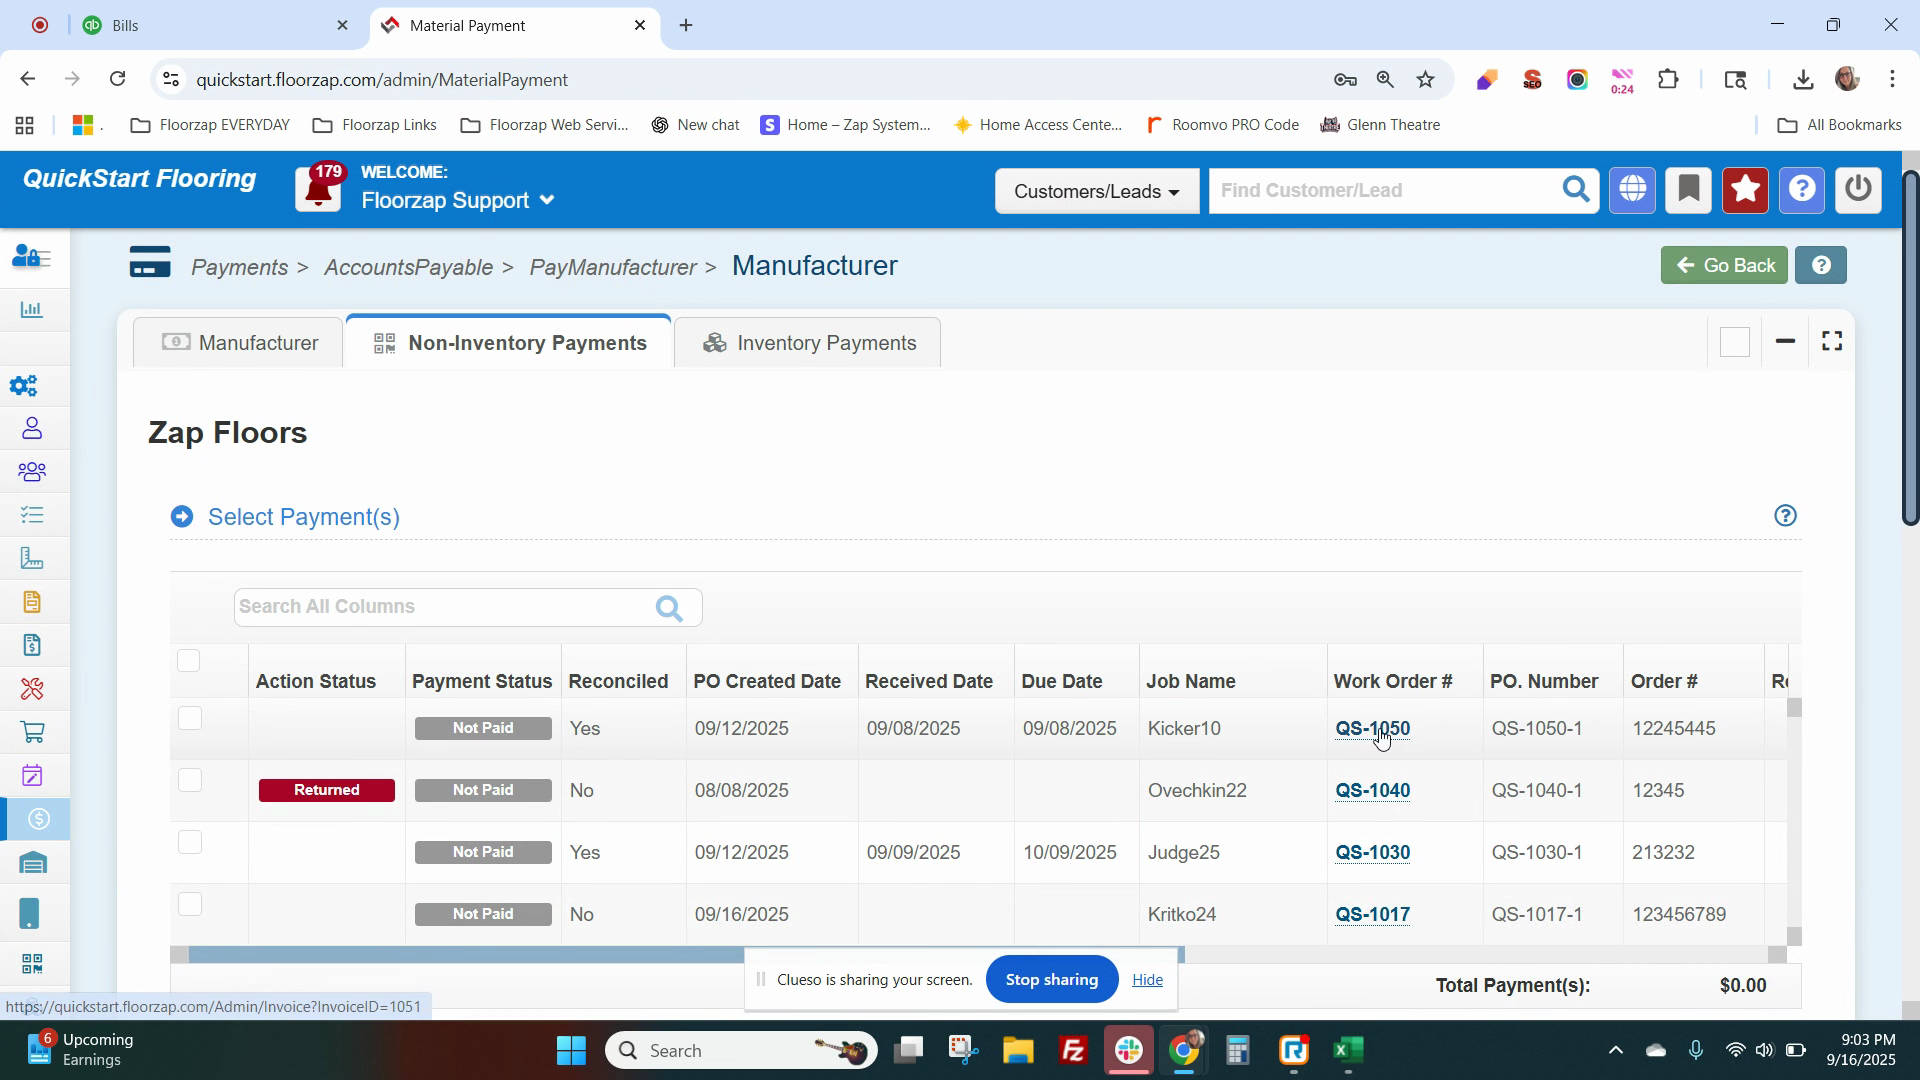
Step 3: Locate the bill you want to pay and scroll to the right. Click on the circle button to access the partial payment screen.
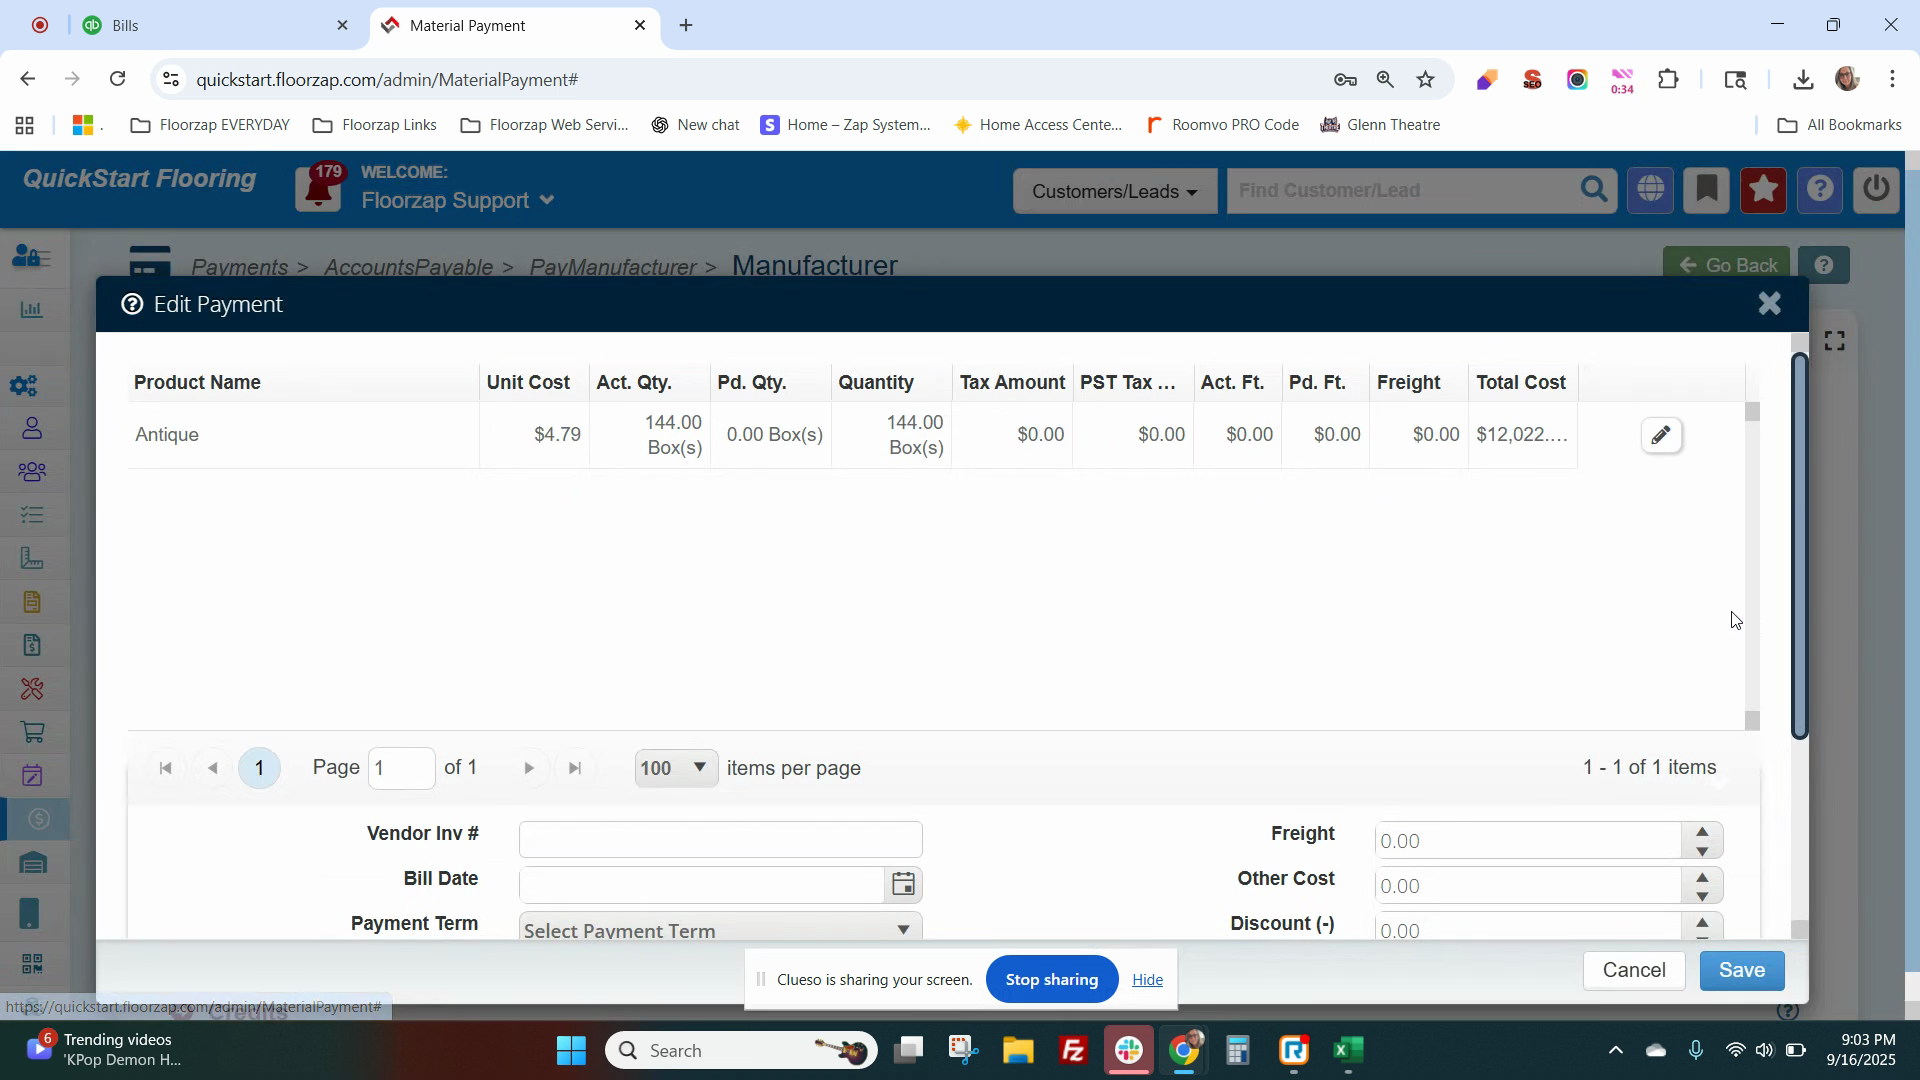
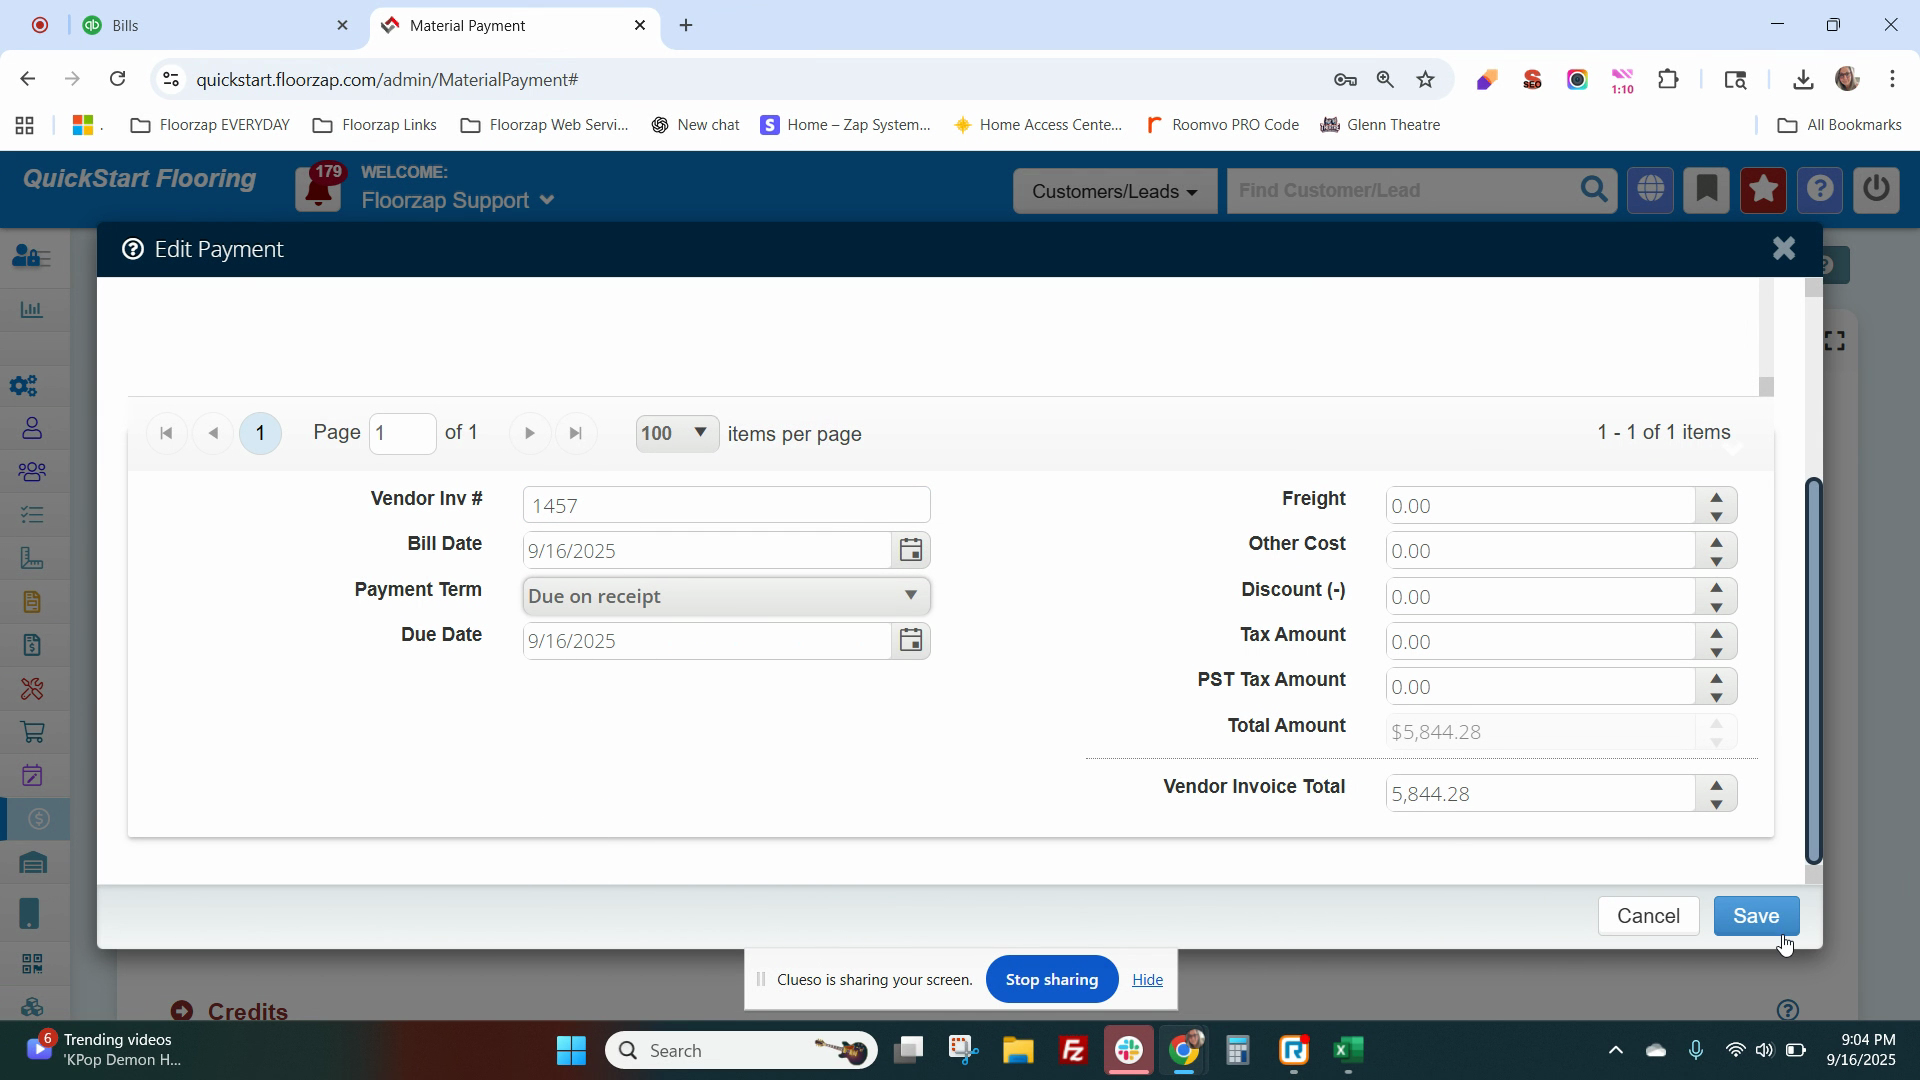
Step 4: Click on the pencil icon to update the quantity received. For this example, we'll enter 70. If there are freight charges, update them here. Enter your vendor invoice number, bill date, and payment terms.
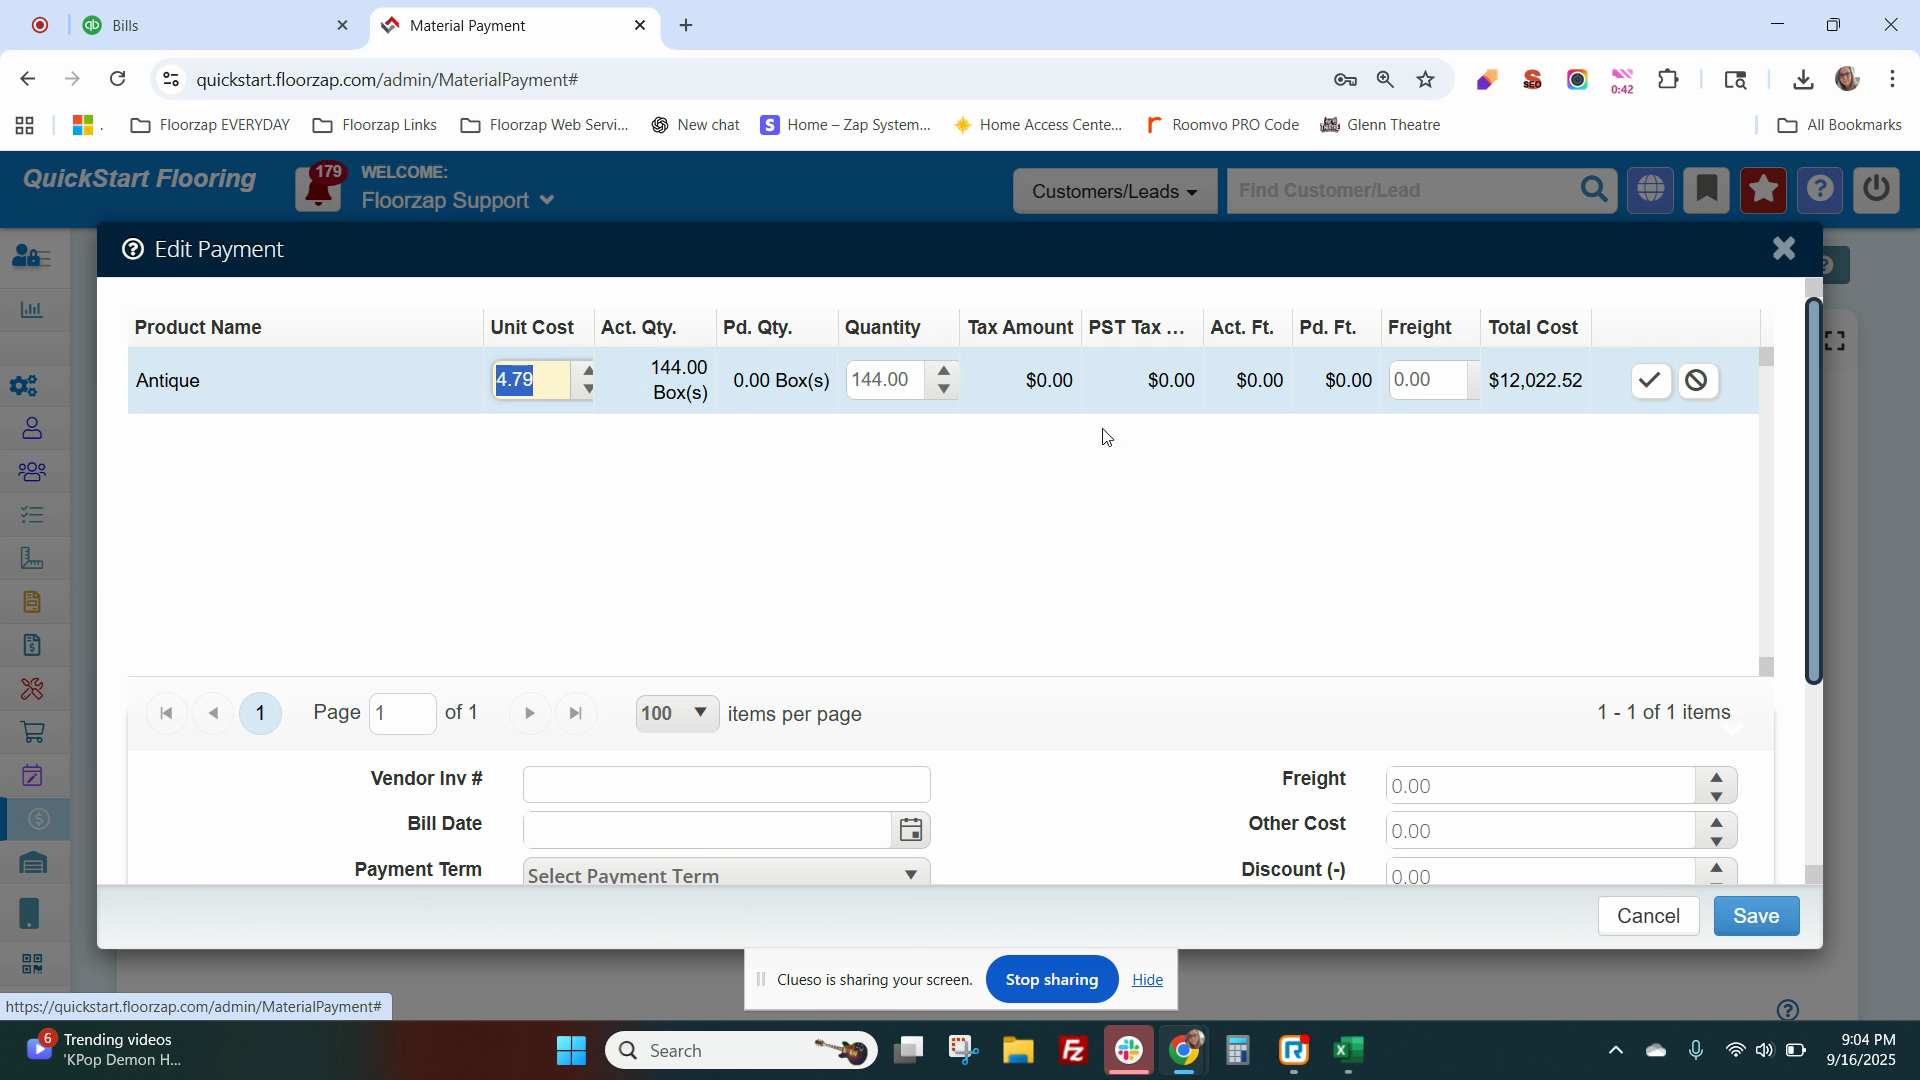
Step 5: Click Save. The partial payment amount should now be visible.
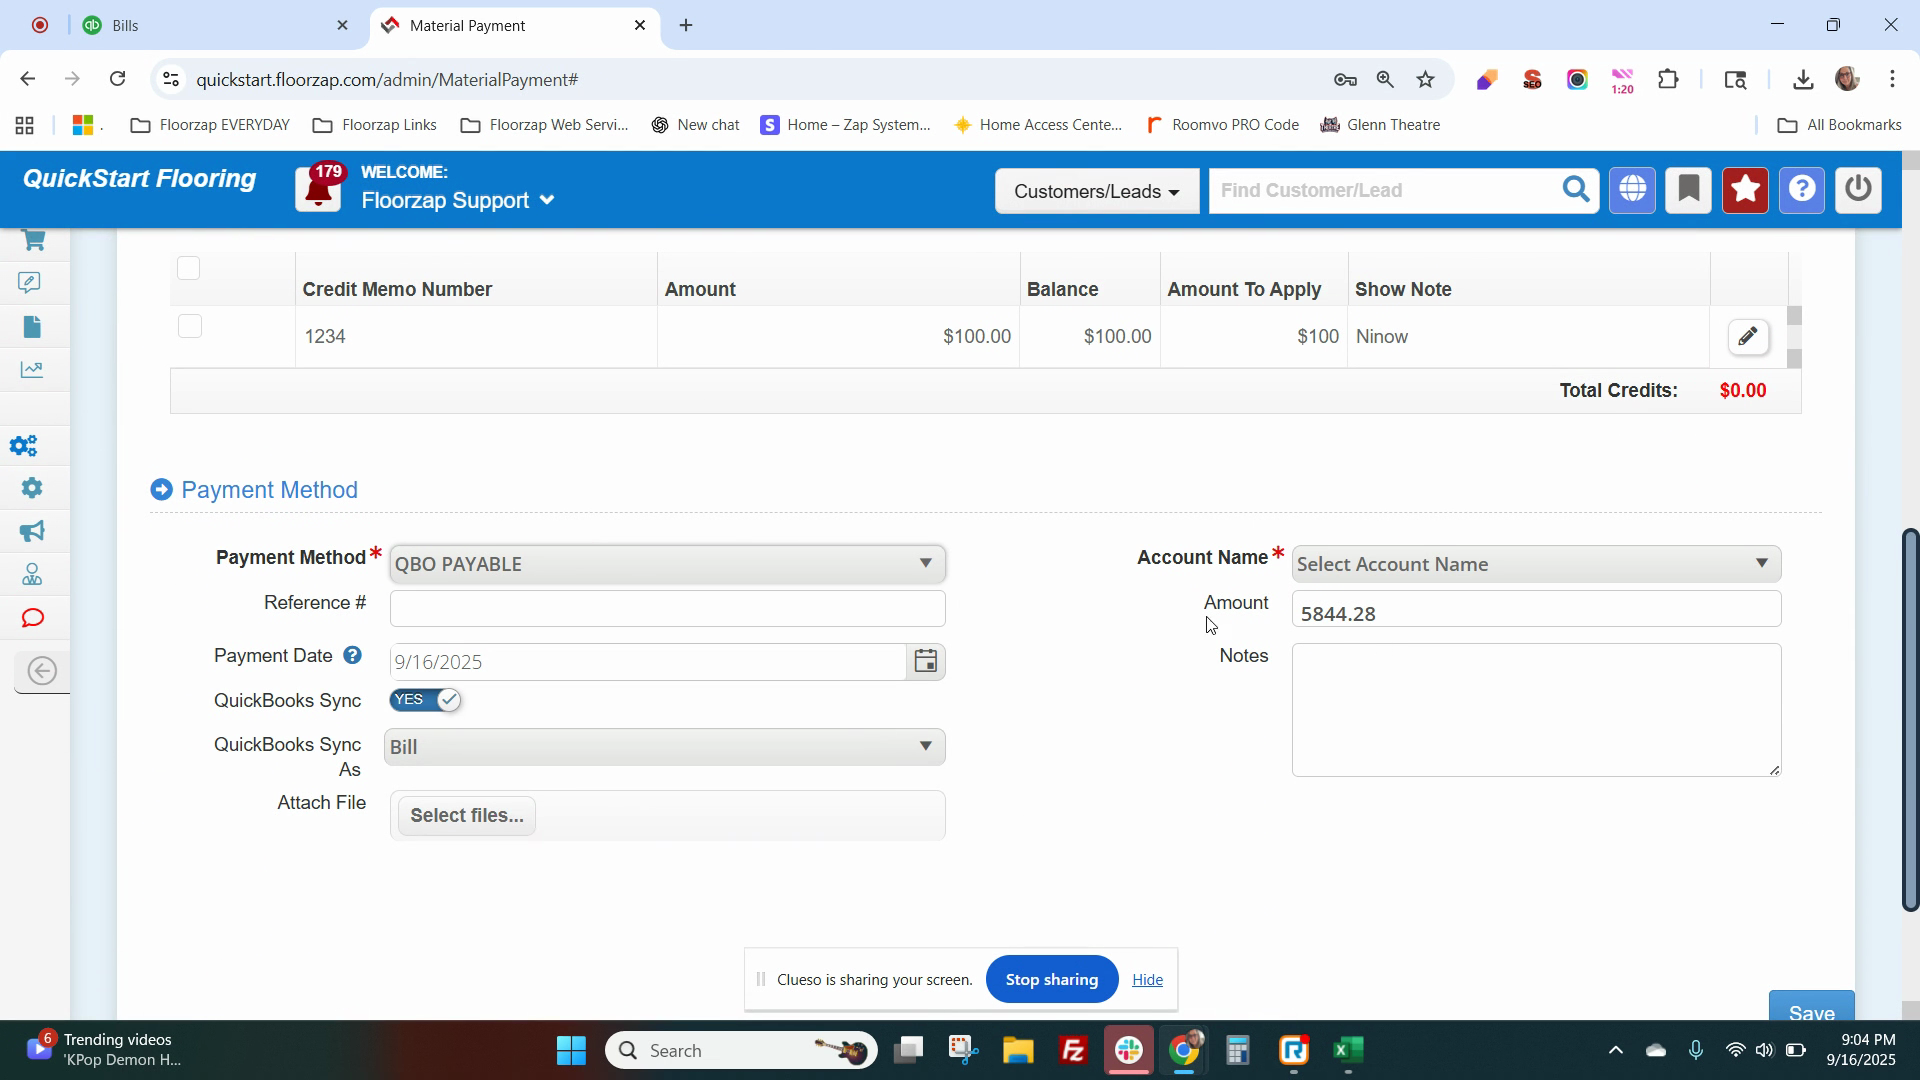
Step 6: Click on Select QuickBooks Payables Payables. Add a reference number, notes, and attachments if needed. Make sure the QuickBooks sync toggle is set to yes.
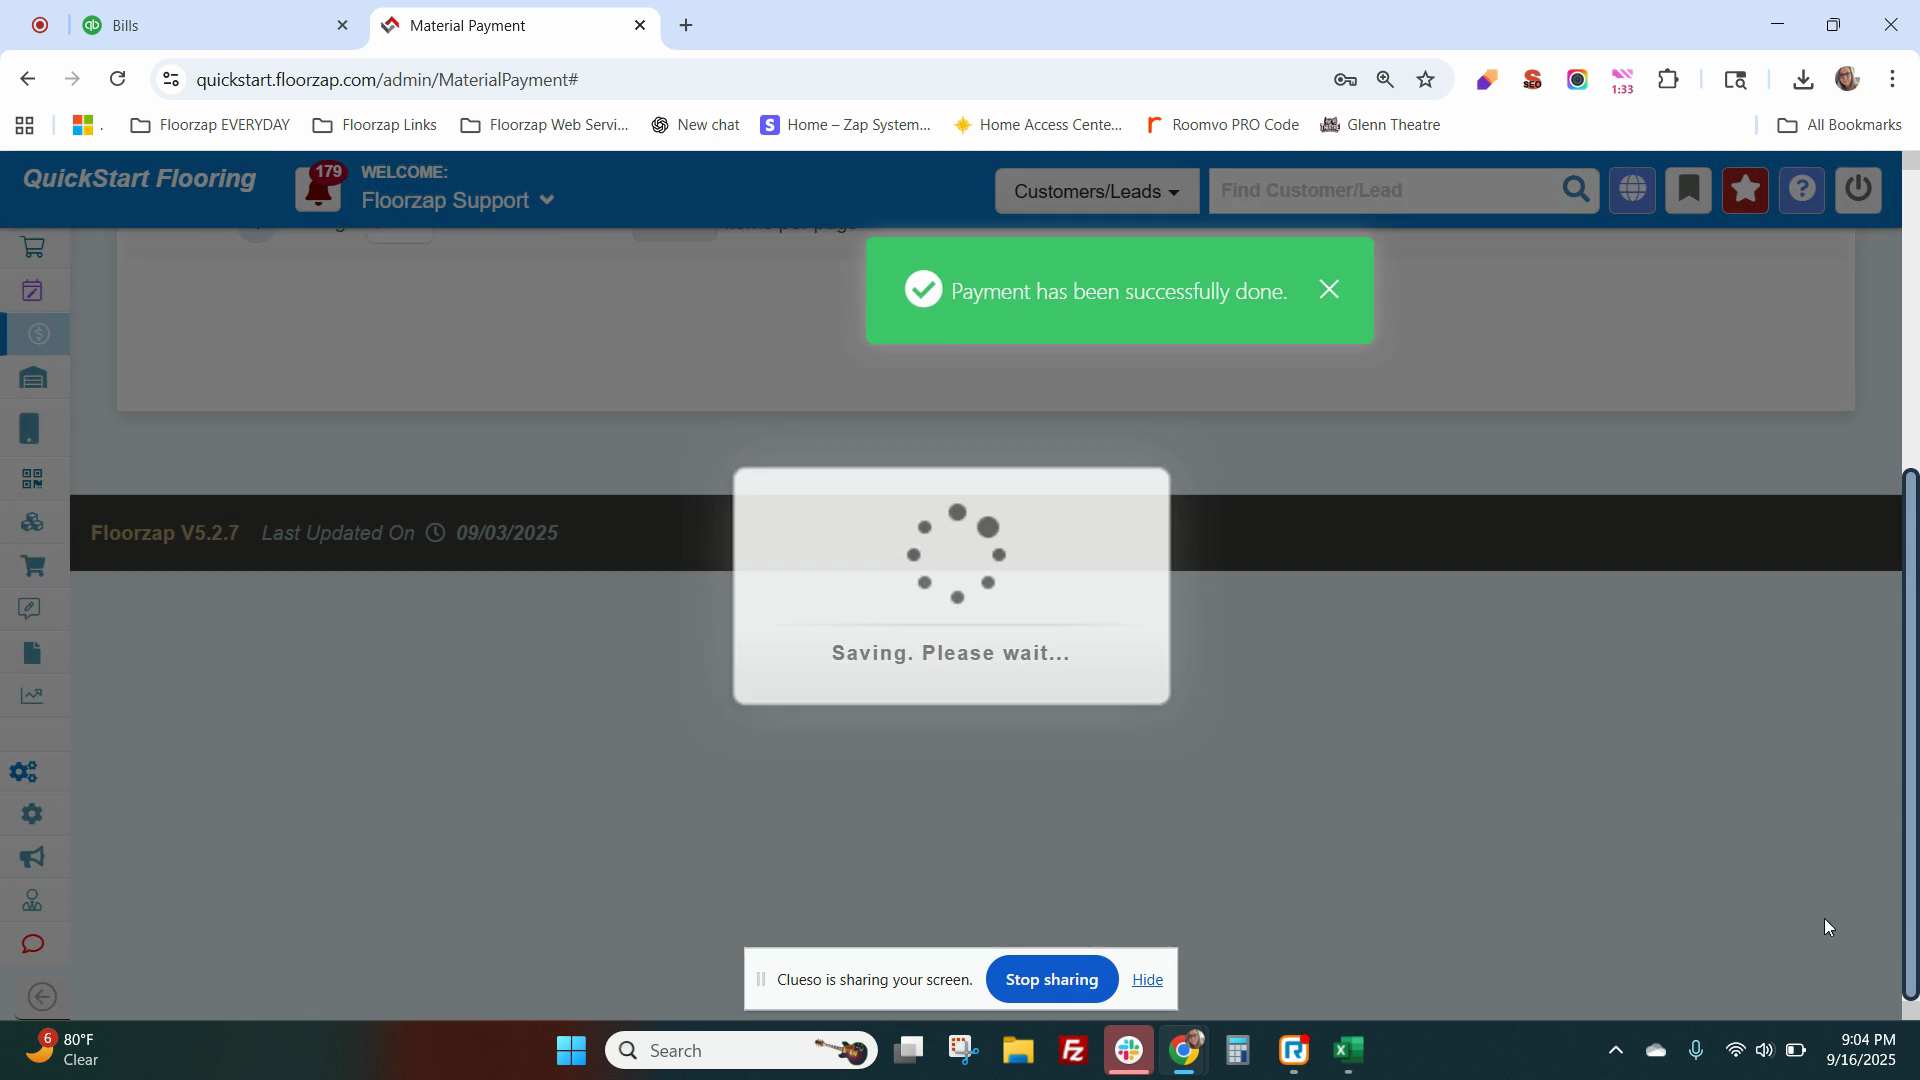
Step 7: Click Save.
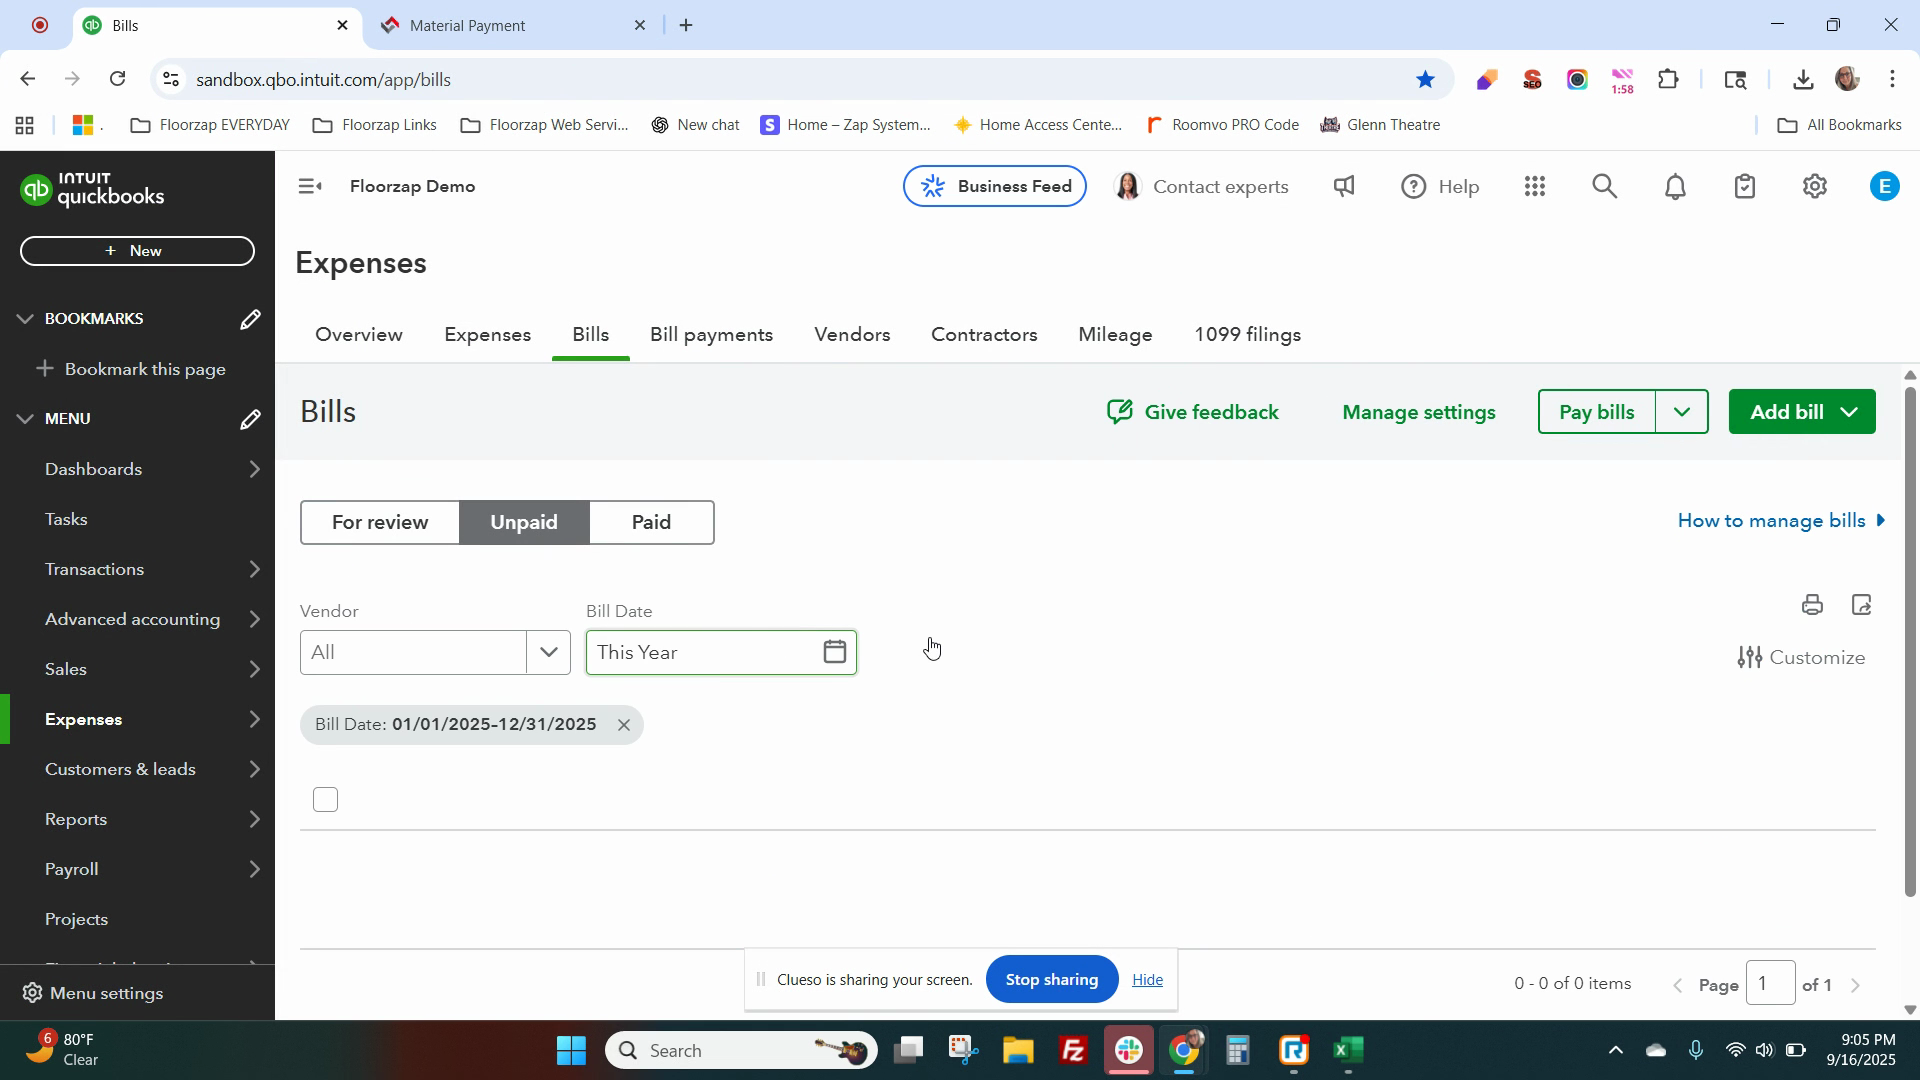
Step 8: Go to Expenses and Bills.

Step 9: Refresh the page.
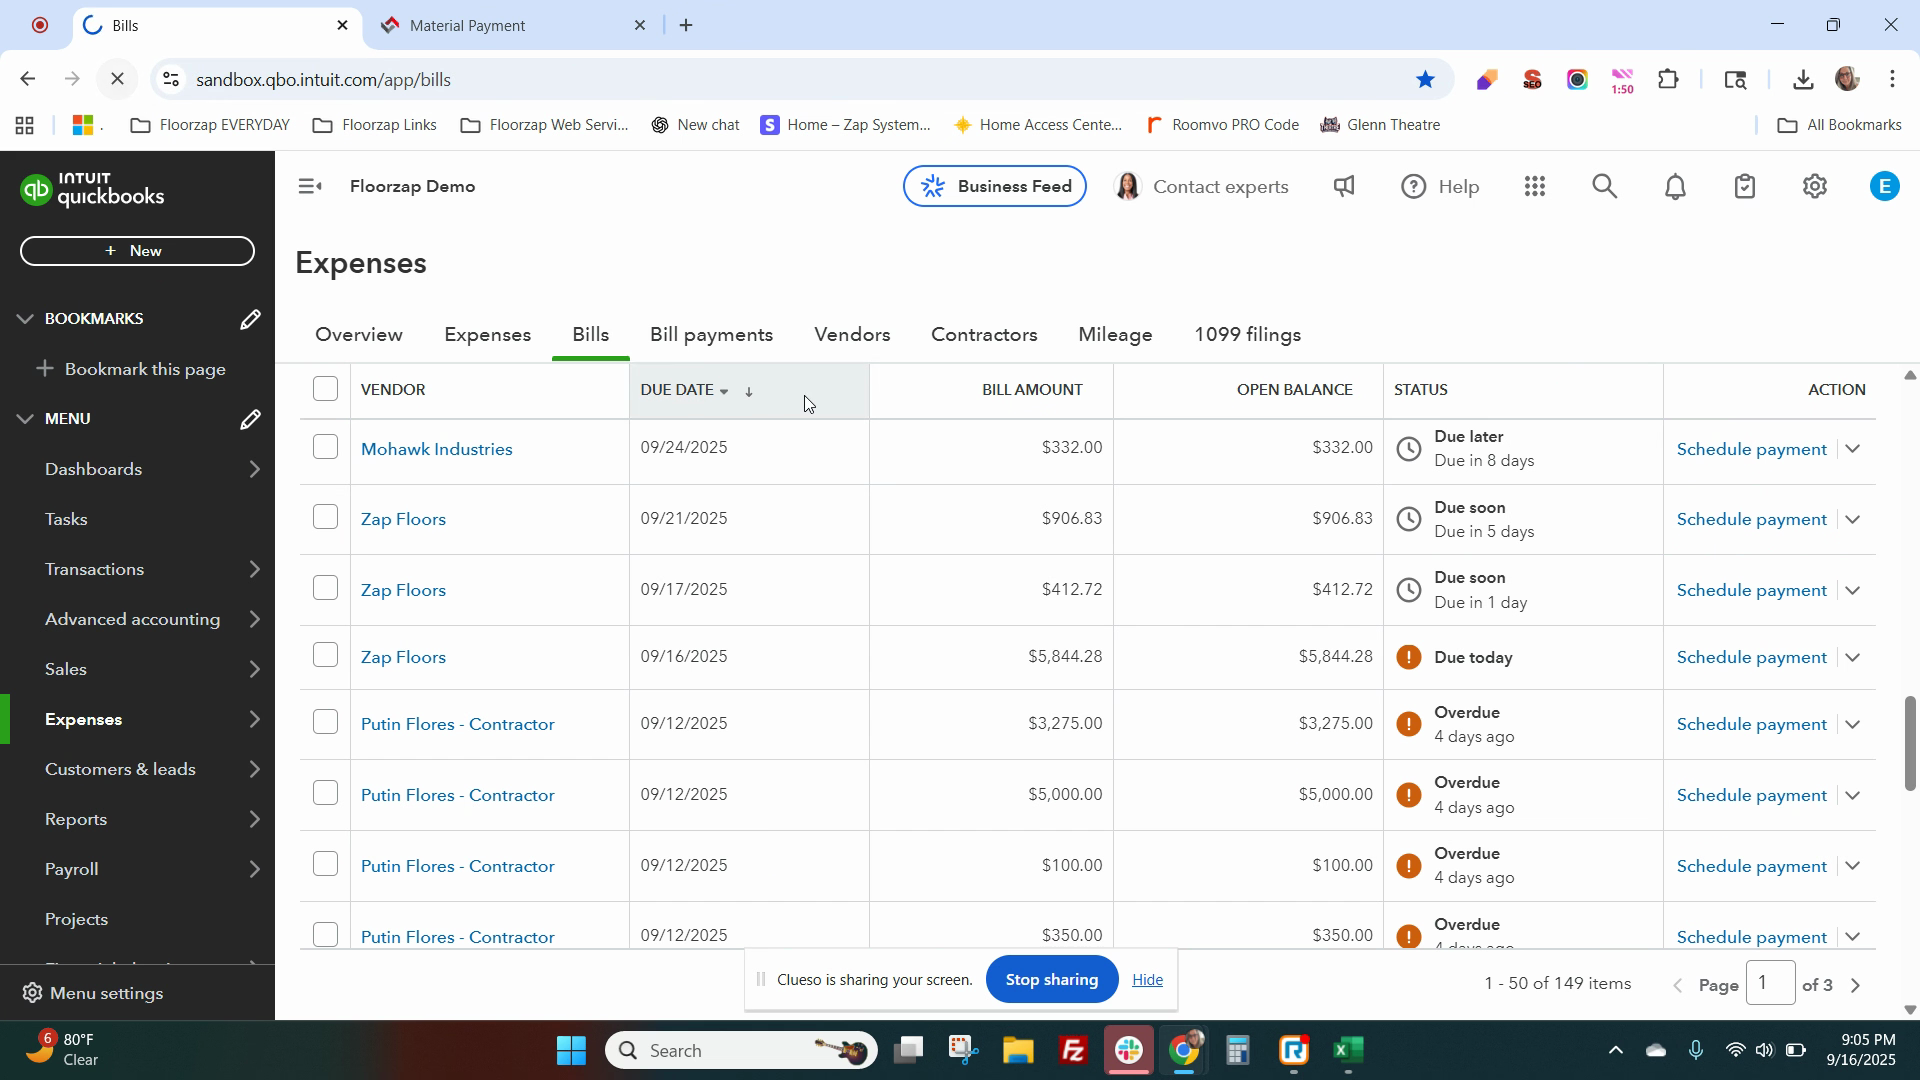
Step 10: Sort the bills in descending order to find the bill you just paid.
To make another payment or pay the balance, repeat the process.
Step 11: Go to Payments Accounts Payable Products, click Add payment, locate the vendor and the work order, and click on the partial payments button.
Step 12: If needed, click the edit button to update the quantity. If you're paying the balance, leave the quantity as is. Check your costs, add freight if necessary, enter your vendor invoice number, select your bill date and payment terms, then click Save.

Step 13: Check that the total amount is correct. Click on QuickBooks Payable Payables, add a reference number and notes if needed, upload files, ensure QuickBooks sync is enabled, and click Save again.

Step 14: Return to QuickBooks. The rest of the bill should be there with the correct amount.
The invoice you've been working on should now be removed from the payments options. If you check the work order, you'll see that the products have been paid for in full.