Import Inventory Products with Ease
Bring your product catalog into your system quickly using the import feature. This helps you upload bulk inventory with the right details and formatting, so your records stay organized and up to date.
Step 1: From the main menu, select Inventory.
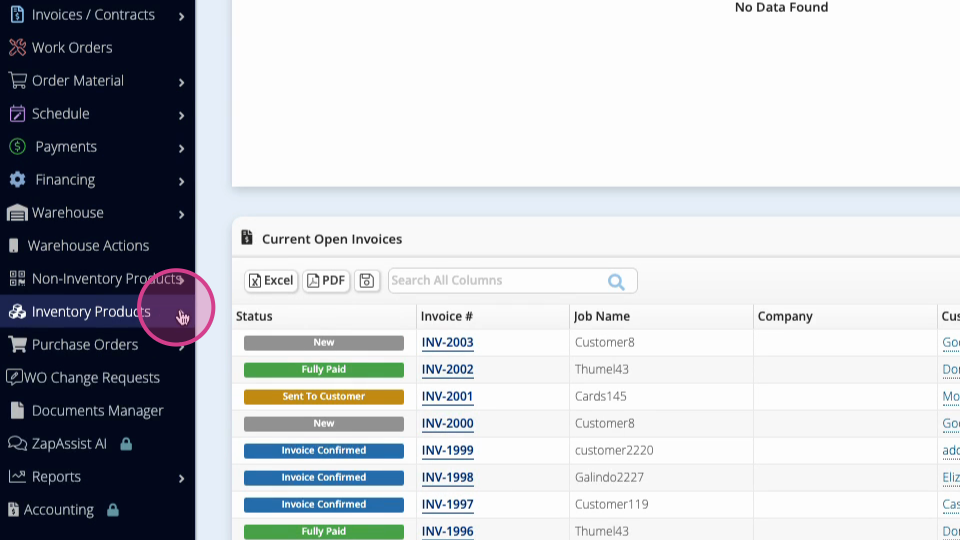
Step 2: Click Products.
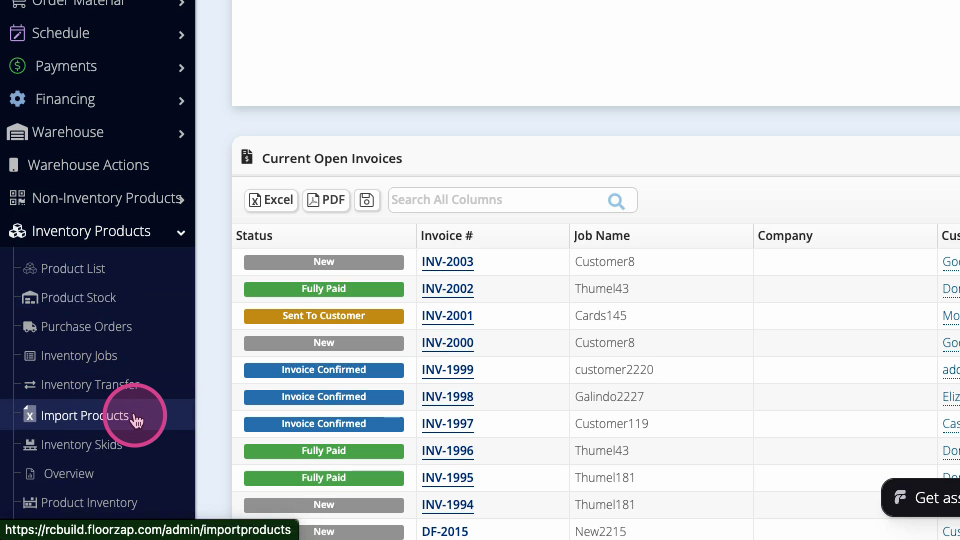
Step 3: Select Import Products.
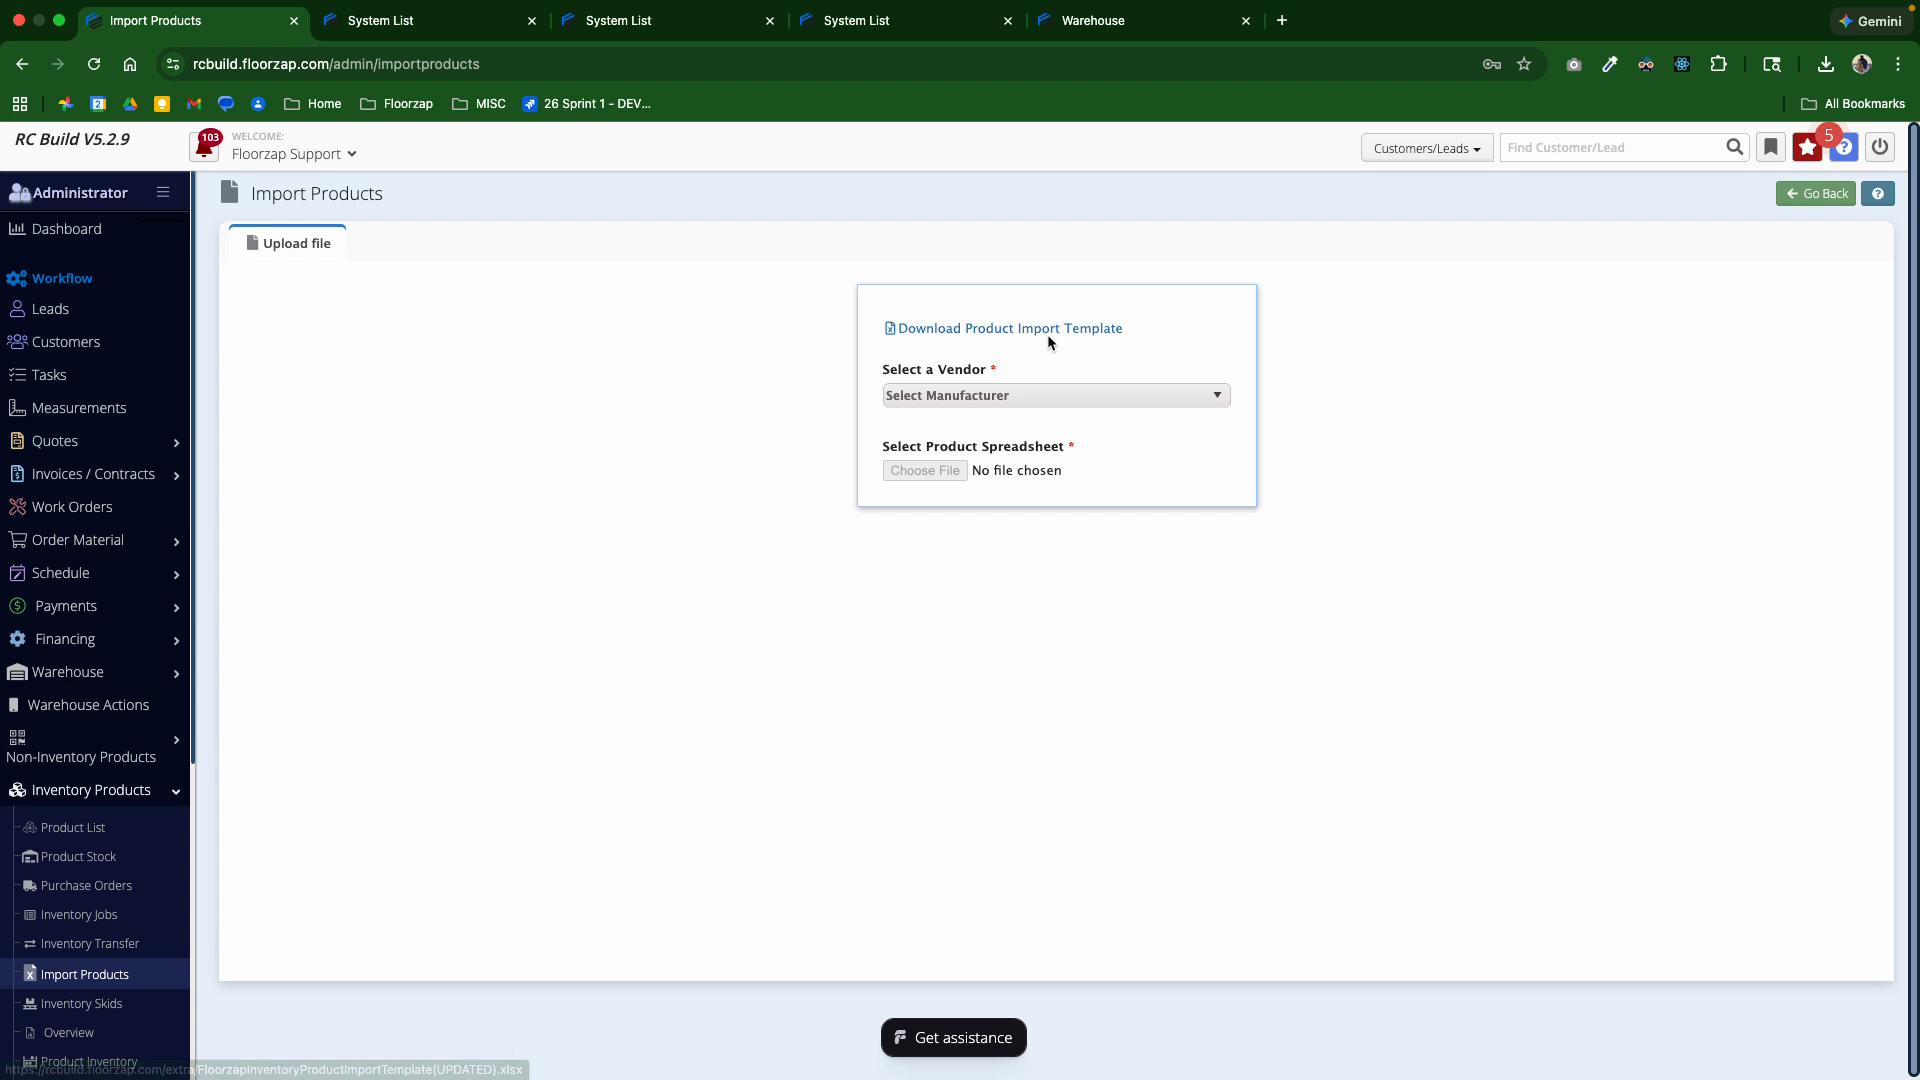
Step 4: Download the Excel template by clicking the provided link. This template contains all the necessary headers, formats, and step-by-step instructions for filling out each column.
Step 5: Fill out your inventory details in the Excel template. Follow the on-sheet guidelines to avoid errors.
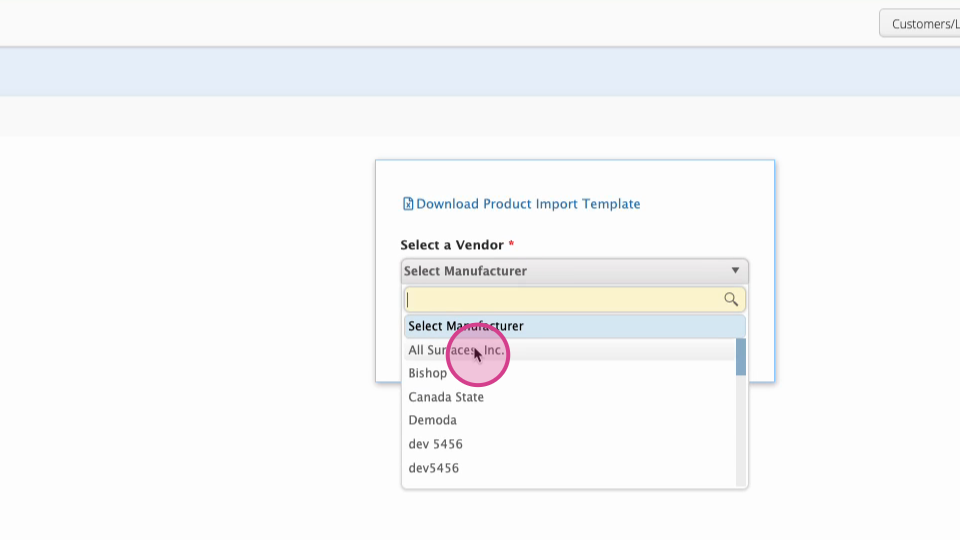
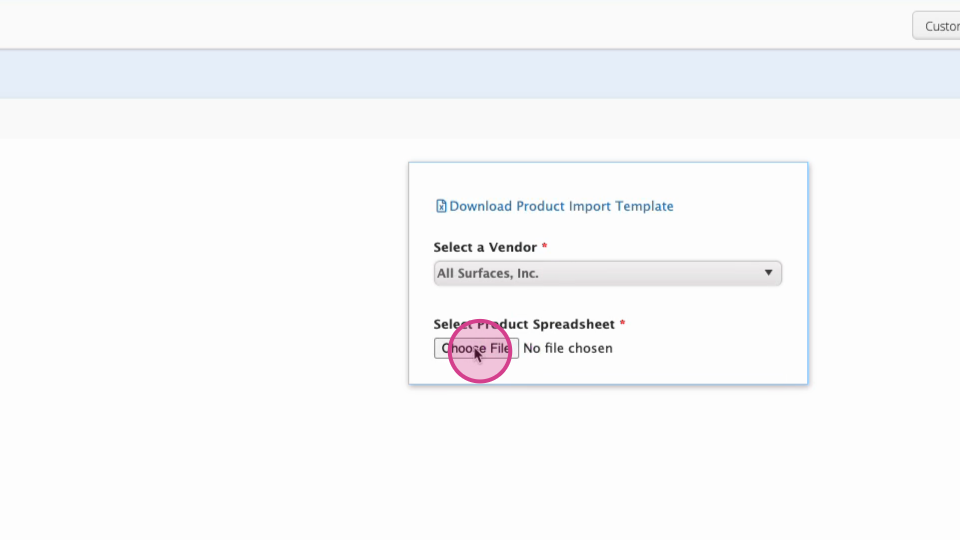
Step 6: Back in the system, choose your Vendor.
Step 7: Upload the completed Excel file.
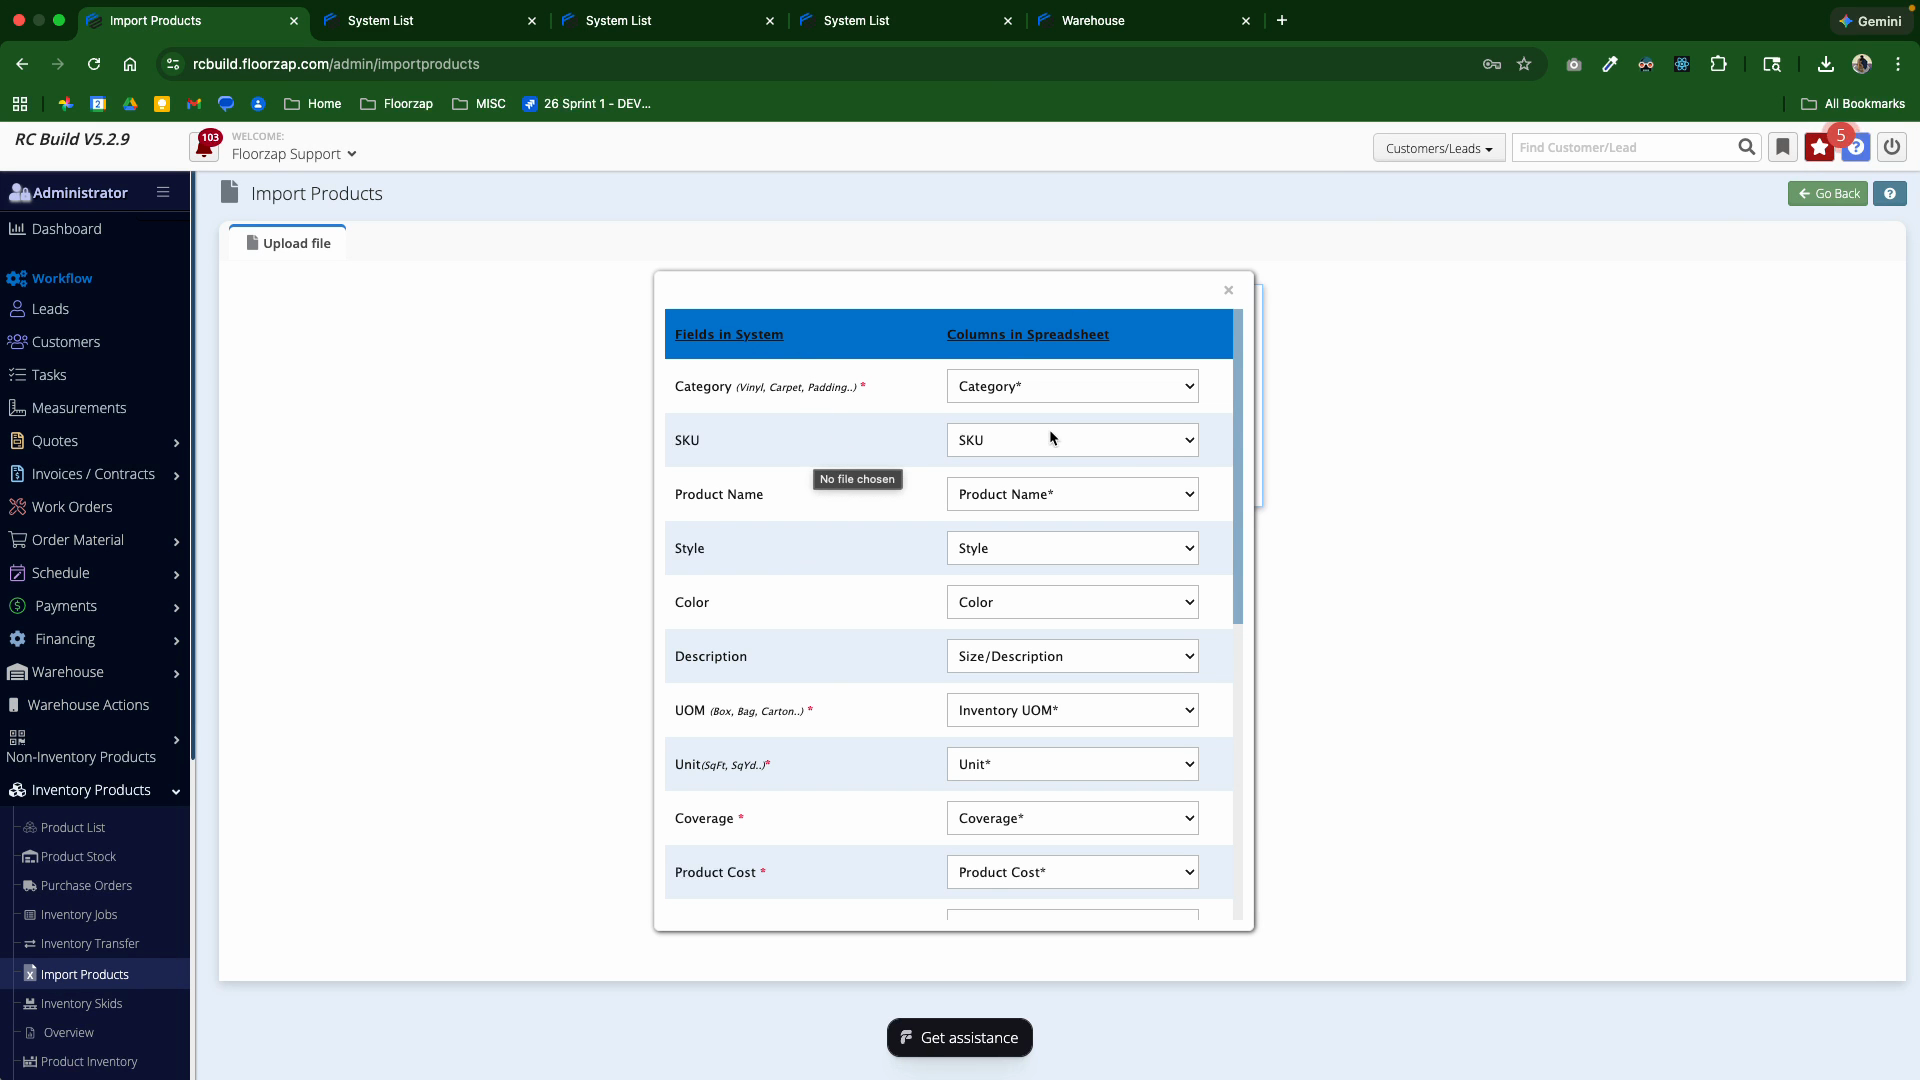
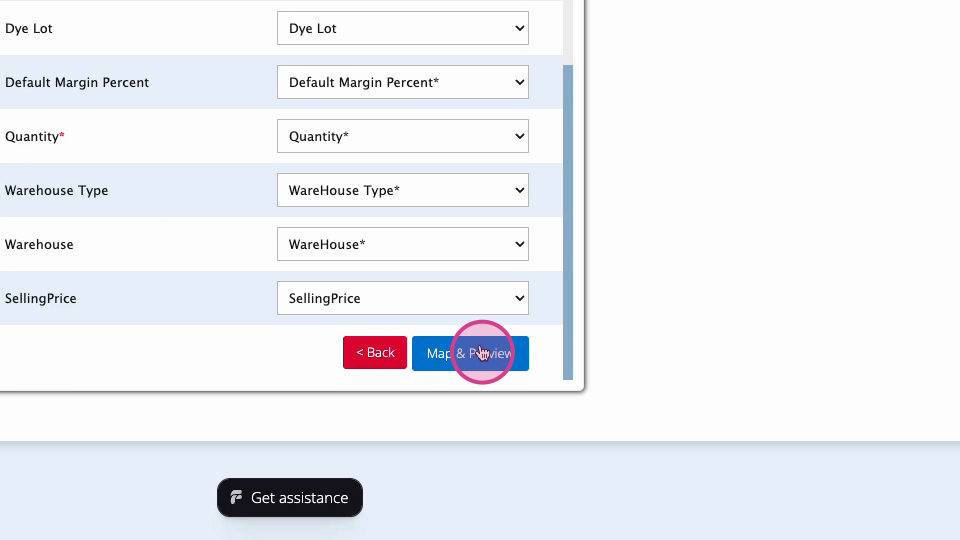
Step 8: Map your Excel columns to the system fields. The system usually matches them automatically. Double-check each one for accuracy.
Floorzap allows you to bulk import inventory products using a spreadsheet template. For the import to succeed, all required fields — including Inventory UOM and Product Cost — must be correctly filled in. If a Selling Price is provided, the system will automatically calculate the Margin %; otherwise, both a valid Product Cost and Default Margin Percent must be present, or the margin will display as NaN.
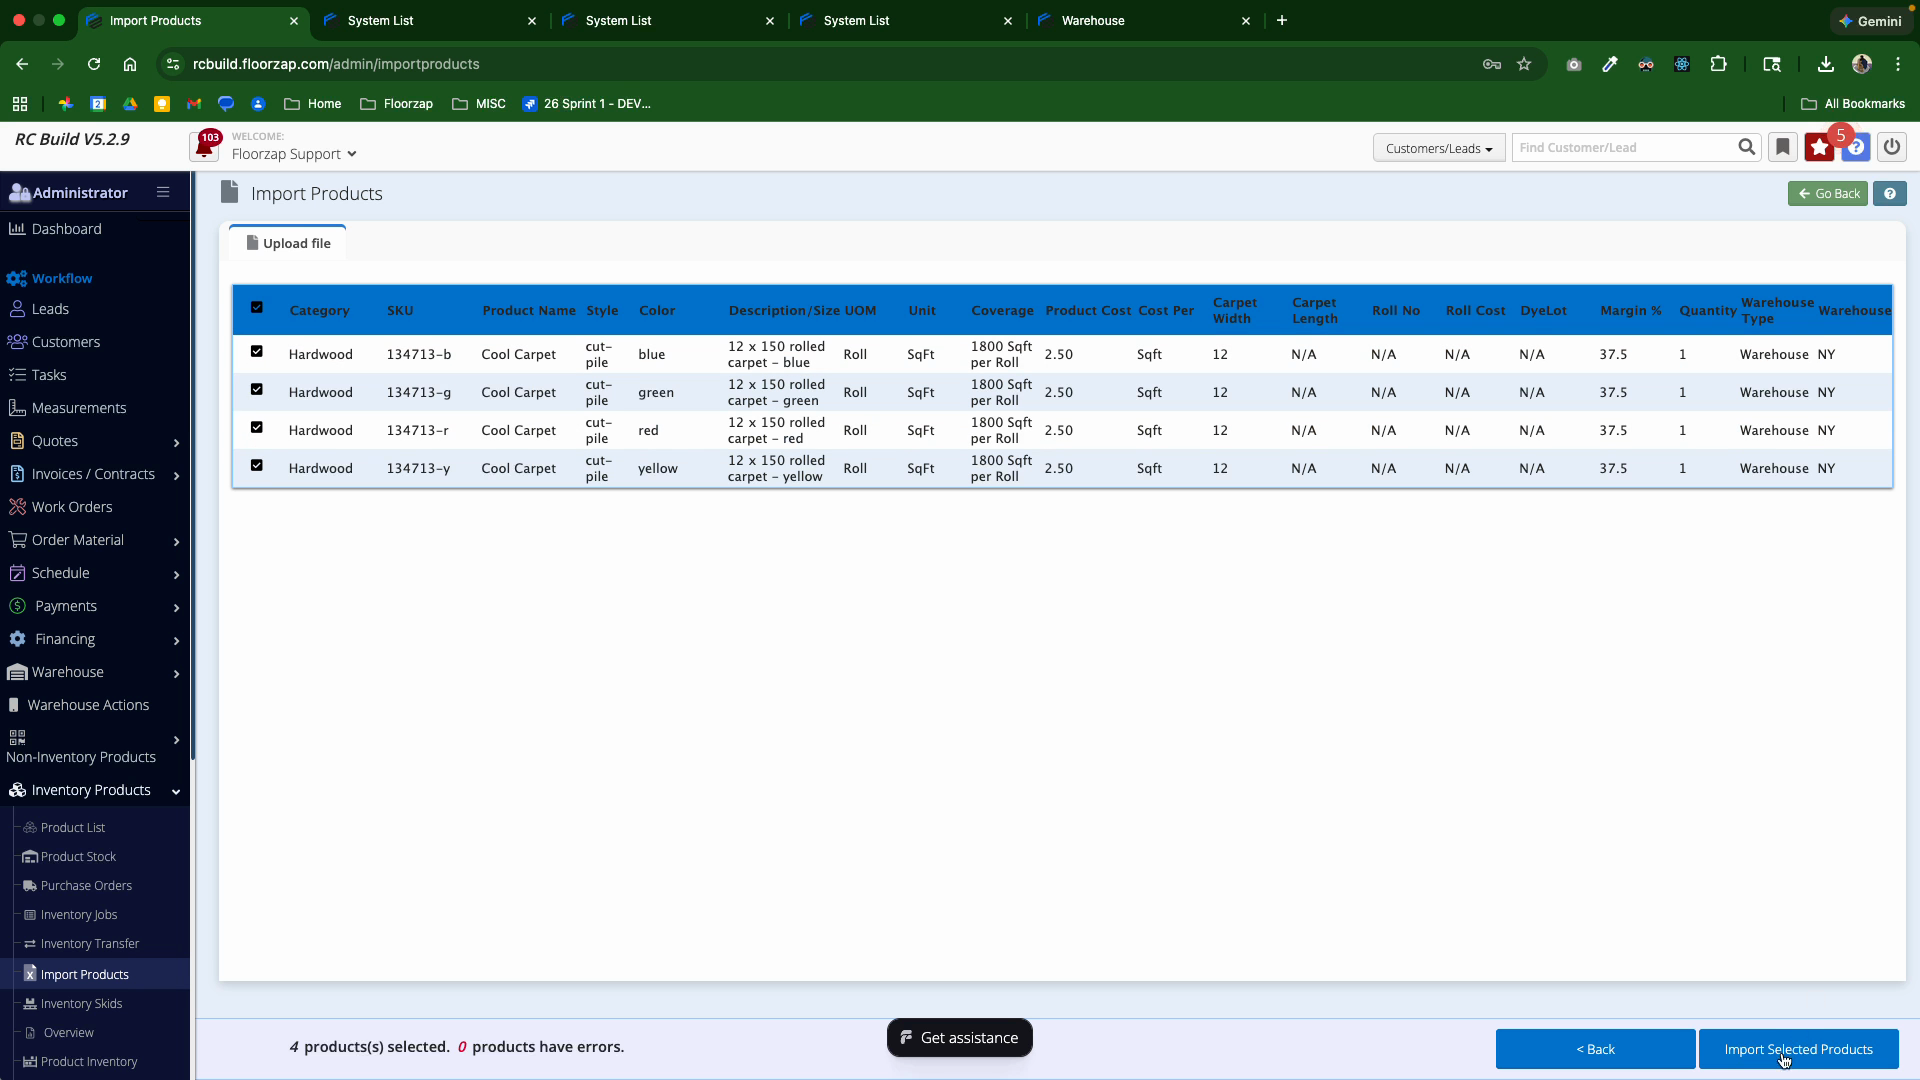
Step 9: Click Map and Preview to see a list of the products that will be imported.
Step 10: Review the preview list. Green check marks mean all fields are valid; red exclamation points indicate problems. Hover over any red markers to see what needs to be fixed.
Step 11: Once everything has a green check, select the items and click Import Selected Products.

Importing products in bulk saves time and keeps your inventory accurate. If you run into any issues, just check the template instructions or the on-screen guidance for solutions.