Using the Schedule List in Floorzap for Installer Scheduling
The schedule list page in Floorzap streamlines your installer scheduling workflow. It lets you track job statuses, manage contractor actions, and ensure nothing slips through the cracks.
Step 1: Scroll to the far right of the schedule list and drag the Action button all the way to the left. Keeping this button visible makes it easy to access job actions. Make sure to save the filter so it sticks.
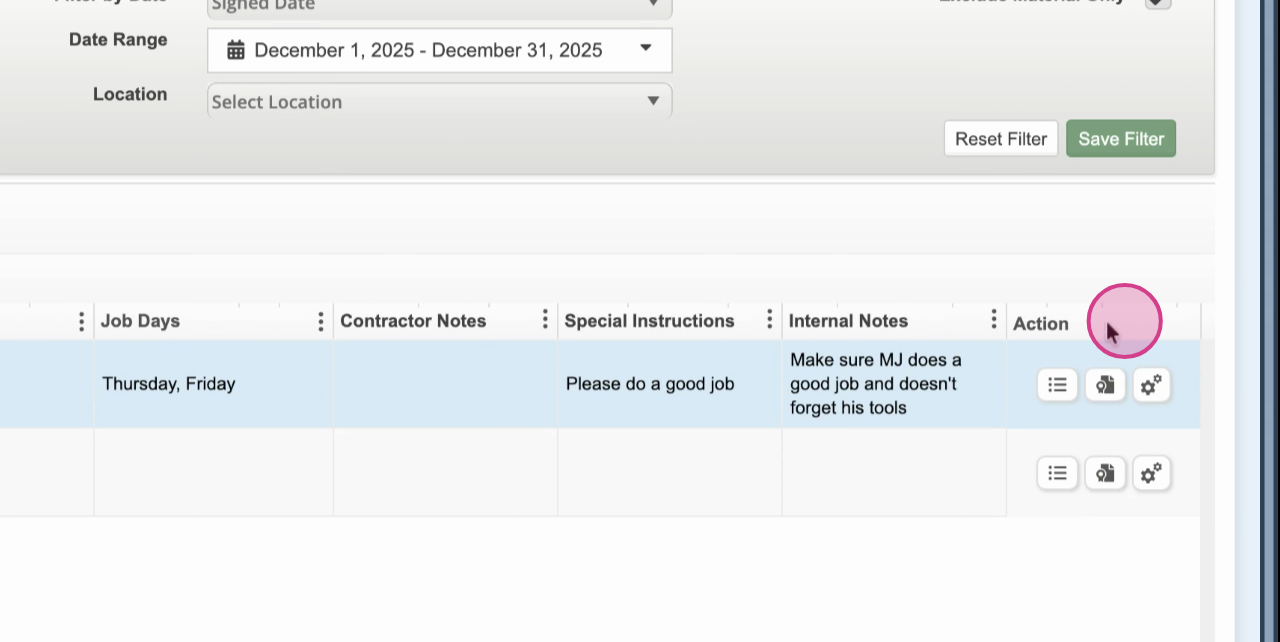
Step 2: from the action column, you can view job details, send job information directly to the contractor, and review the completion certificate.
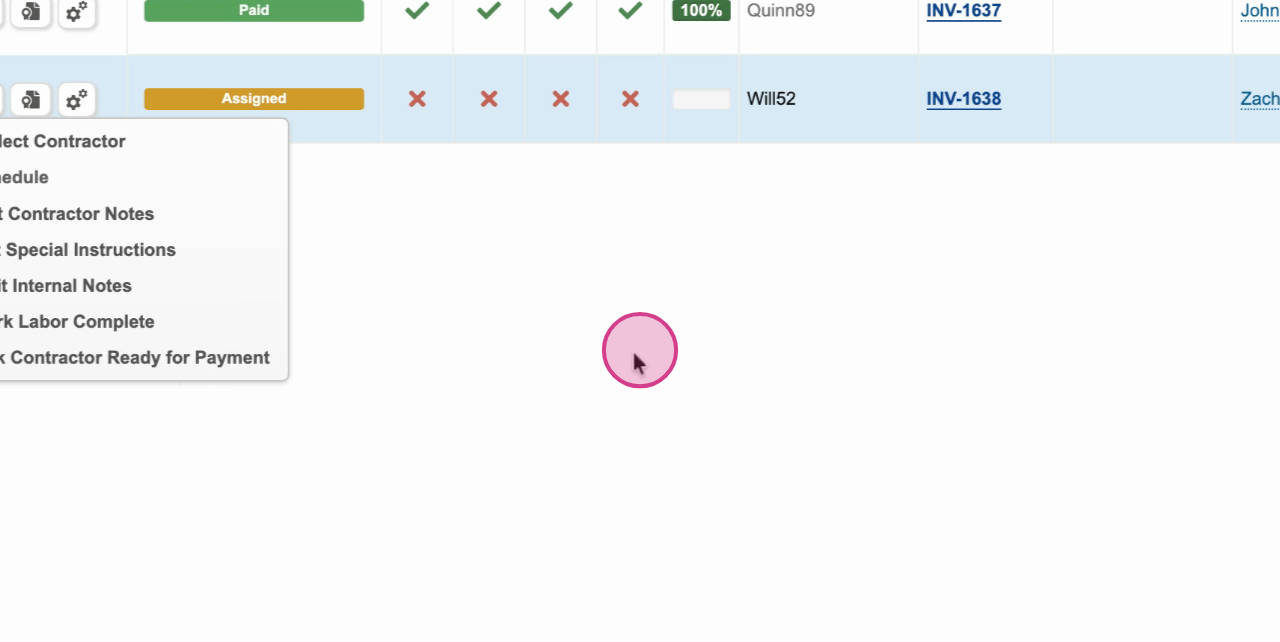
Step 3: Use the contractor actions menu to:
-
Select or assign a contractor
-
Edit contractor notes
-
Mark labor as complete
-
Mark the contractor ready for payment
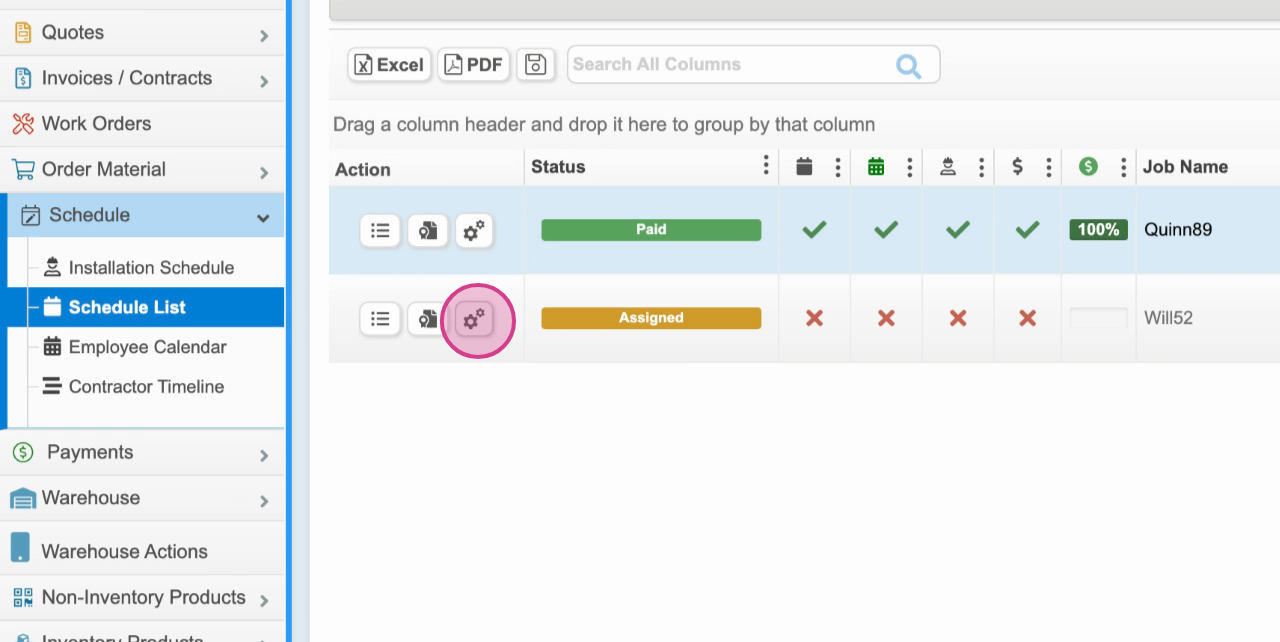
Step 4: Track progress in the status bar. Each column shows a check mark when completed—such as Ready to Schedule, Scheduled, Labor Complete, Contractor Ready for Payment, and Contractor Paid. The Contractor Paid column displays the percentage paid if the contractor received partial payment.
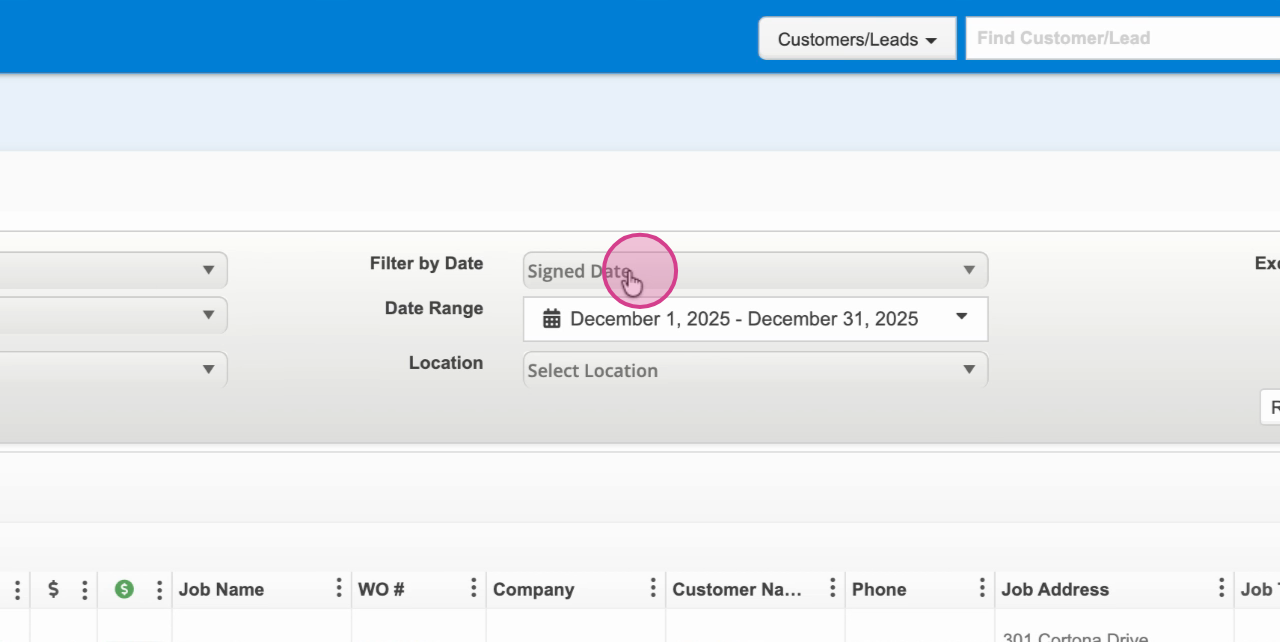
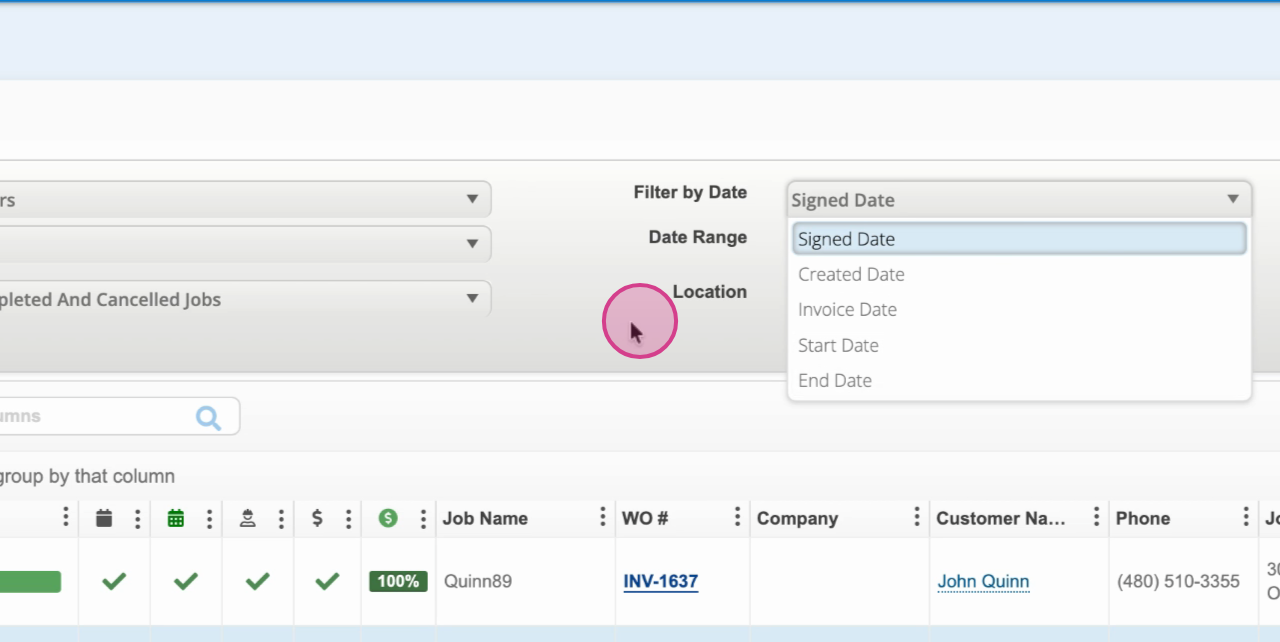
Step 5: Filter jobs using the date filters at the top. Filter by Start Date to see jobs beginning today, or by End Date to focus on jobs ending today—for example, to mark labor as complete.
The schedule list view helps you stay on top of your contractor installation workflow. Use it to follow up, update statuses, and keep payments accurate—all from one organized page.