In this article, you'll learn how to customize your quotes by removing unnecessary columns in the Floors app.
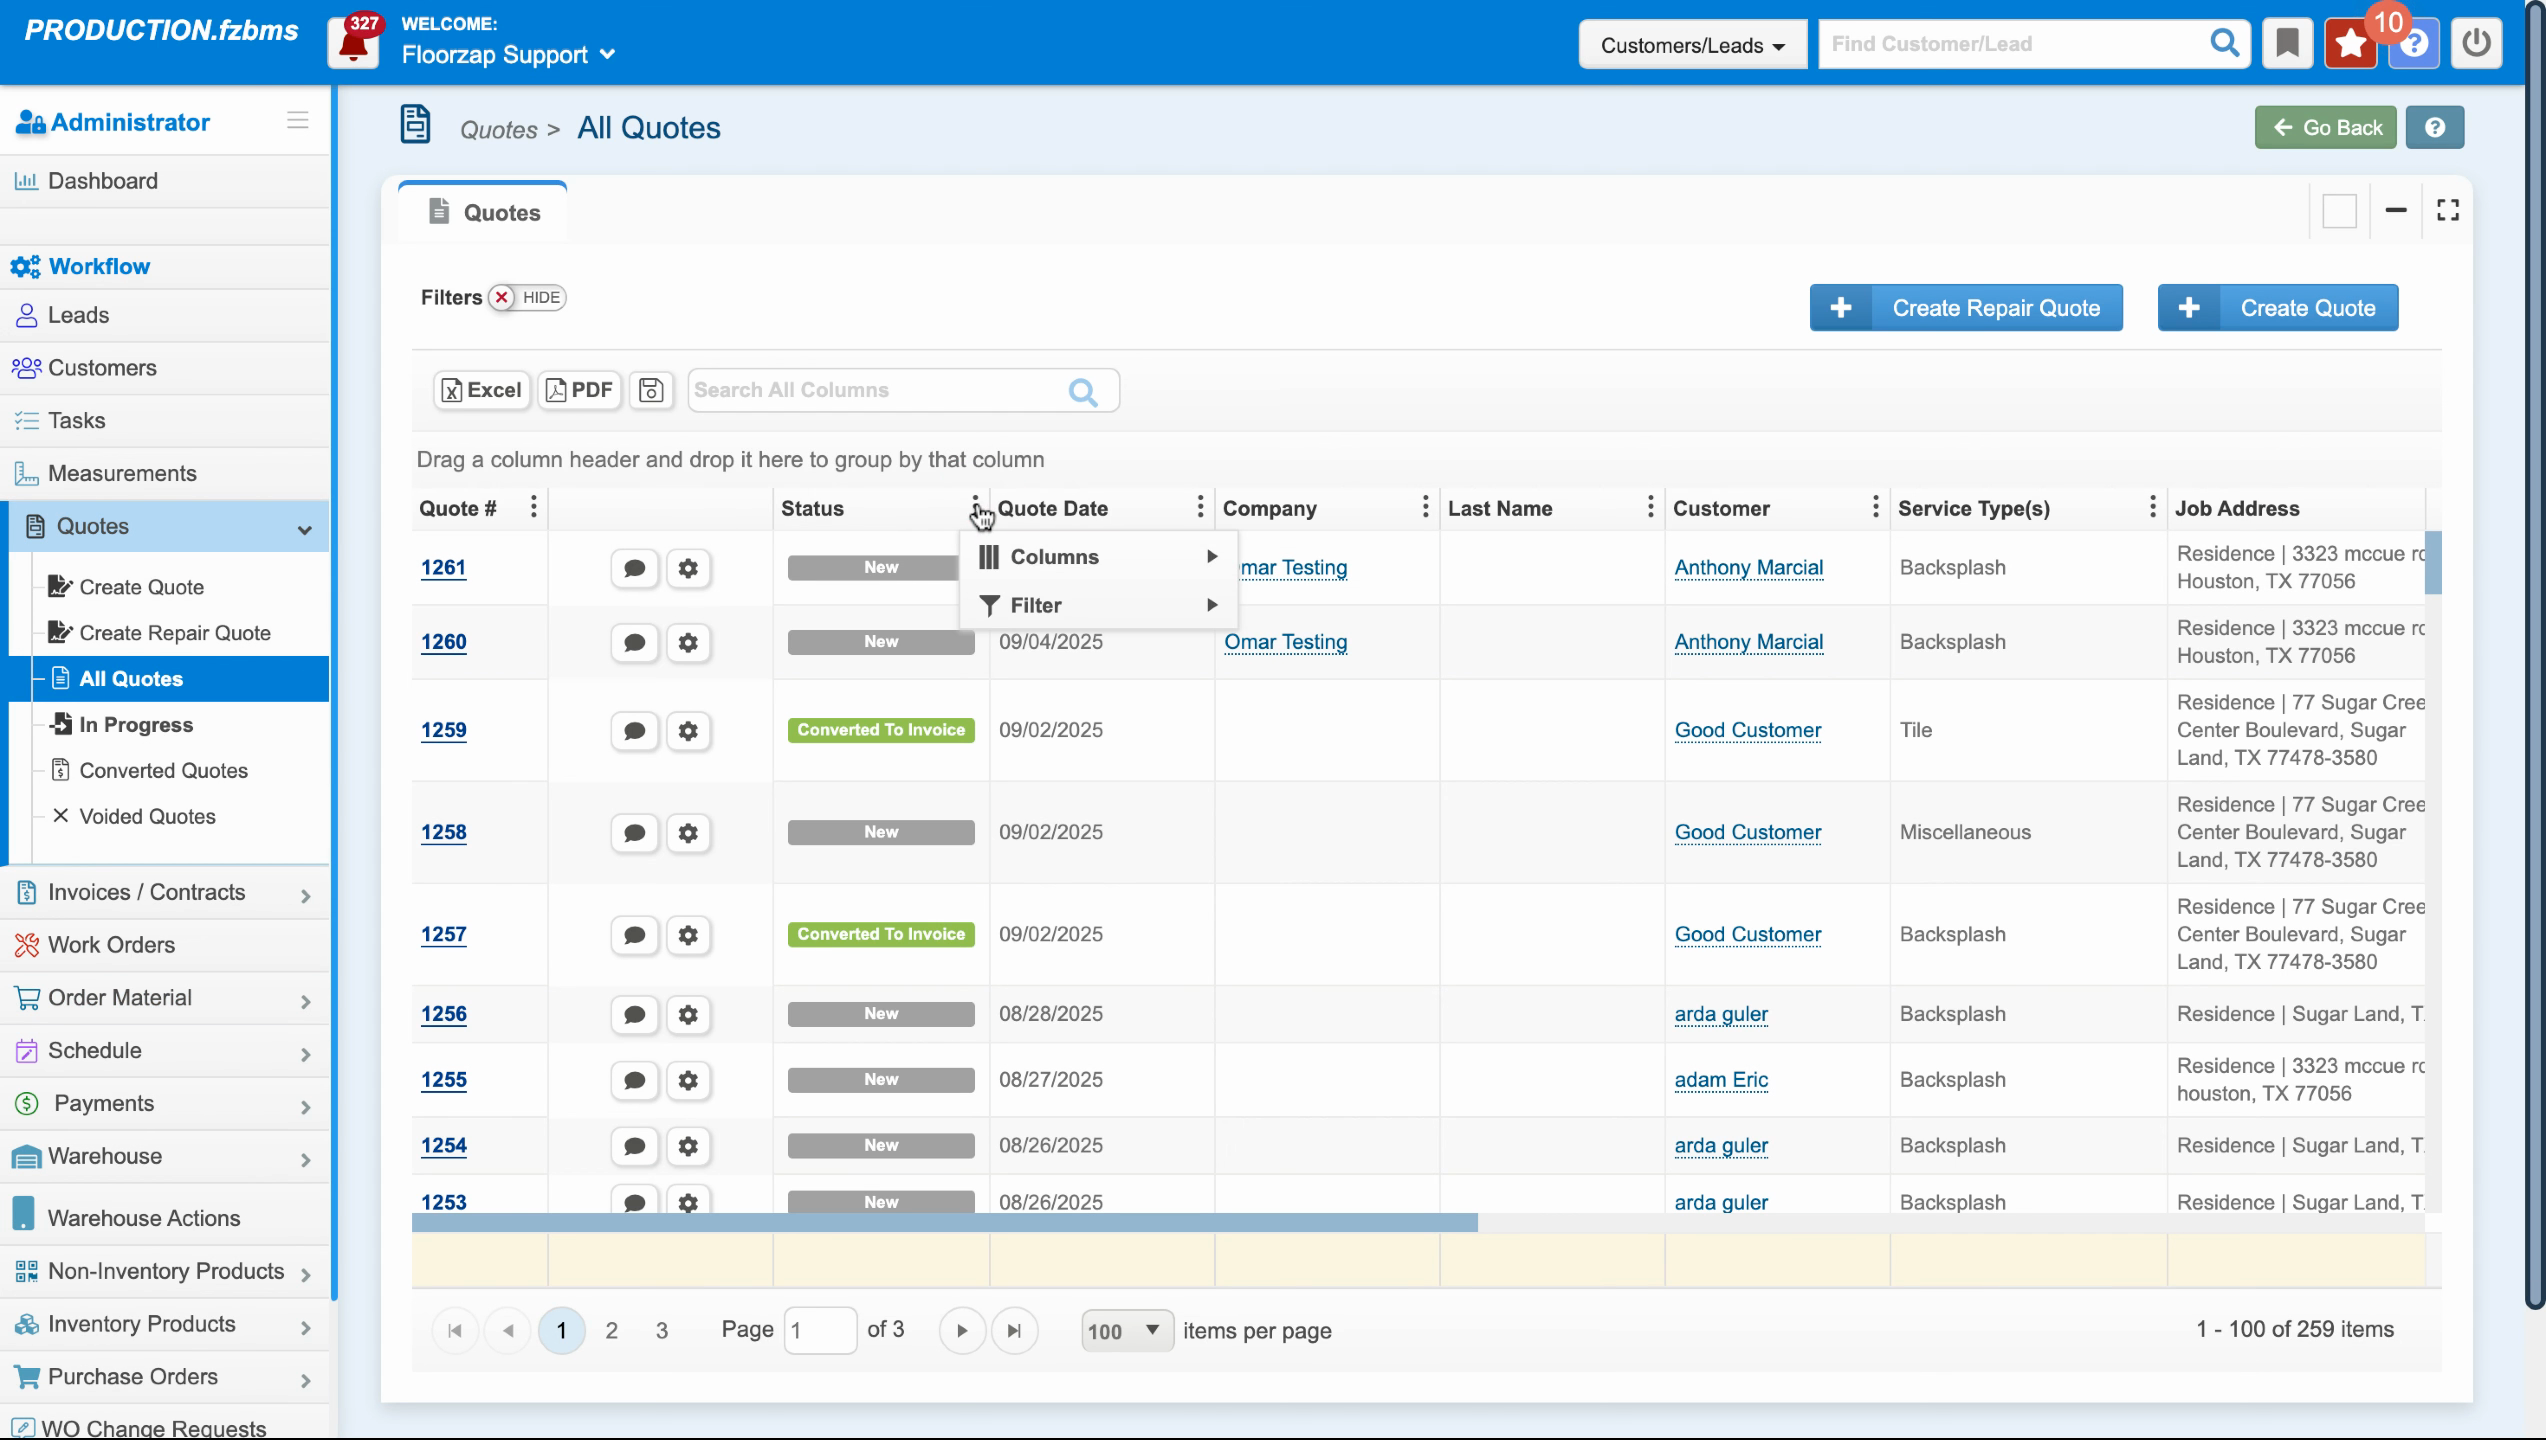
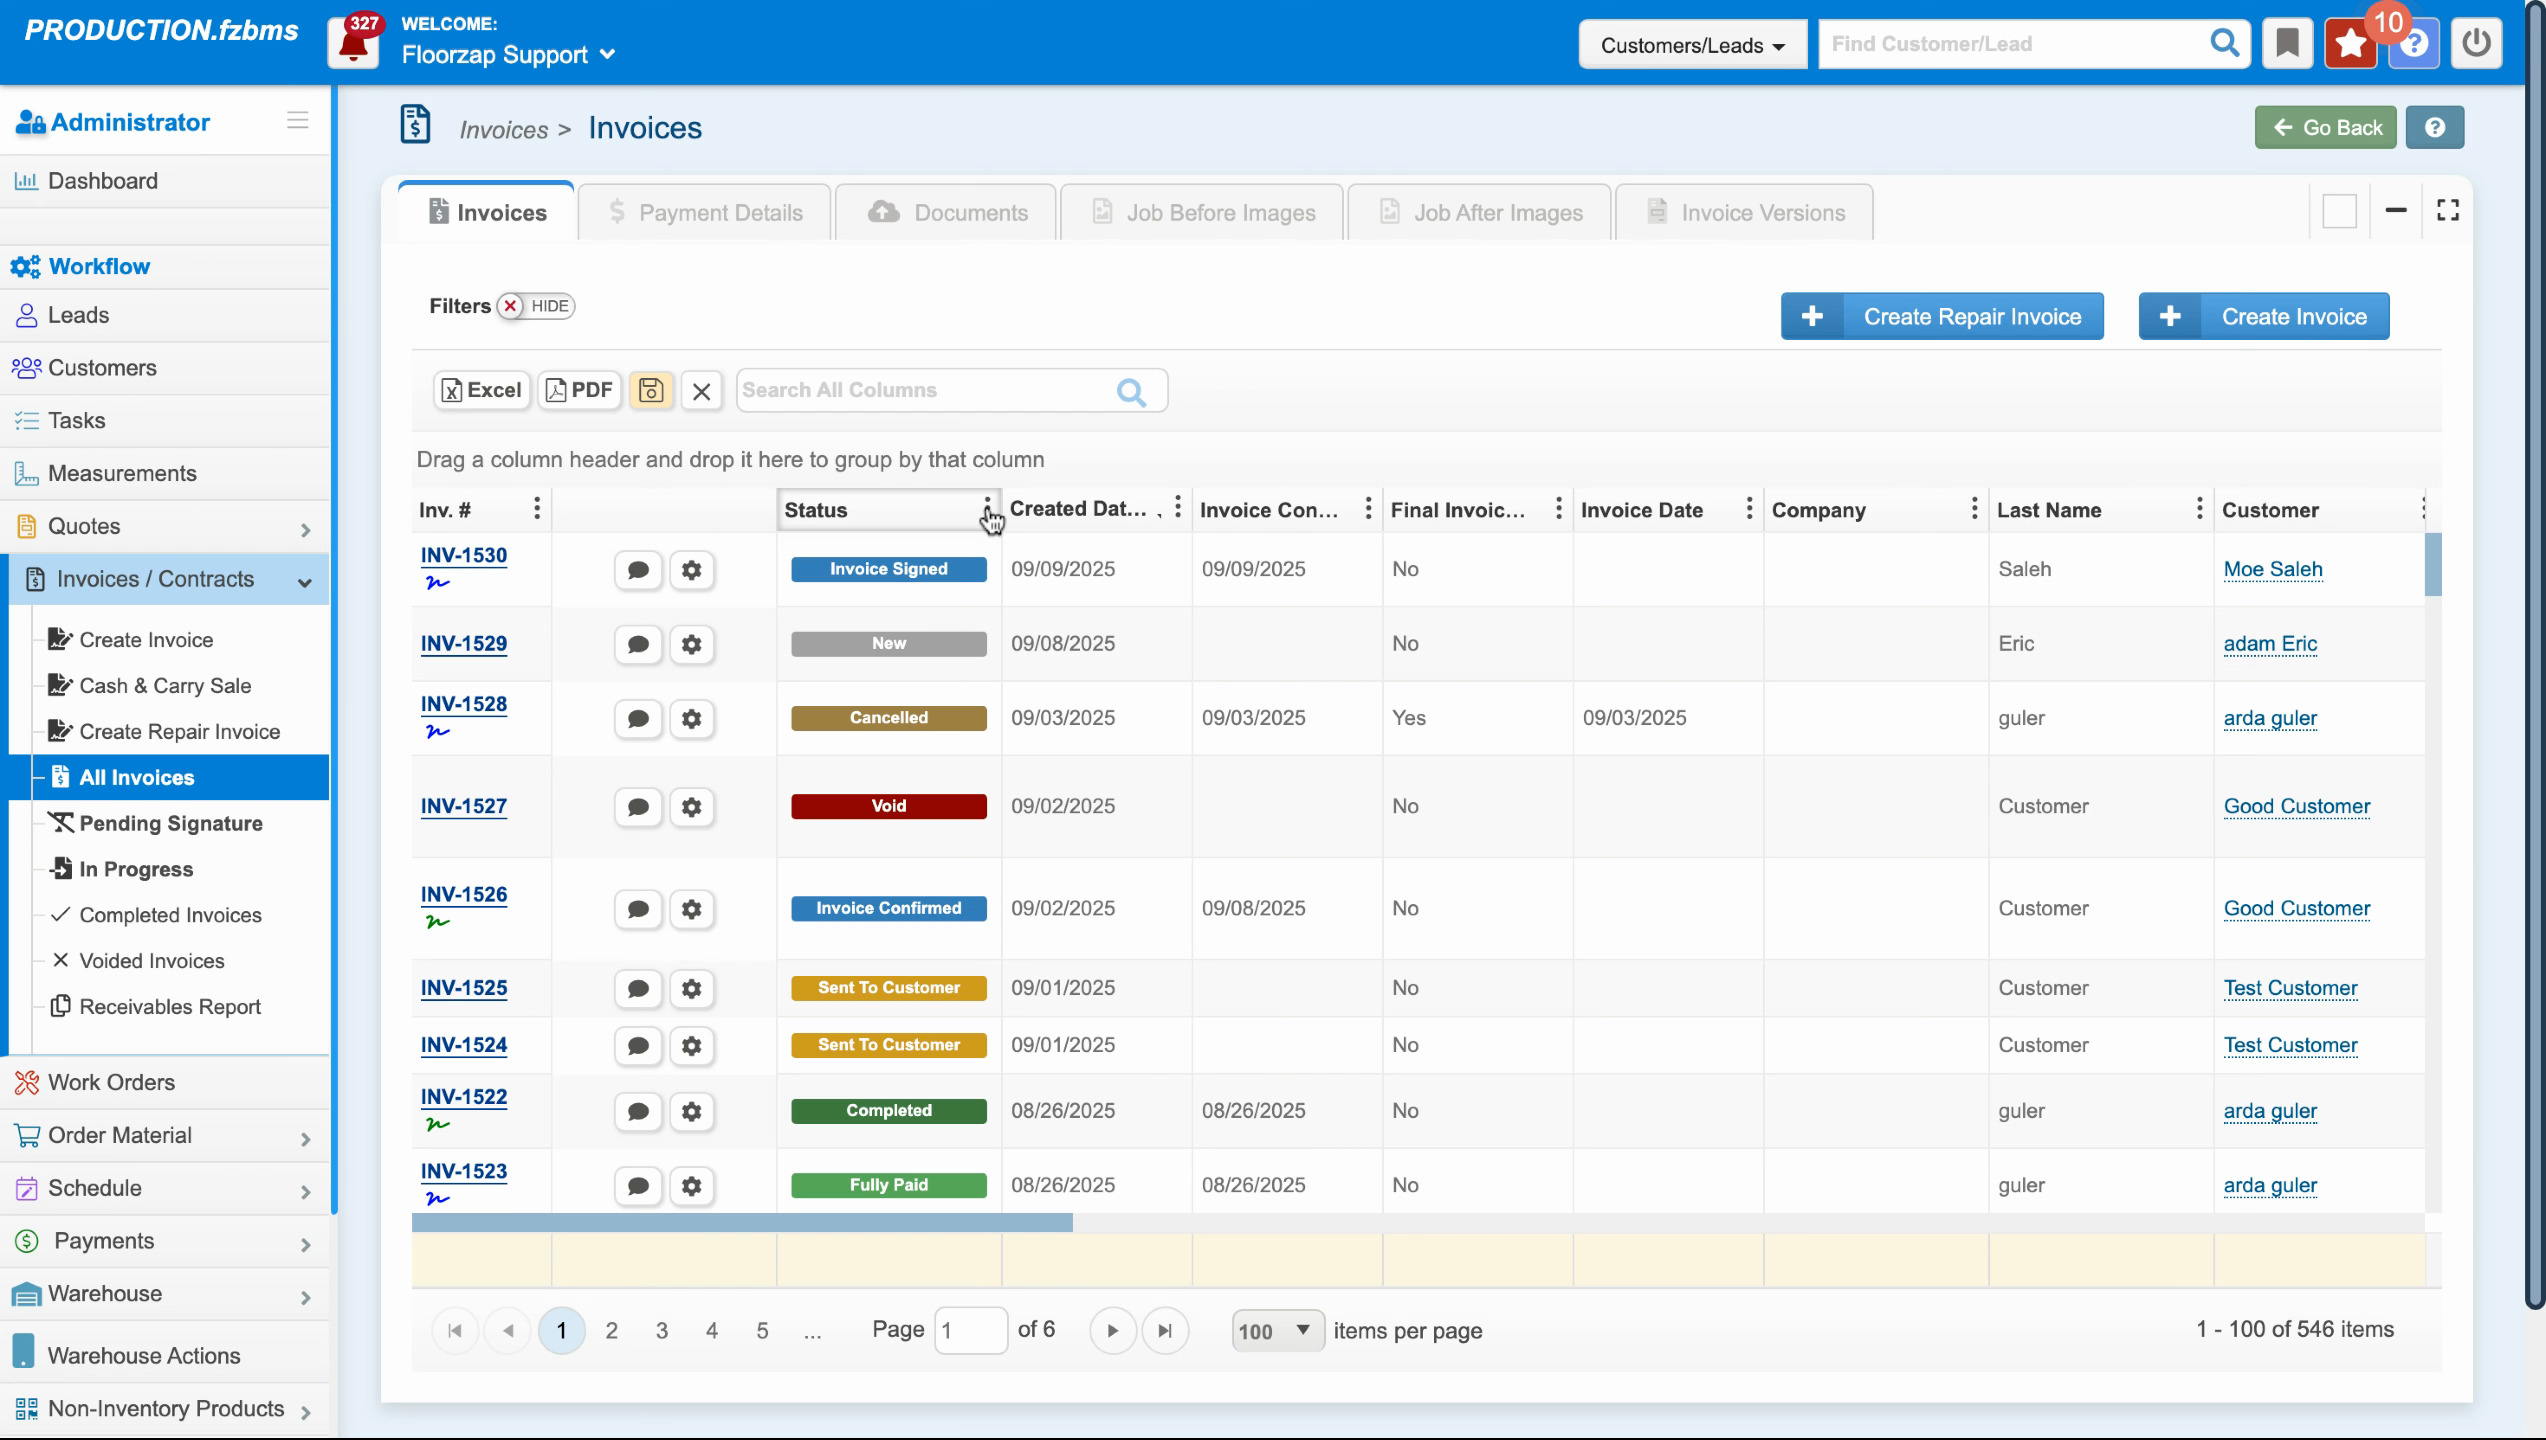
Step 1: Navigate to the all quotes screen.
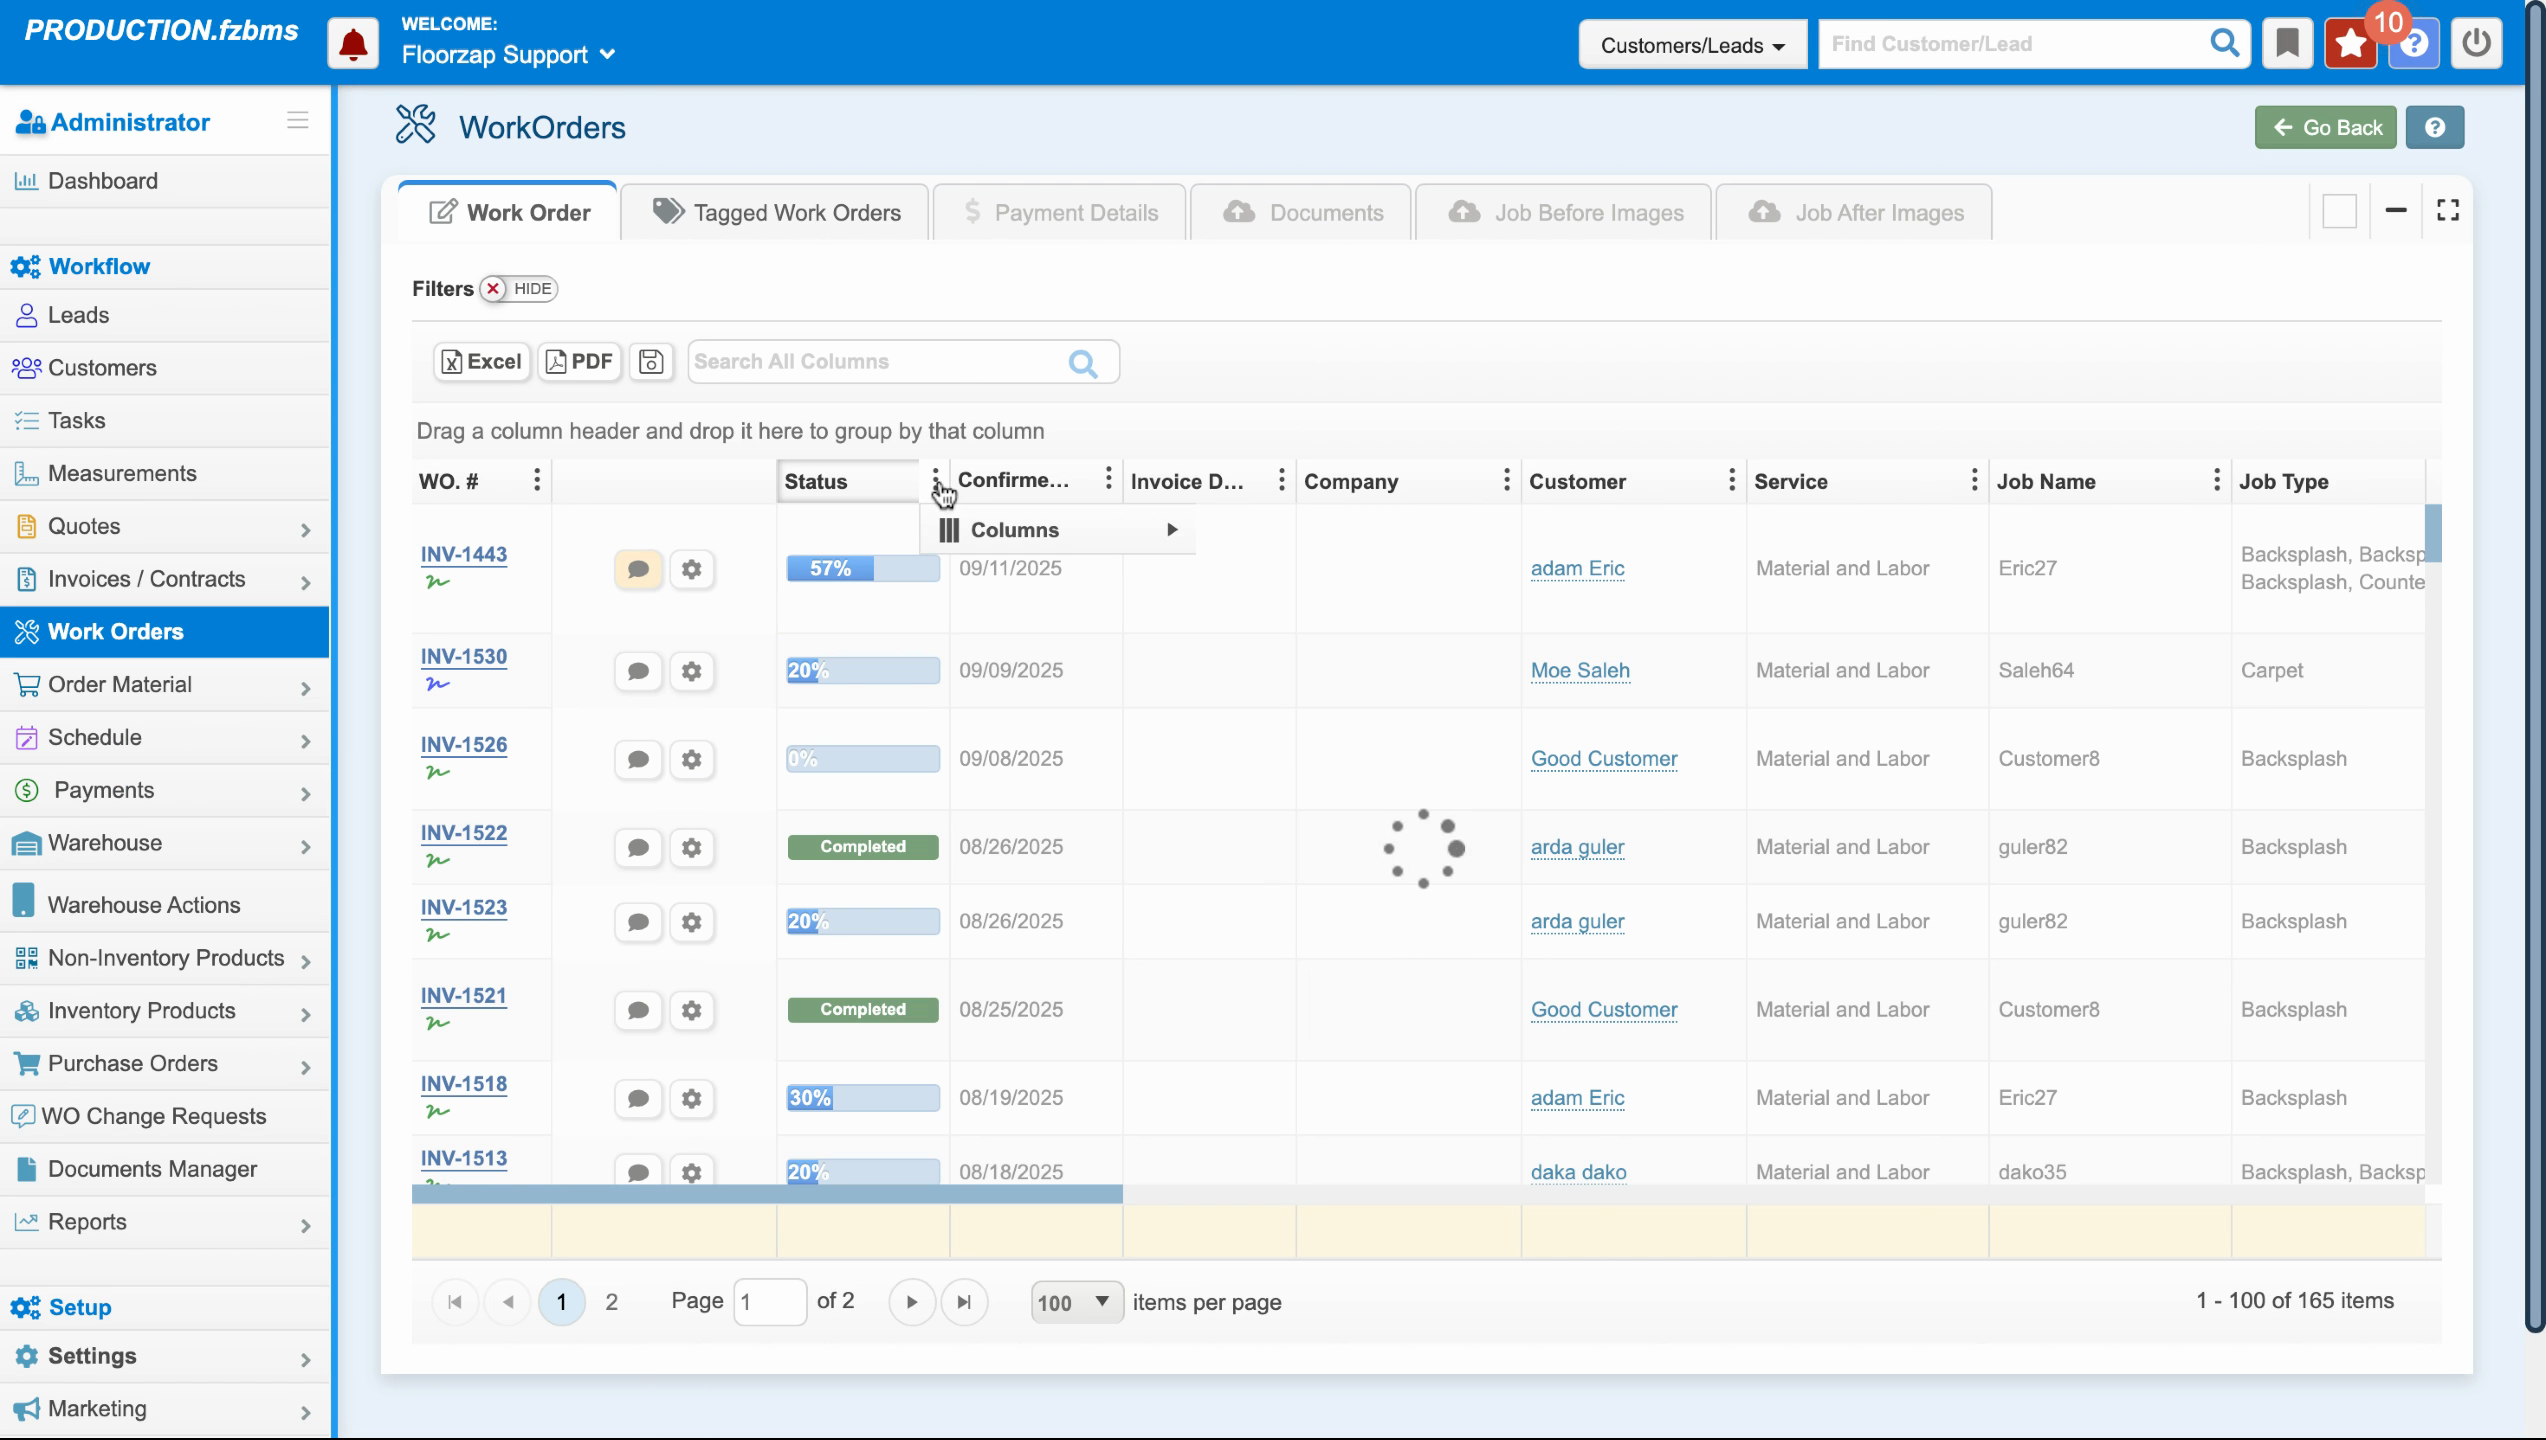
Step 2: Click on the filter and column icon.
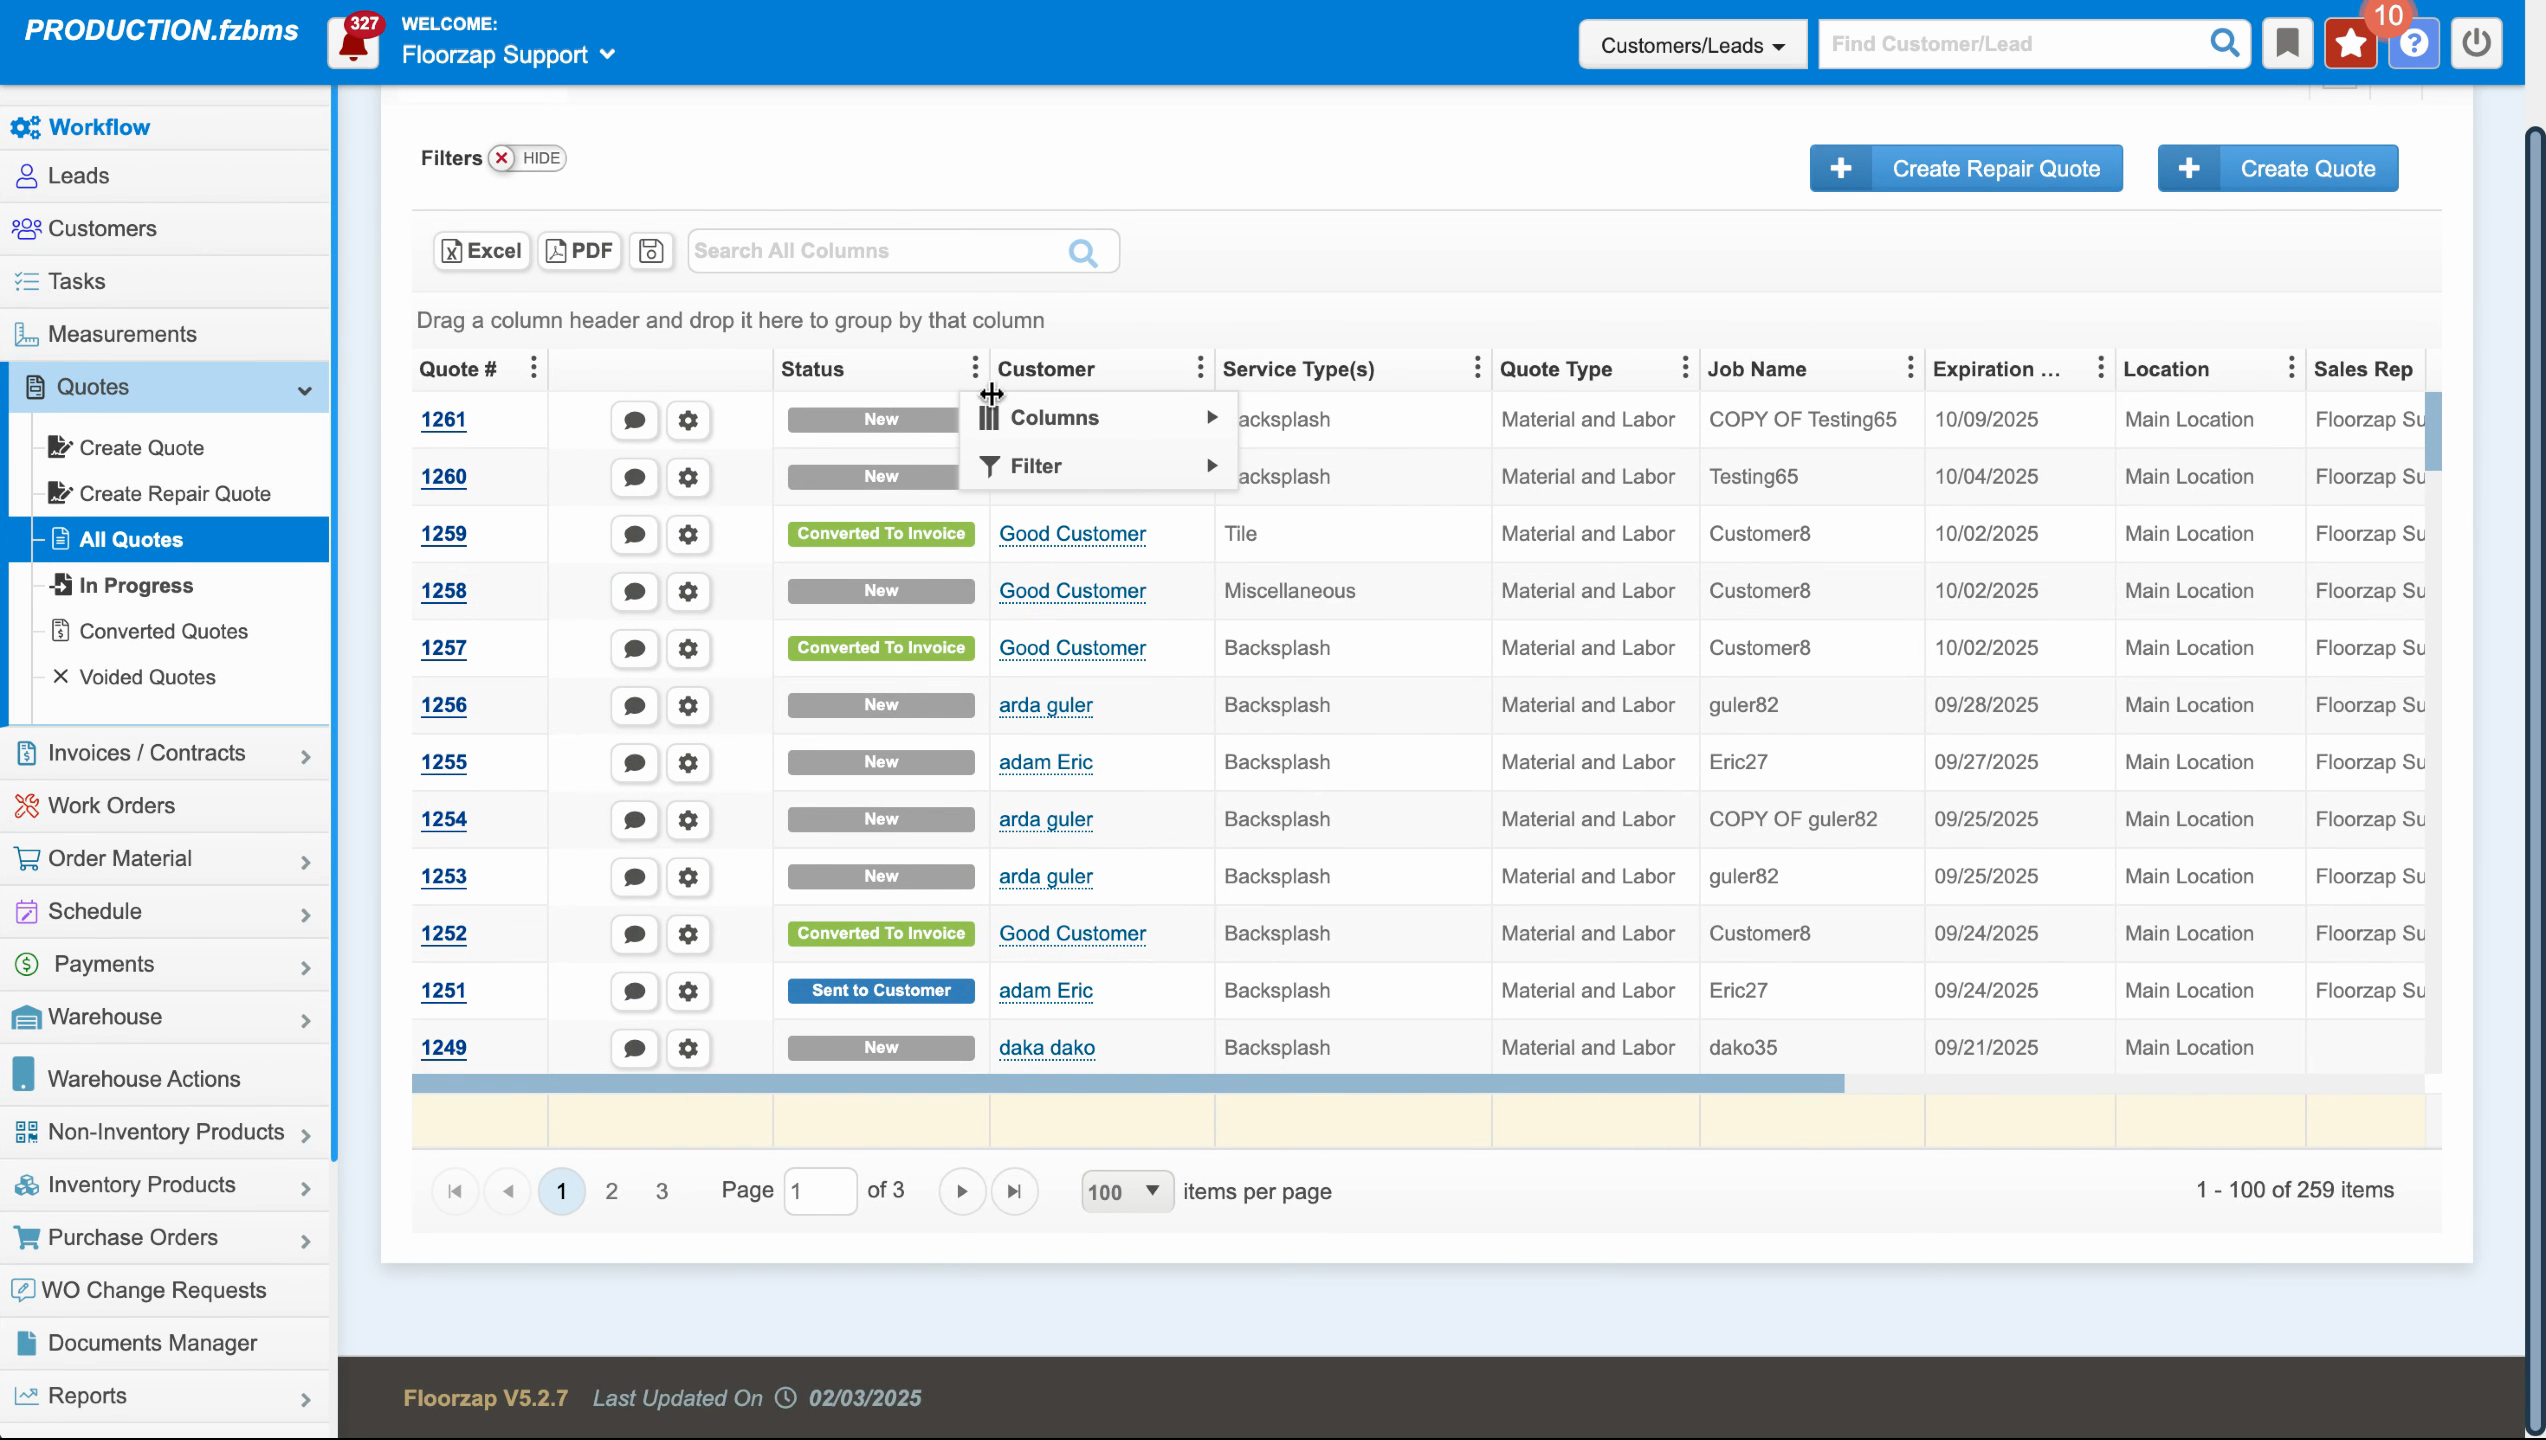
Step 3: Uncheck the columns you don't need. For instance, if you don't need the quote date, company, last name, or job address, uncheck these options. The app immediately removes these columns.
Step 4: Click anywhere outside the filter and column box to finalize your changes. The app removes the unchecked columns from your view.
To add the columns back:
Step 5: Click on the filter and column icon again.
Step 6: Click on columns.
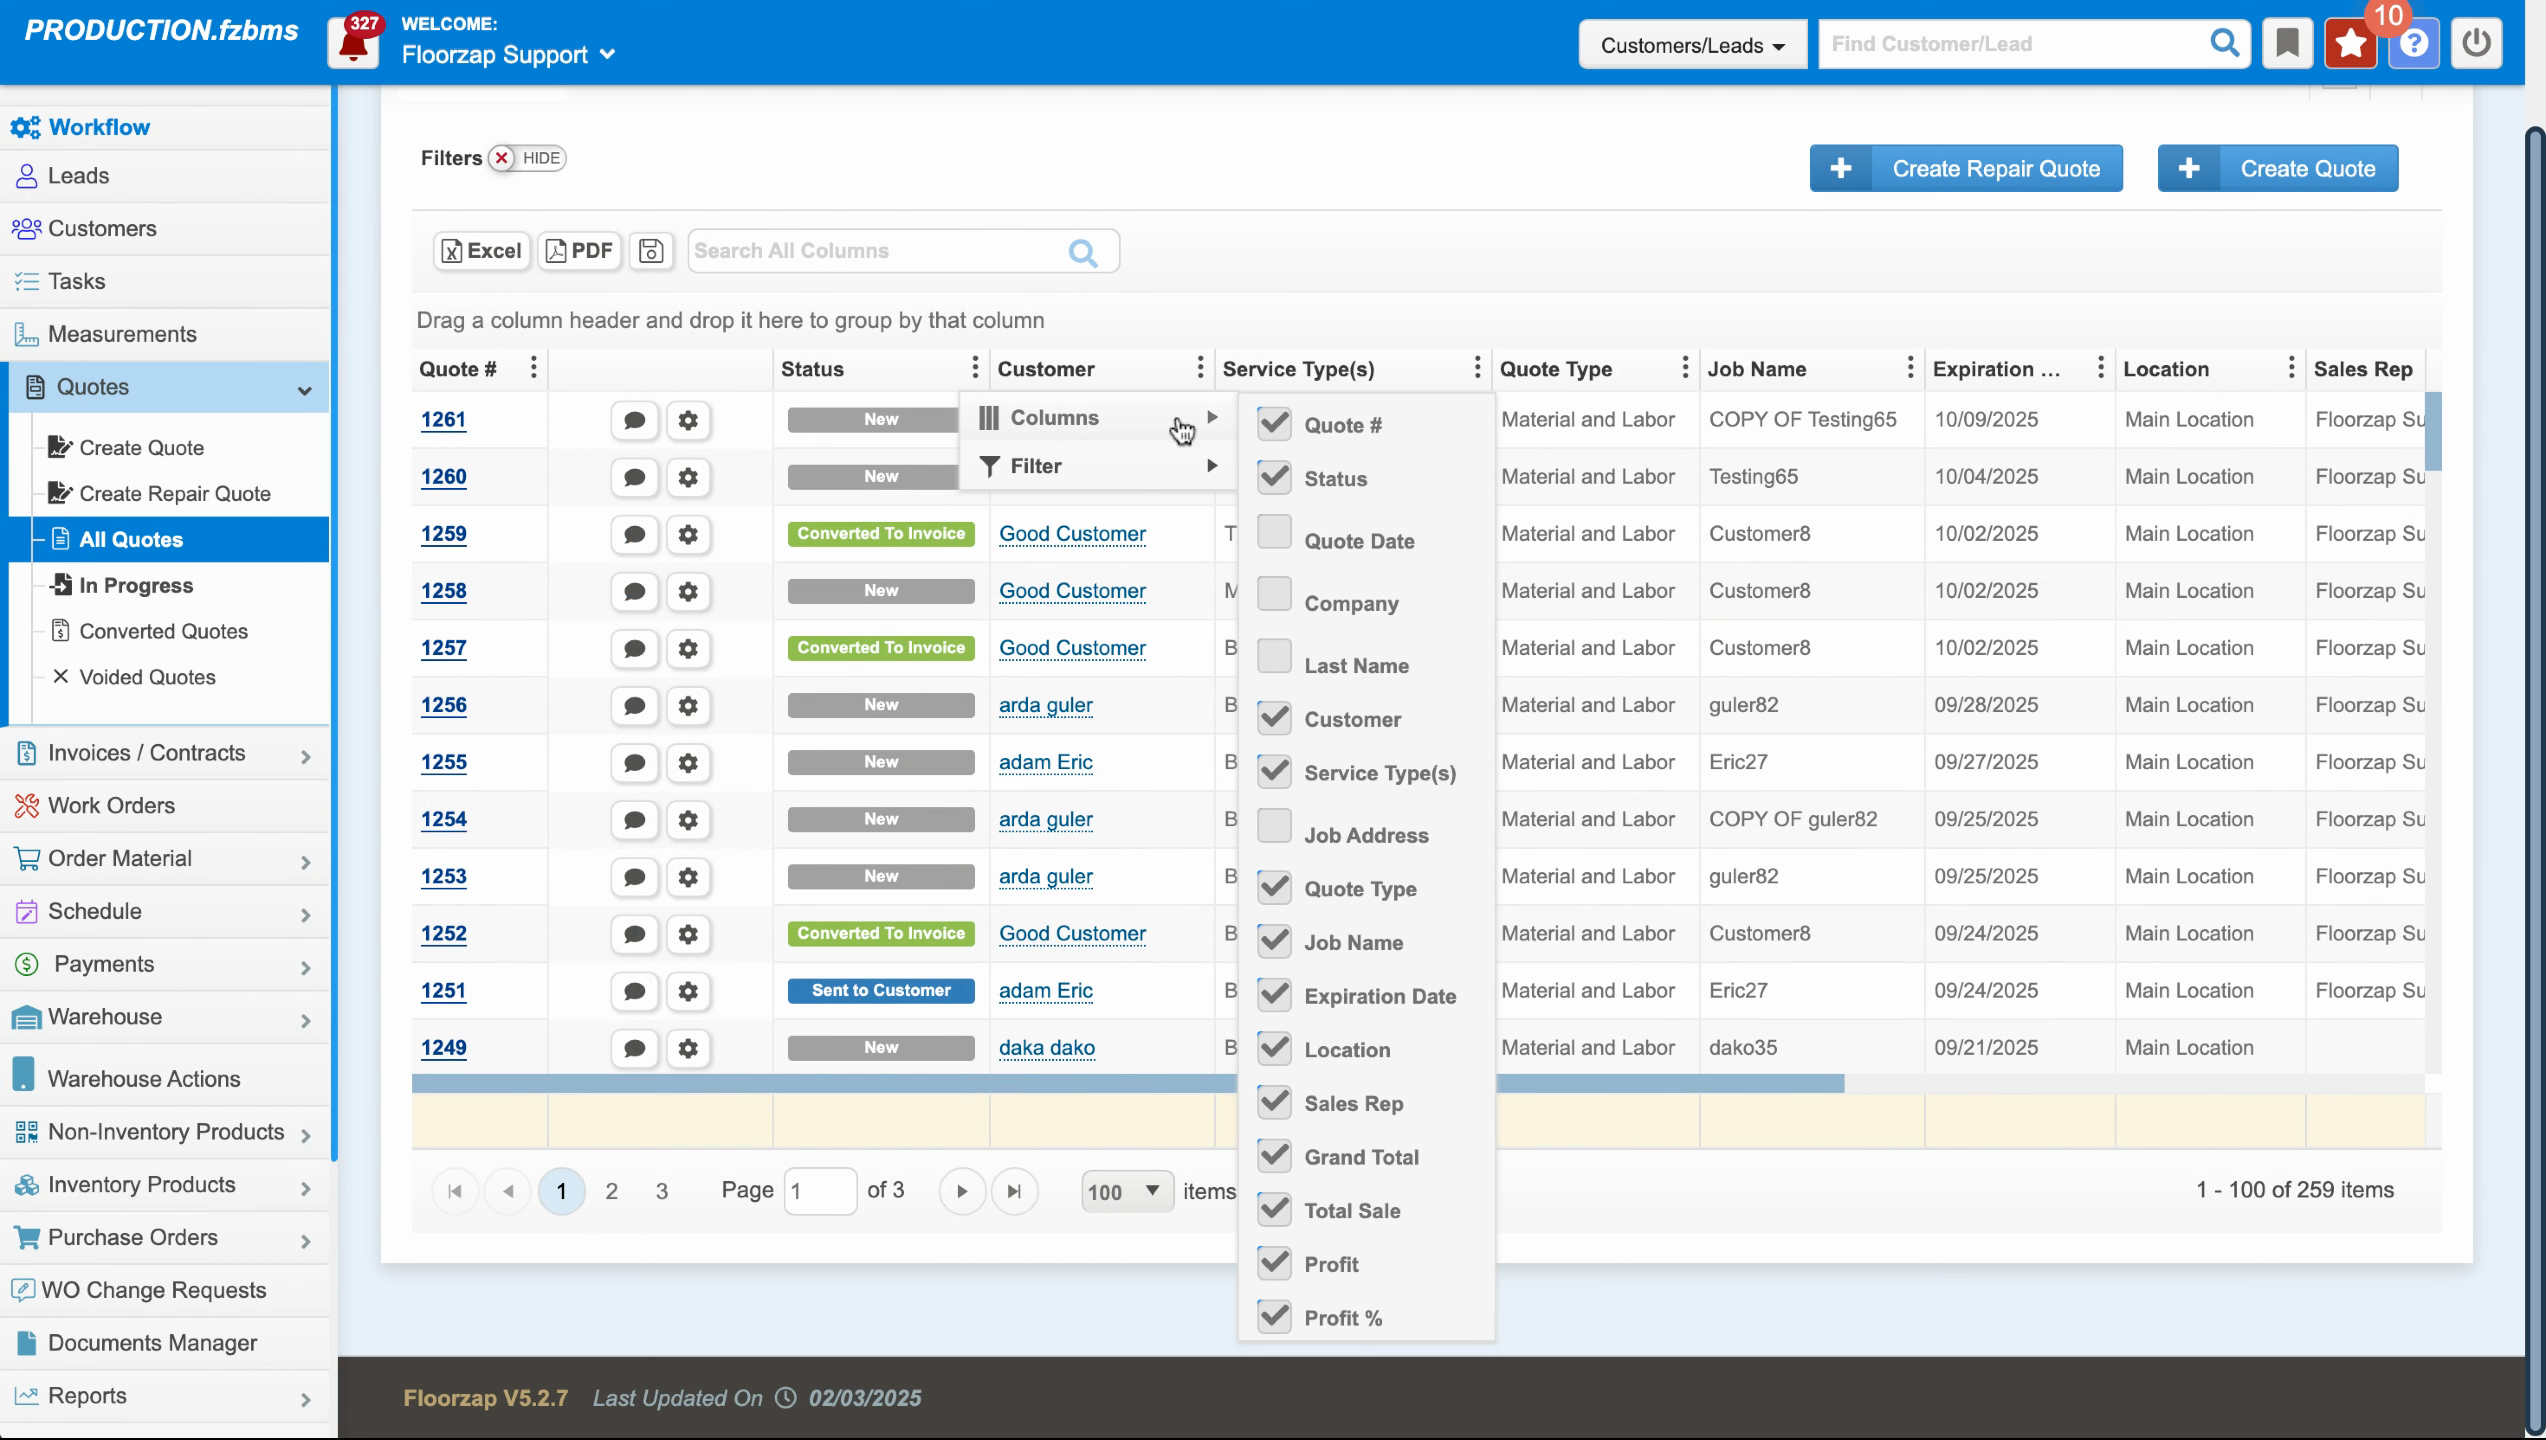
Step 7: Check the columns you want to add back. The app immediately adds these columns to your view.
You can apply this customization to any view in the Floors app, including quotes, invoices, and work orders.
For instance, to remove the job address from work orders:
Step 8: Navigate to work orders and click on the filter and column icon.
Step 9: Click on columns.
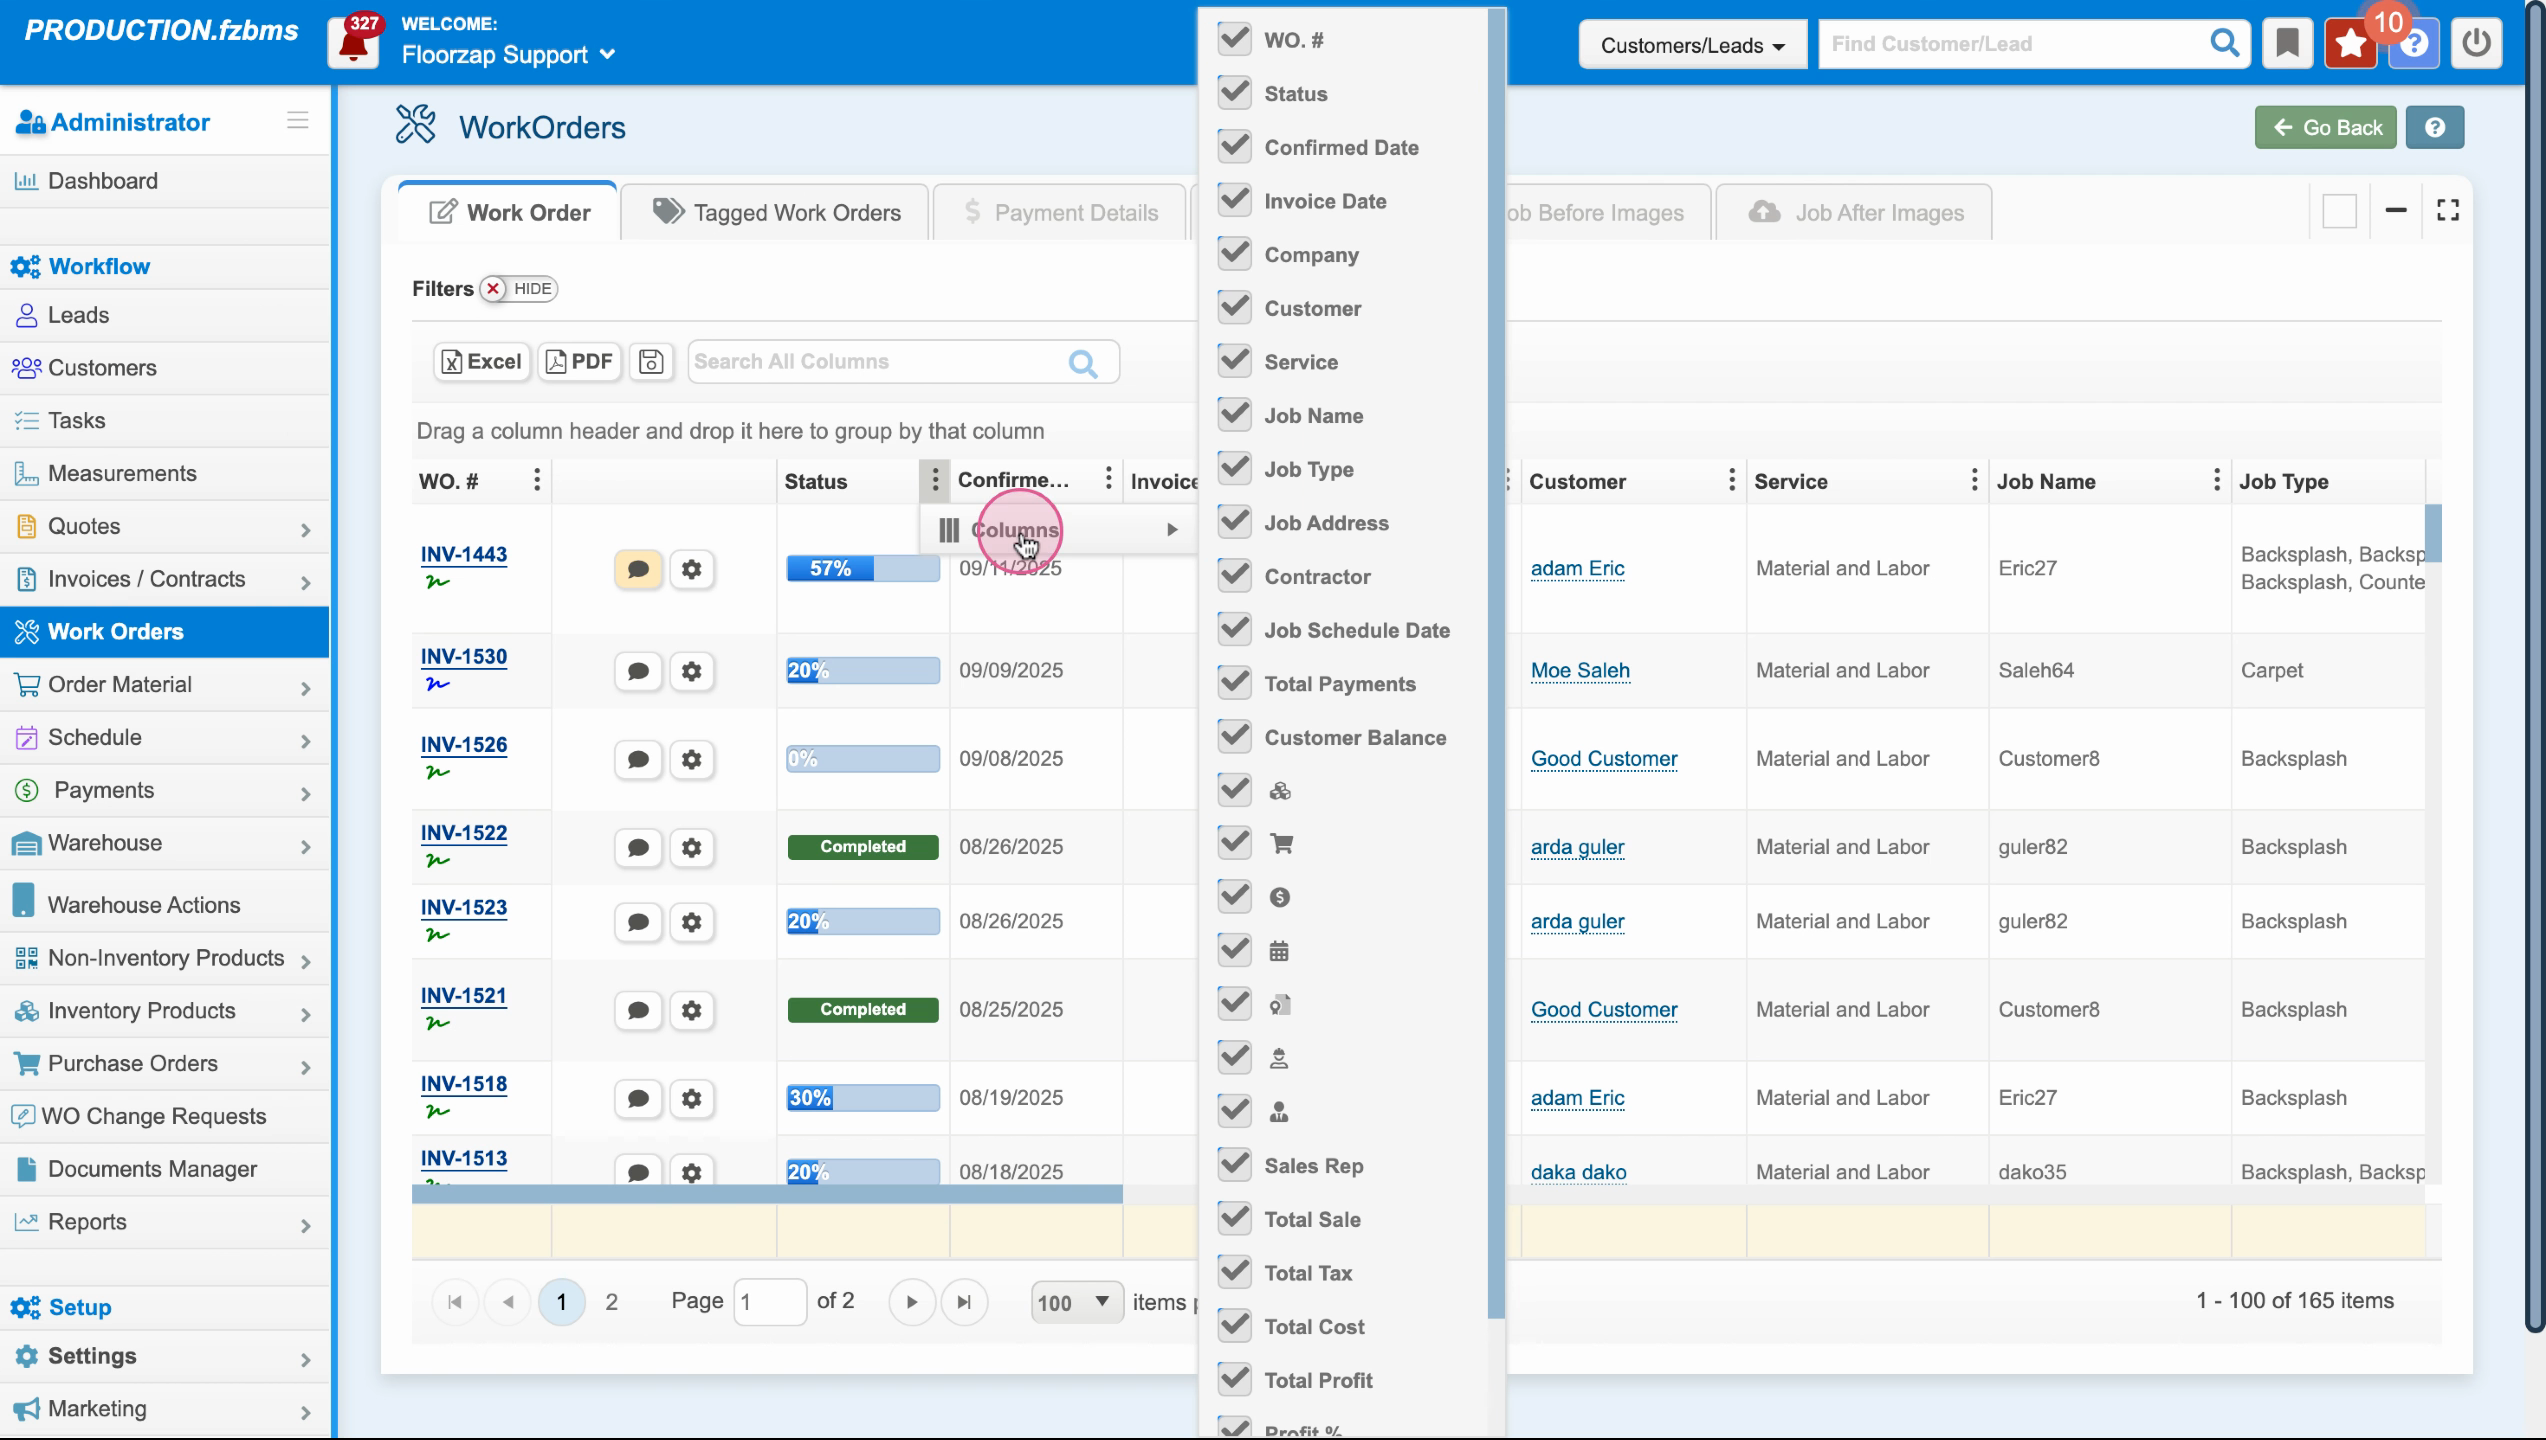
Step 10: Uncheck job address. The app removes this column from your view.
To add it back, simply check job address again.
You can customize almost any page in the Floors app in this way.
By clicking on the filter and column icon, and then unchecking the columns you don't need, you can easily customize your view. This is a great way to streamline your workflow and focus on the information that's most important to you.