How to Give a Refund to a Customer
This page provides a detailed guide on how to issue a full refund to a customer in Floorzap, ensuring accurate and efficient processing of refunds.
This article will guide you through the process of creating a customer refund.
Step 1: Start by navigating to the invoice or payments section.
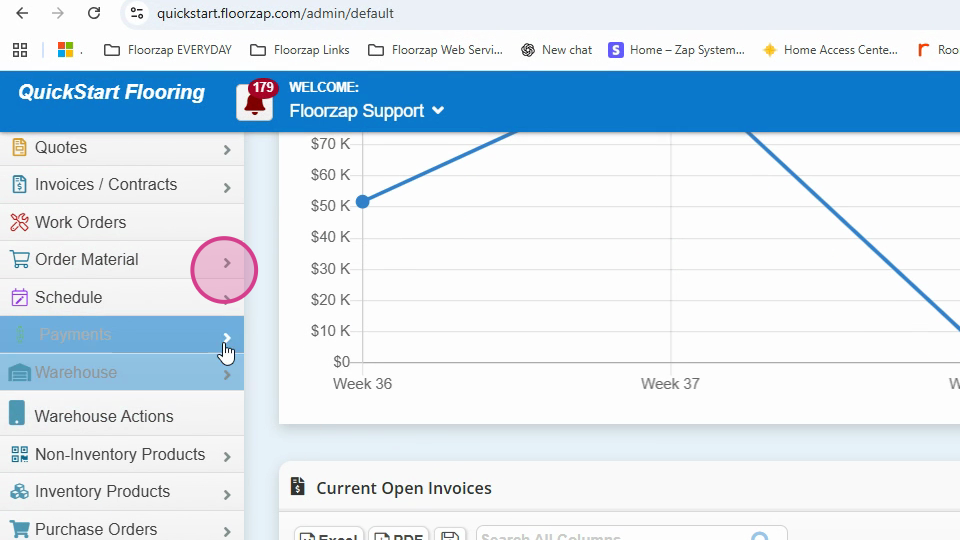
Step 2: Proceed to the Accounts payable section.
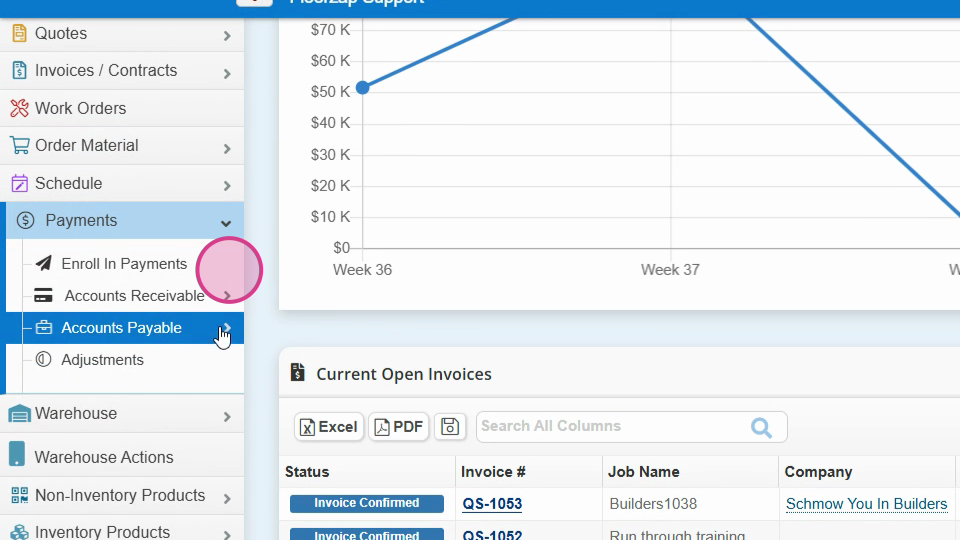
Step 3: Click on Customer.
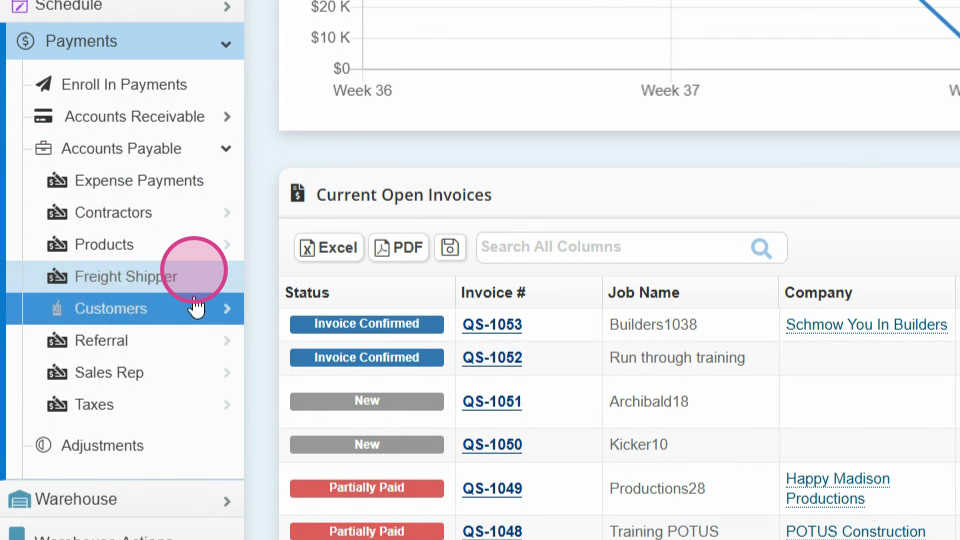
Step 4: Select Payment refund.
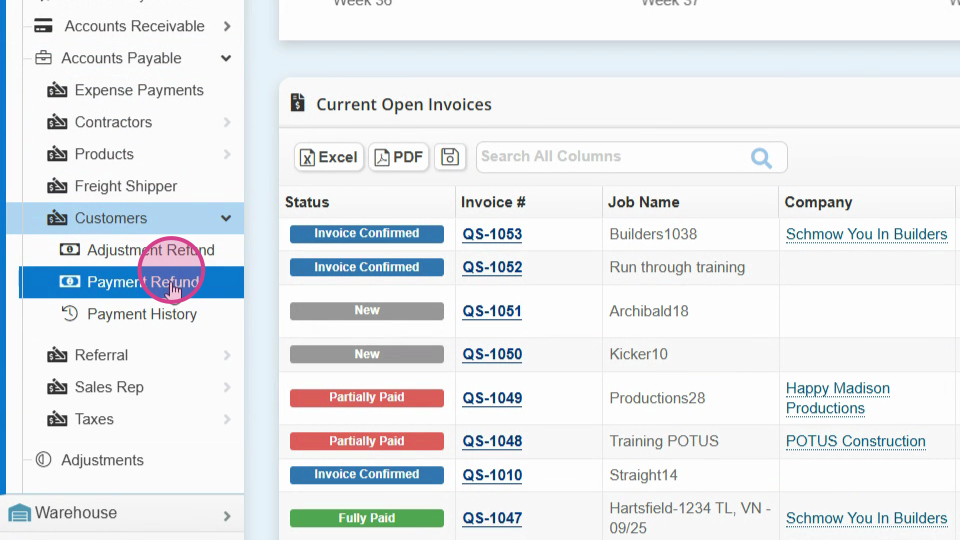
Step 5: Locate the customer you wish to refund. In this tutorial, we're using Johnny Depp as an example.
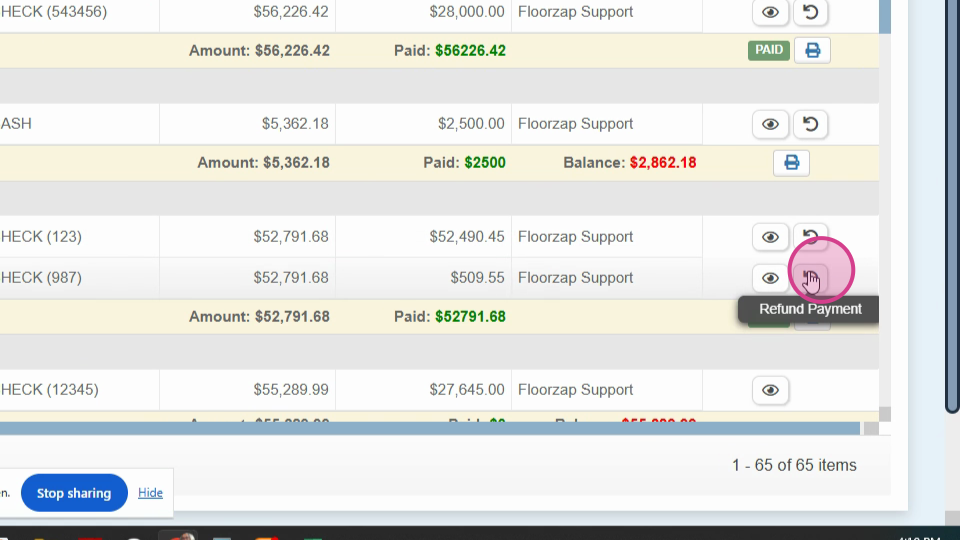
Step 6: Now, switch to Sean Connery. Enter the payment method.
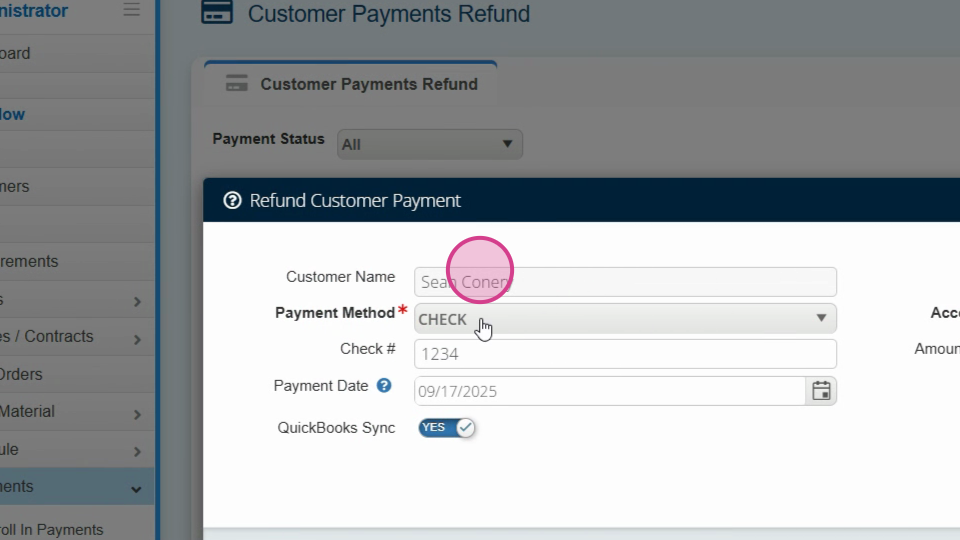
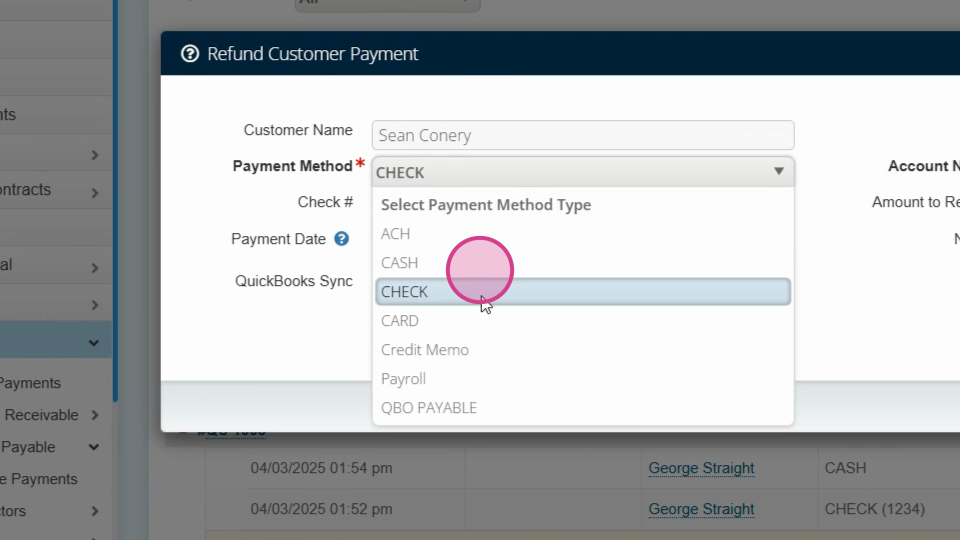
Step 7: Choose the payment method, in this case, it's a Check.
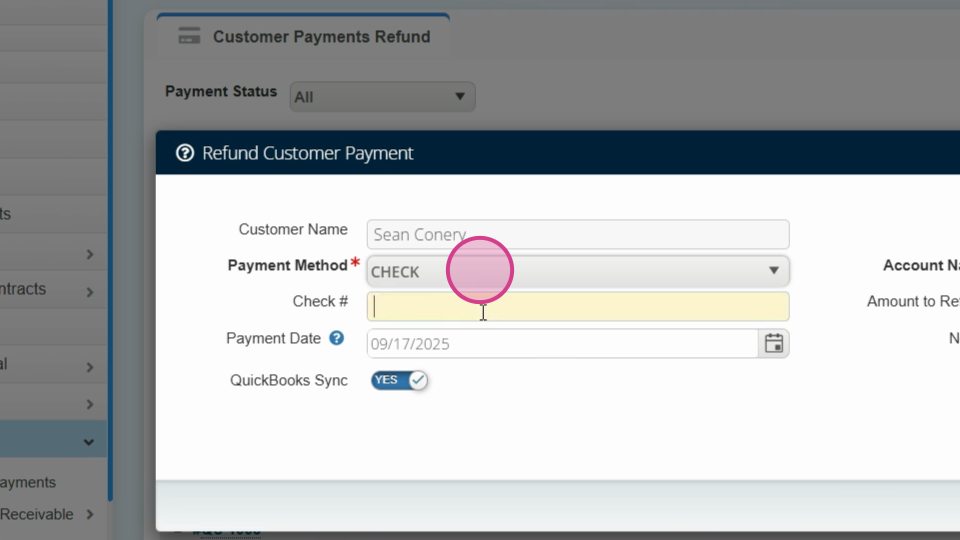
Step 8: Enter the Check number.
Step 9: Fill in the Account details.
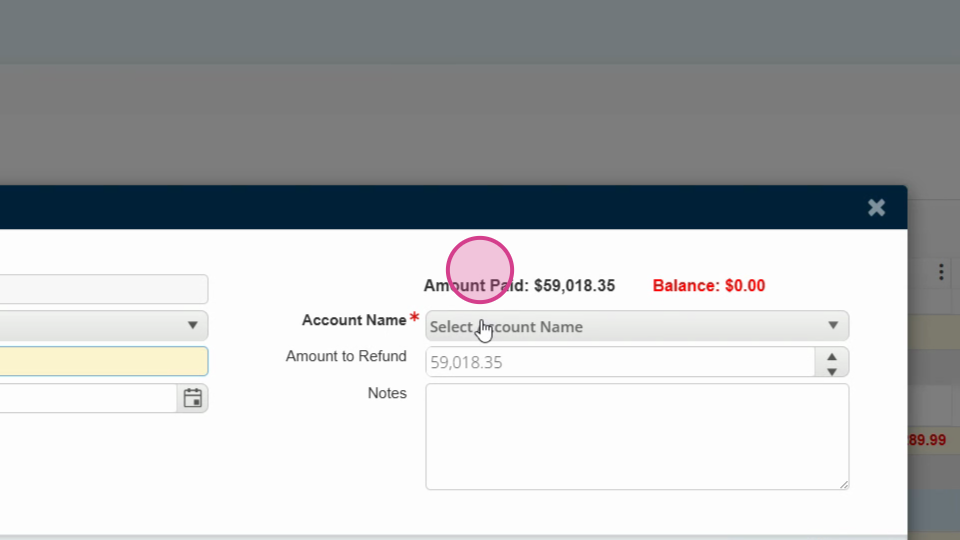
Step 10: Enter the Name.
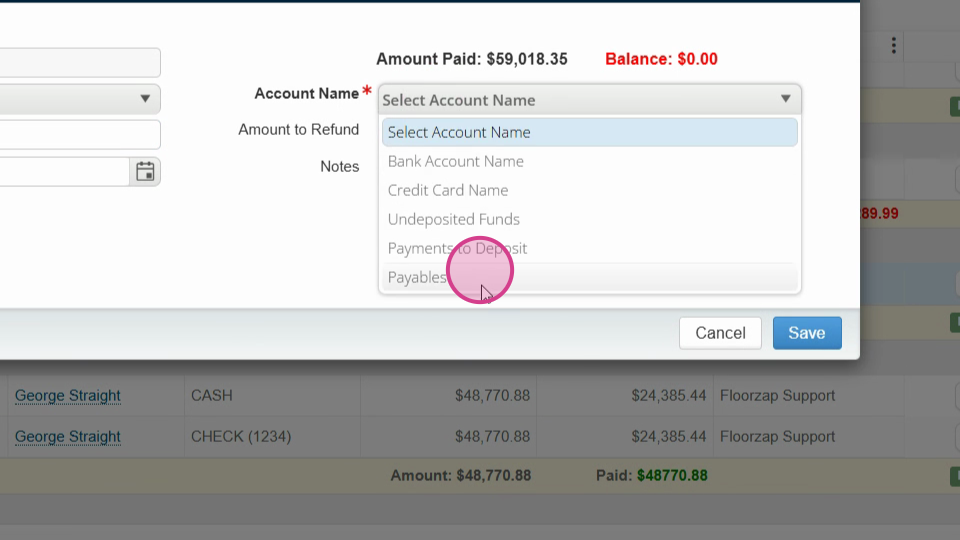
Step 11: Specify the total amount to refund.
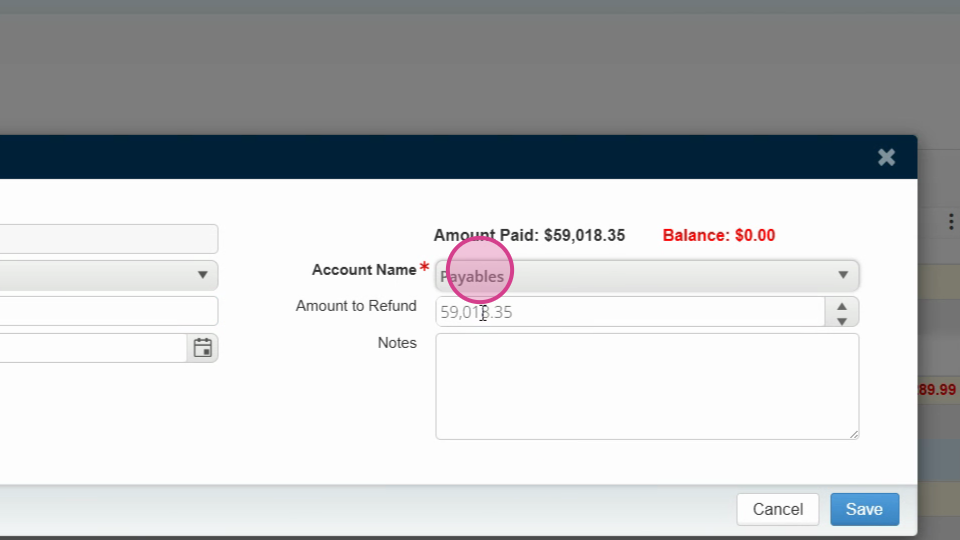
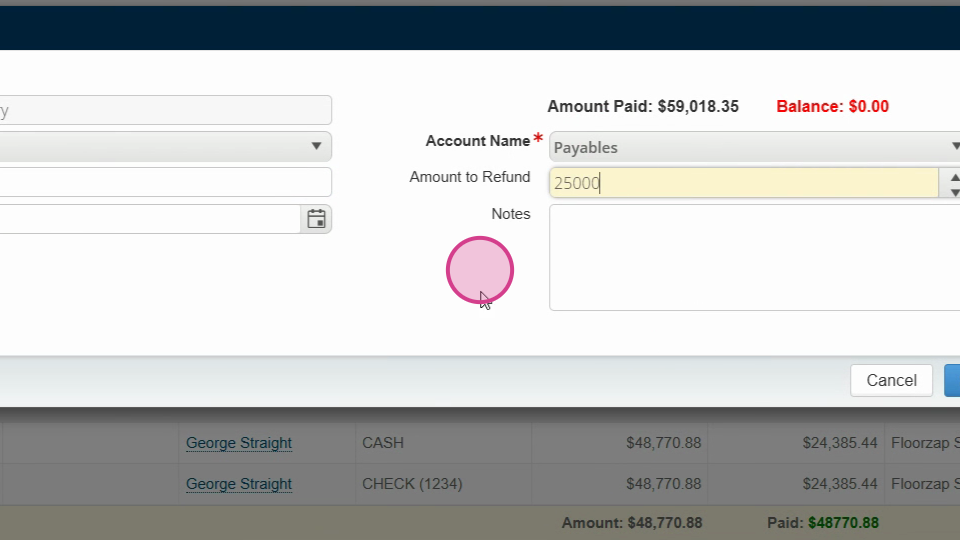
Step 12: Enter the refund amount.
Step 13: We advise against syncing refunds to QuickBooks. Make sure to toggle this switch off.
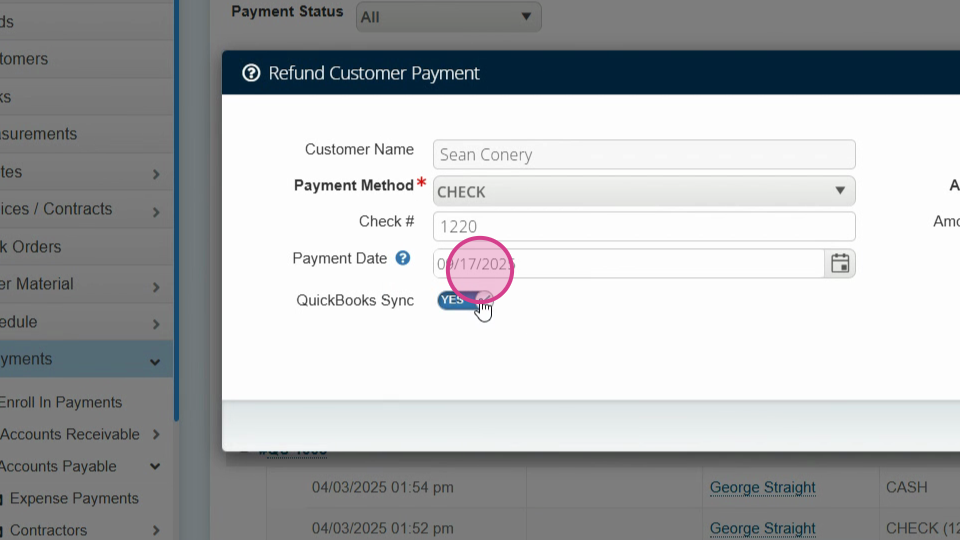
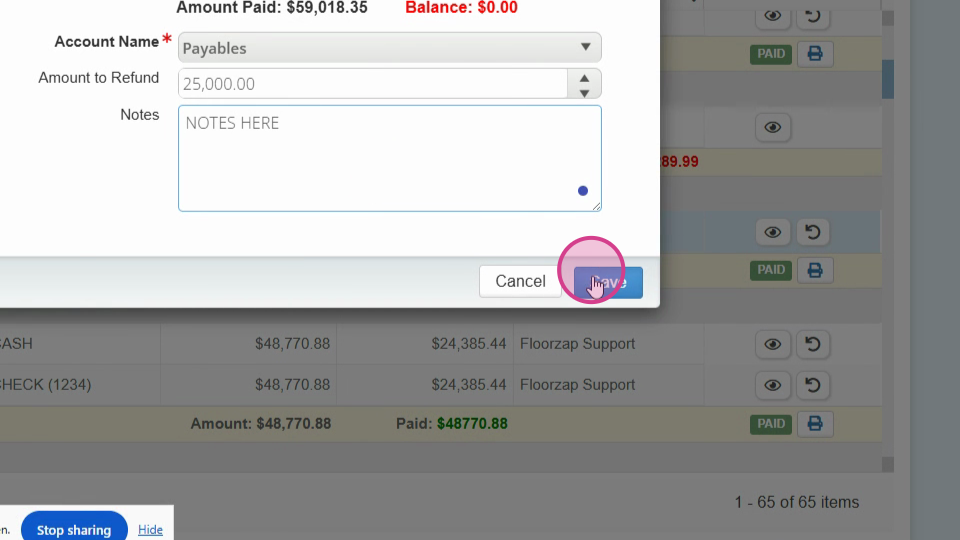
Step 14: Add any notes if necessary.
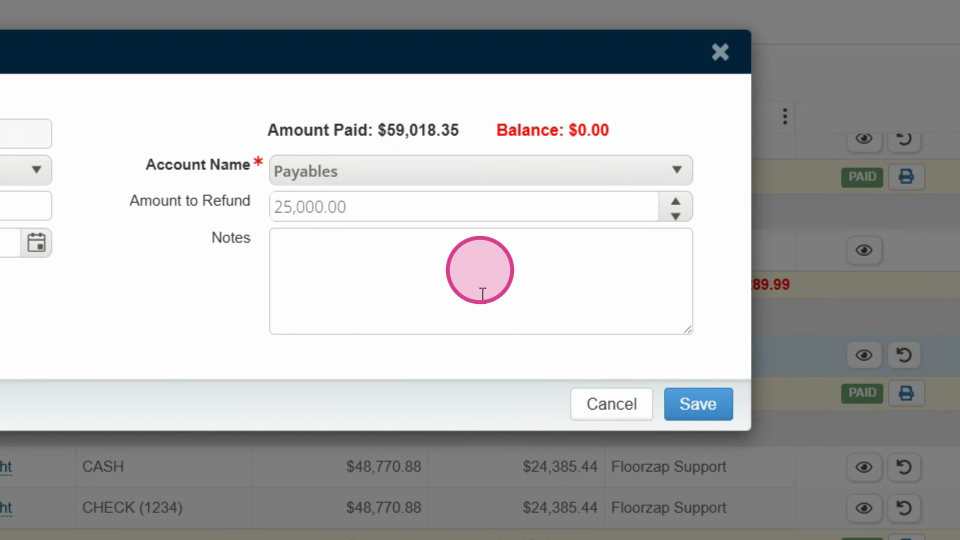
Step 15: Click Save.
Step 16: After making the refund in the Flors app, navigate to QuickBooks.
Step 17: Click on New.
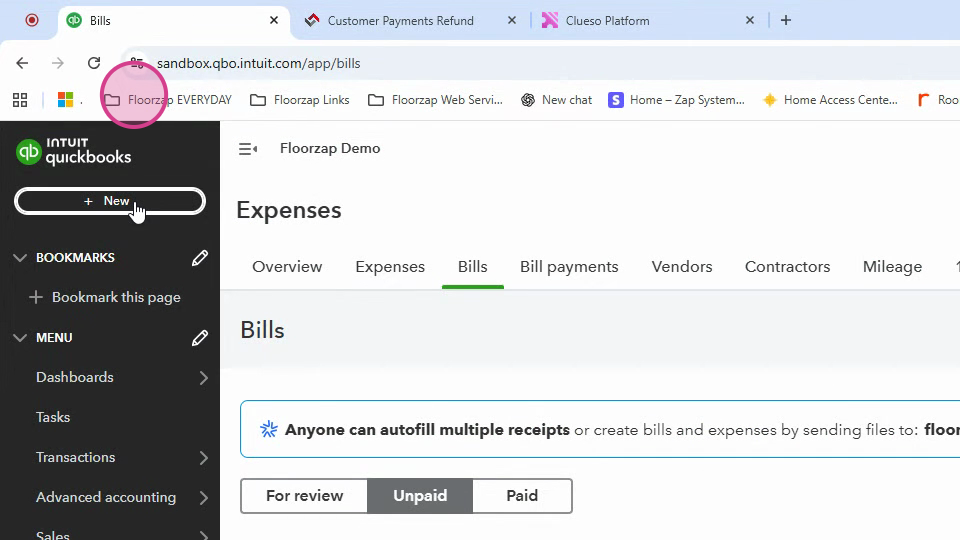
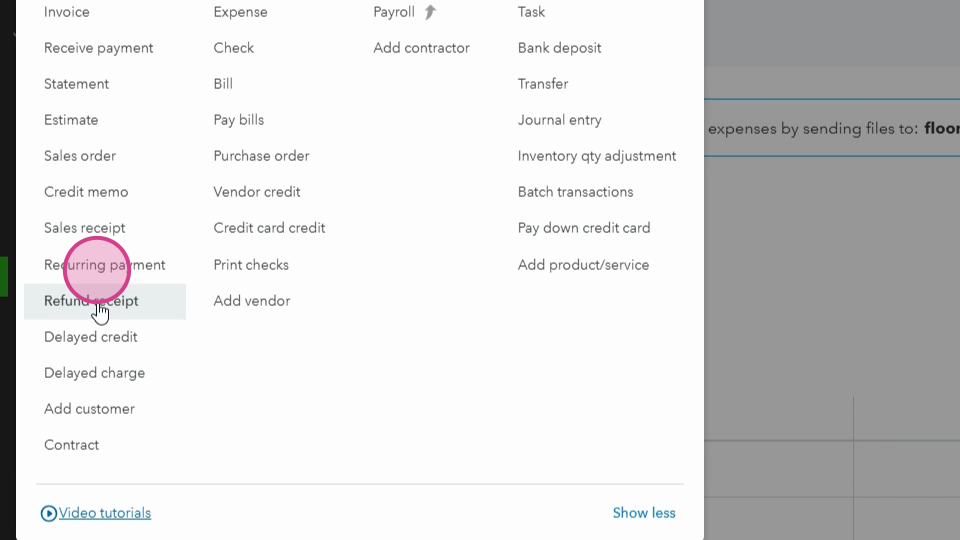
Step 18: Select Refund receipt.
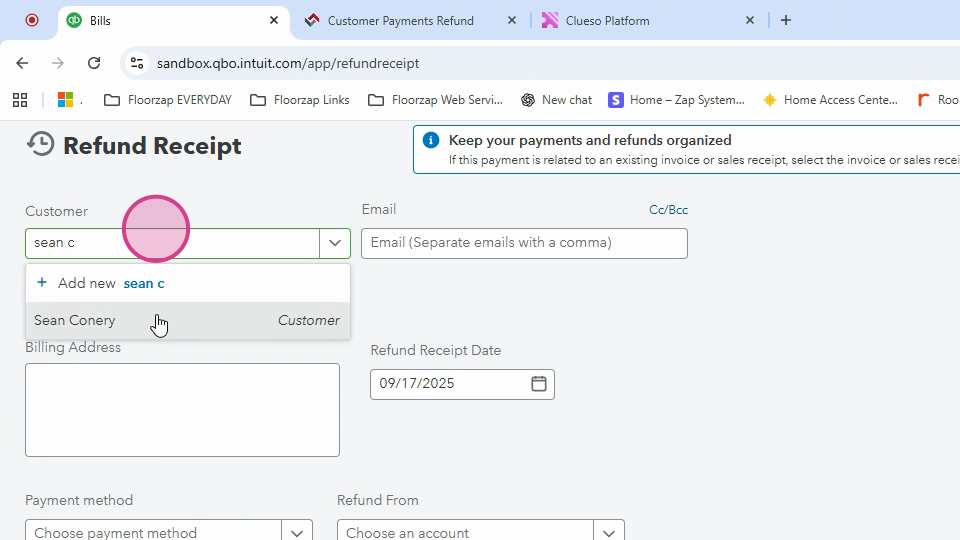
Step 19: Look for your customer.
Step 20: Select your payment method.
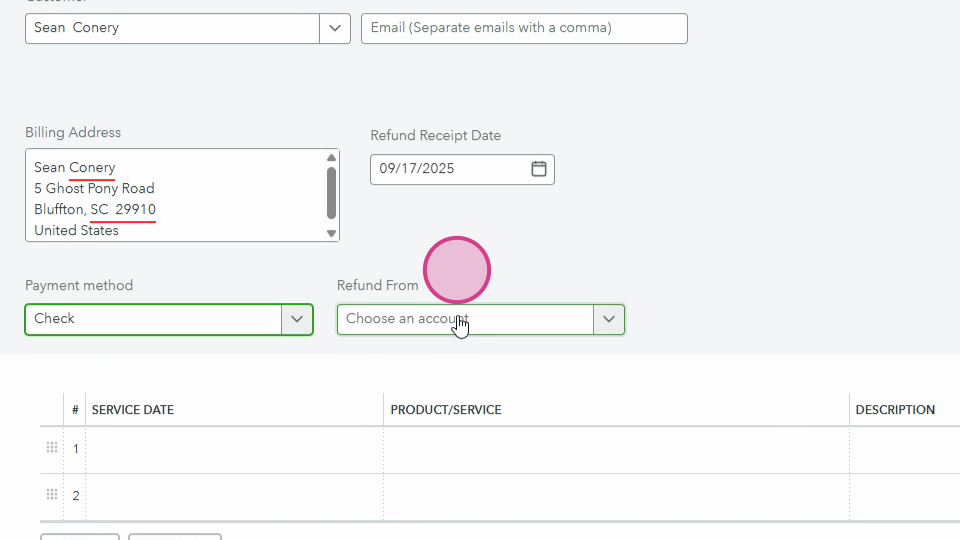
Step 21: Enter your bank account number and check number.
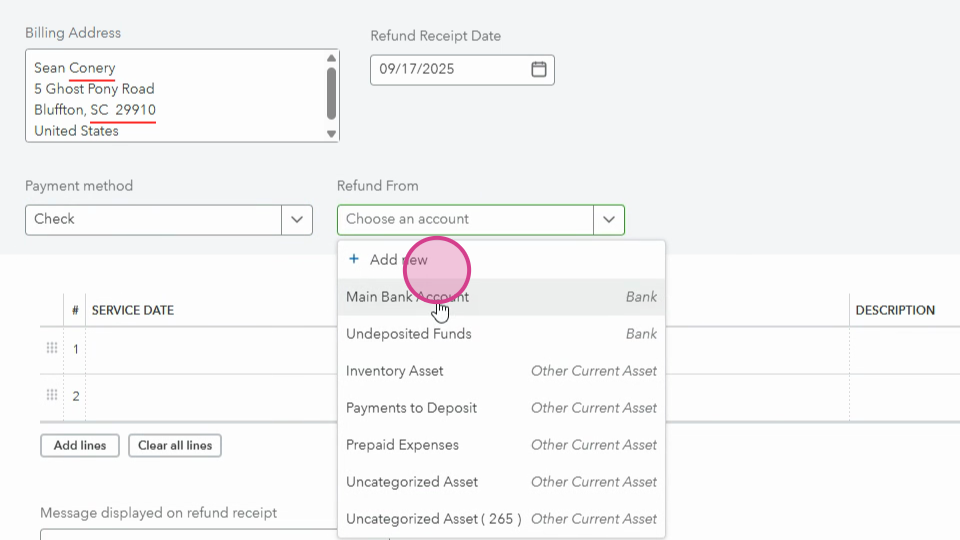
Step 22: Fill in the Bank account number and Check number.
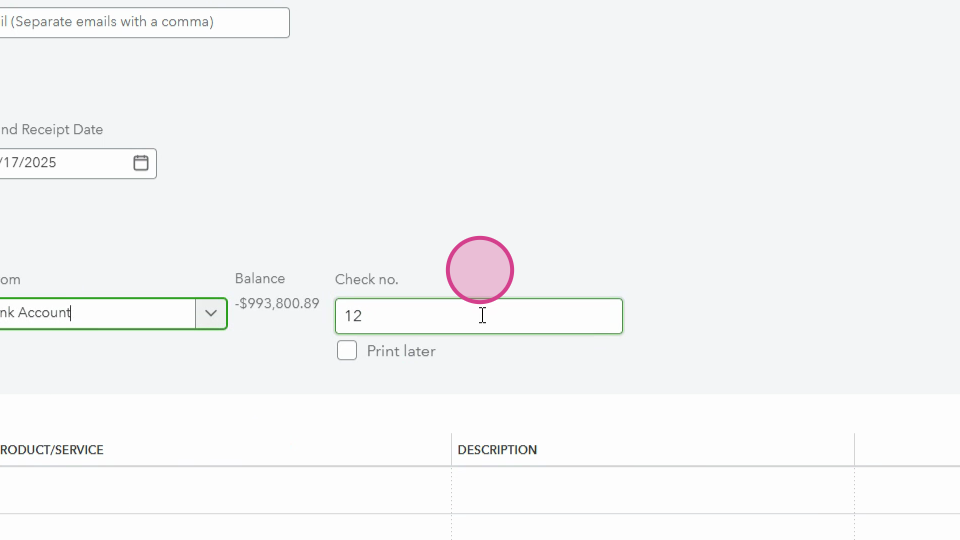
Step 23: Add any other details regarding the refund.
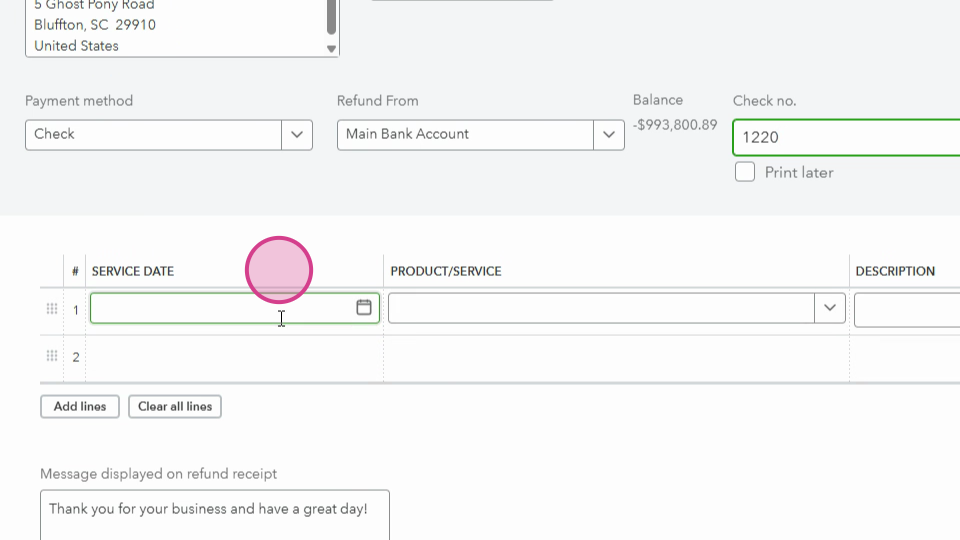
Step 24: Enter the refund amount.
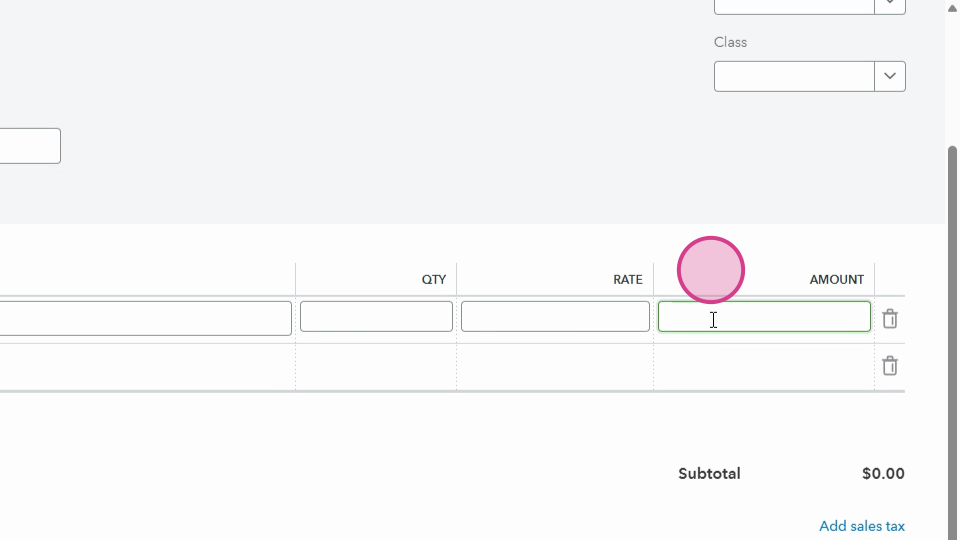
Step 25: Choose to Save and close, Save and send, or Save and new.
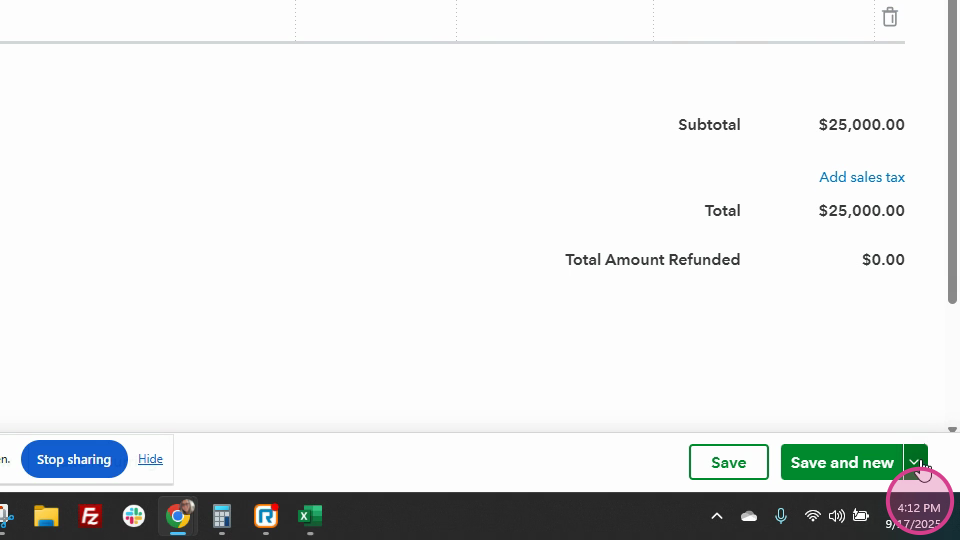
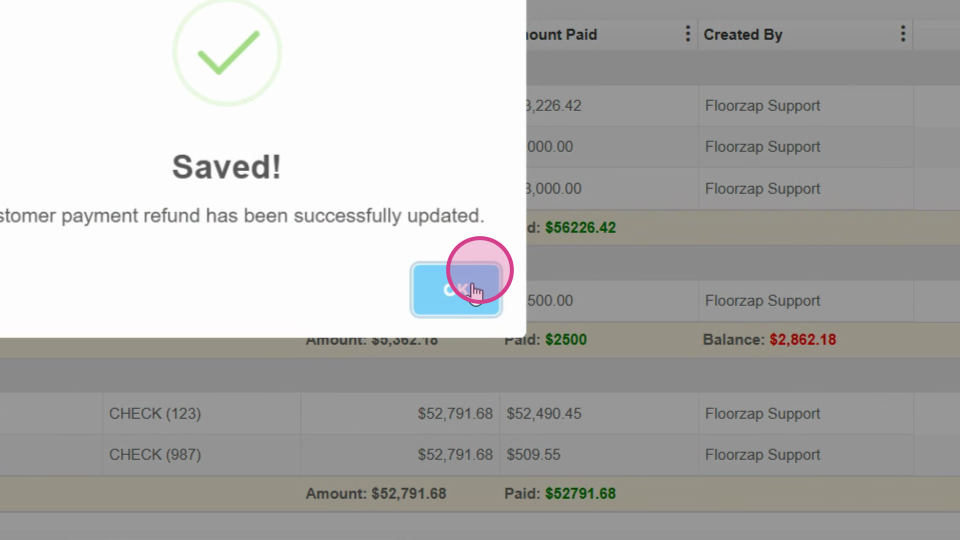
Step 26: Confirm that the refund has been issued successfully.
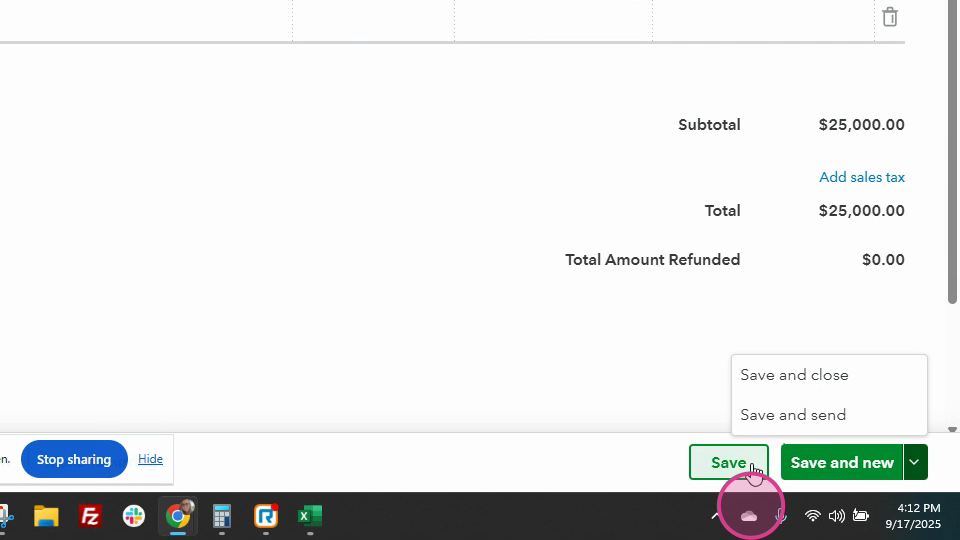
Step 27: Click OK to complete the process.
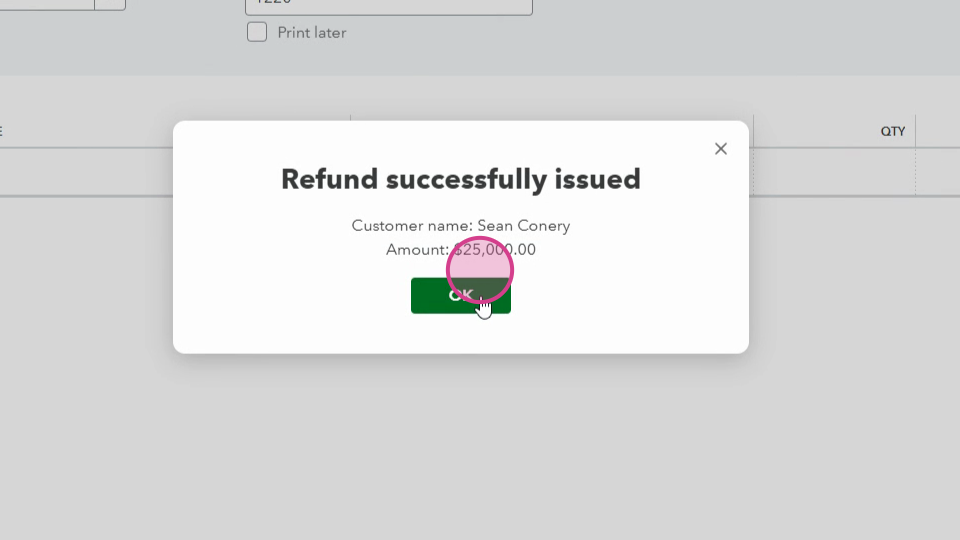
And that's all there is to it! You've successfully created a customer refund.