Creating an In-Store Measurement in the Floors App
Tracking in-store measurements in the Floors app helps you organize client details, room sizes, and services offered with accuracy. Follow these steps to create a new measurement and find it under your customer's profile later.
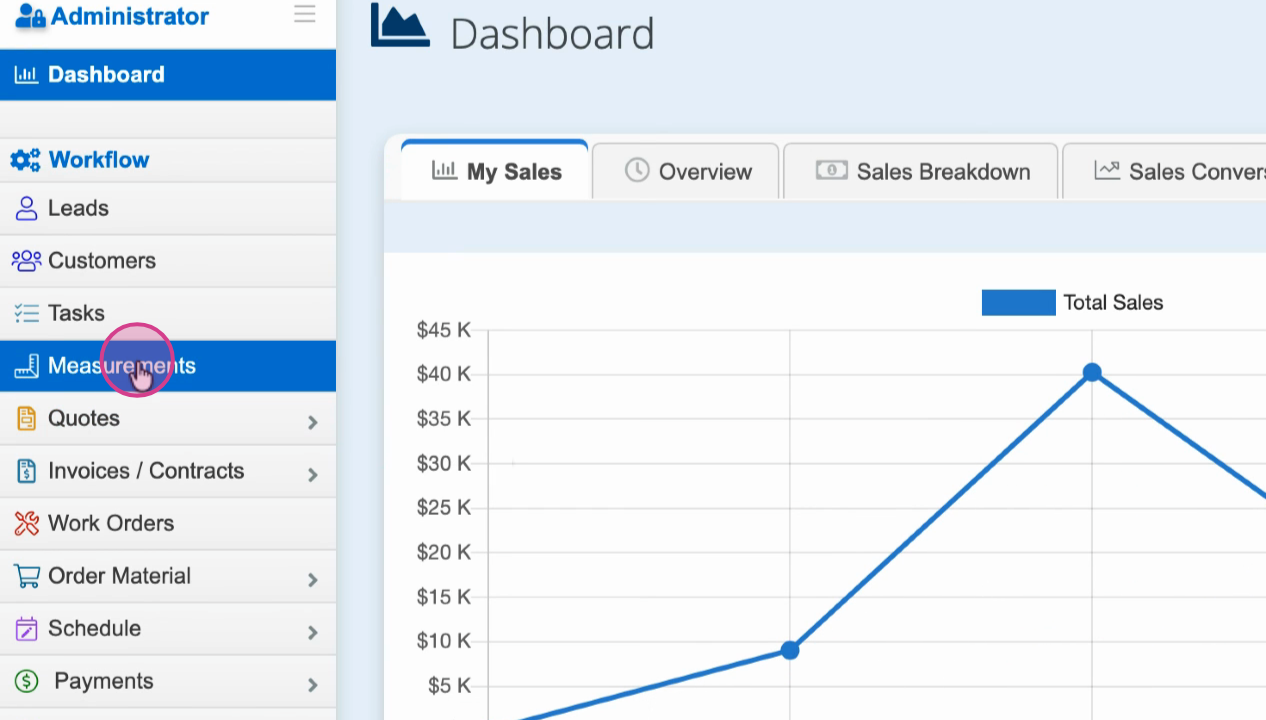
Step 1: Open the Measurements section in the Floors app.
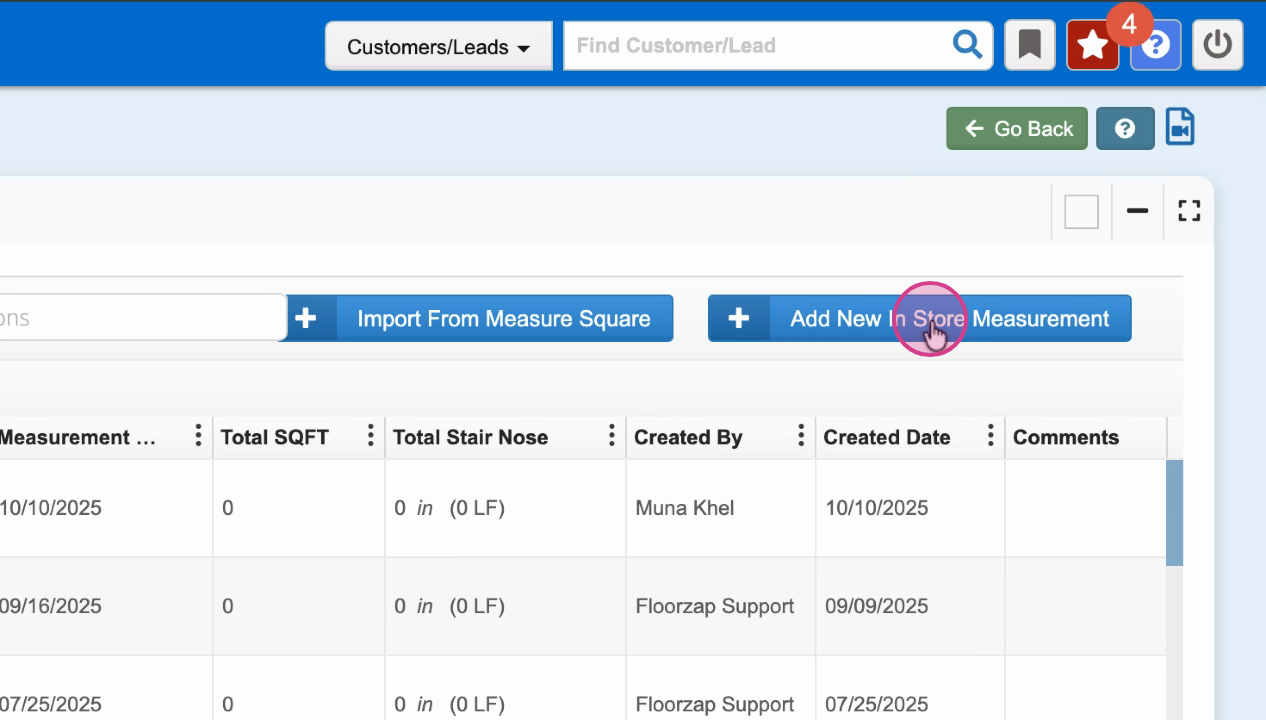
Step 2: Tap Add New In Store Measurement.
Step 3: Enter a name for your measurement task.
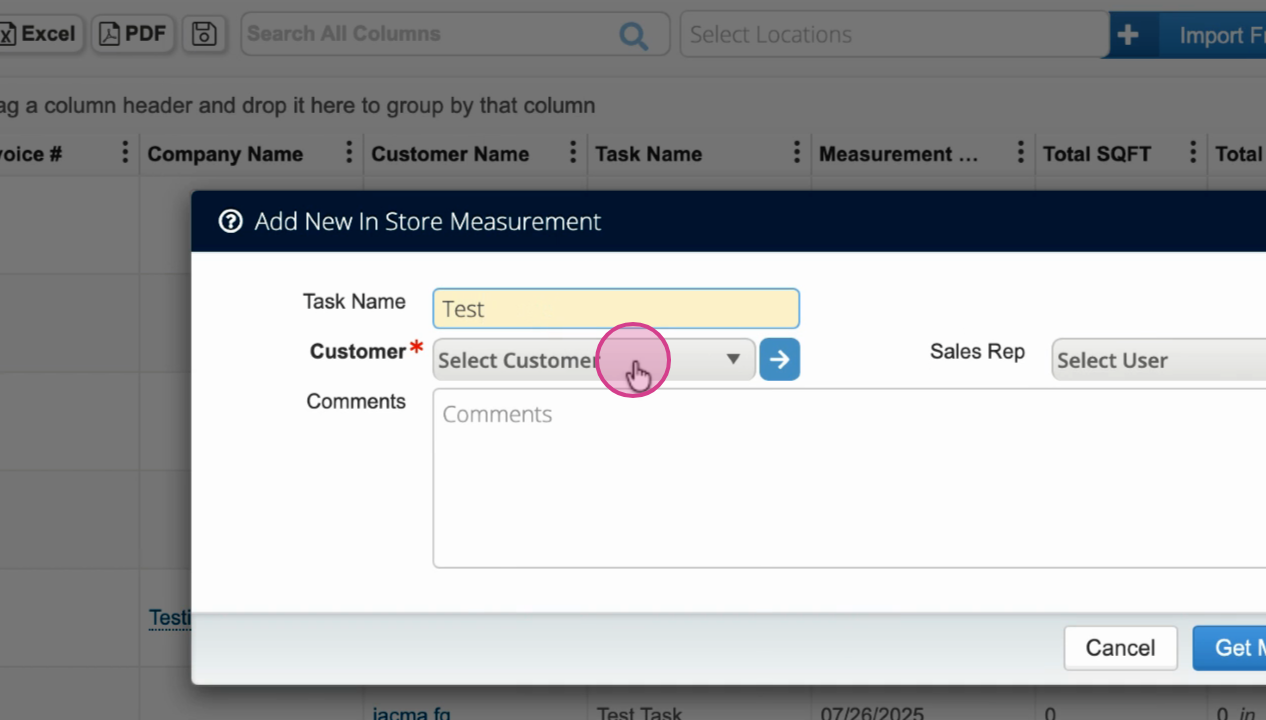
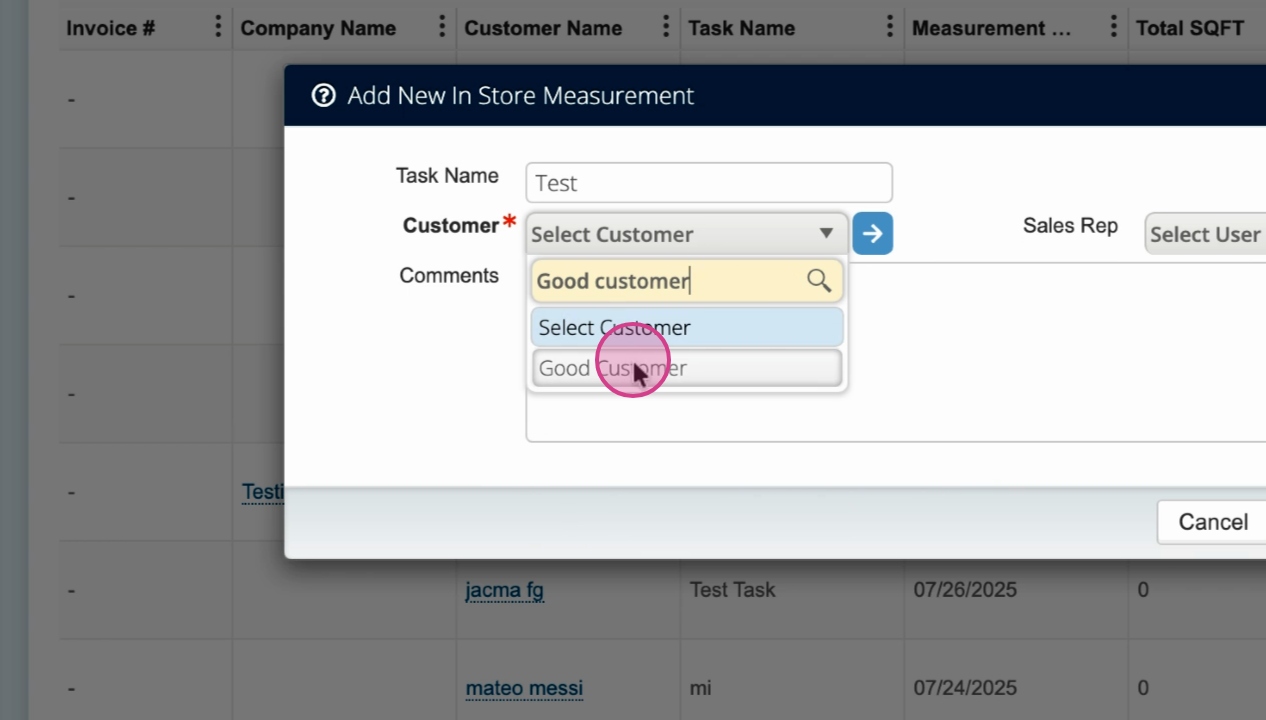
Step 4: Select the customer and sales representative linked to this measurement.
Step 5: Add relevant comments describing the task, like "test measurement for living room."
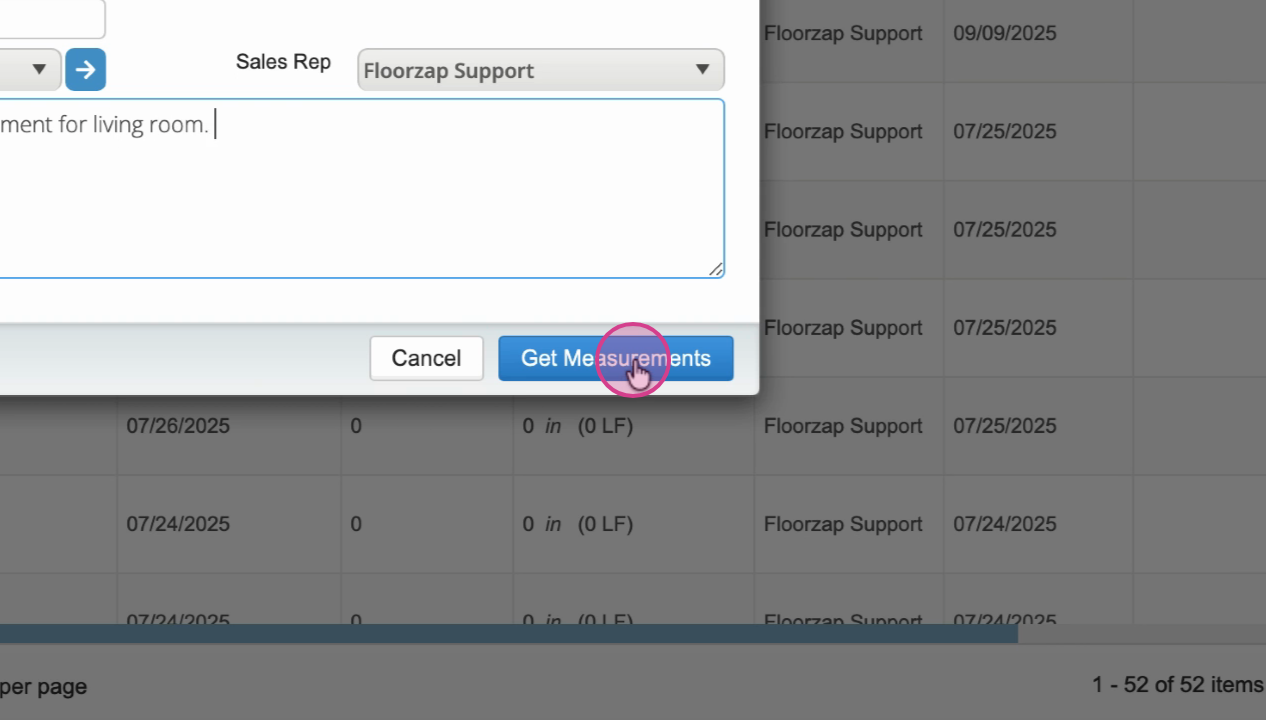
Step 6: Tap Get Measurements. Choose the floor where you’re working.
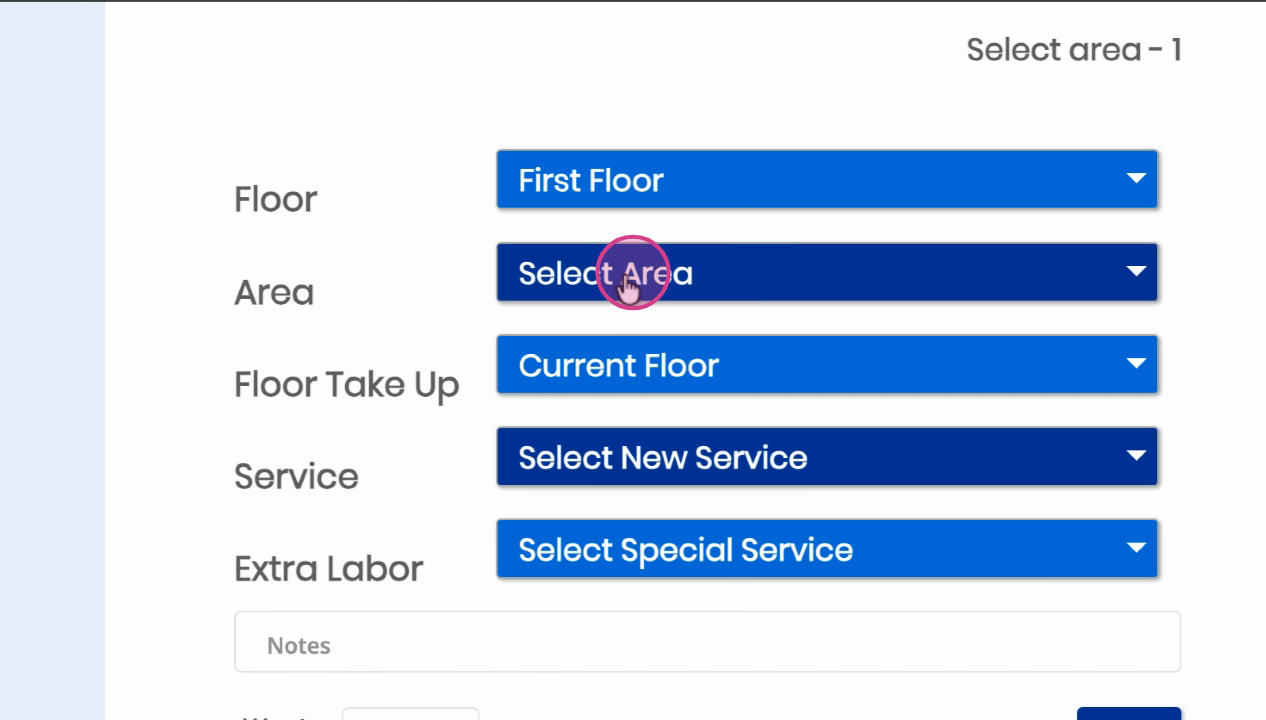
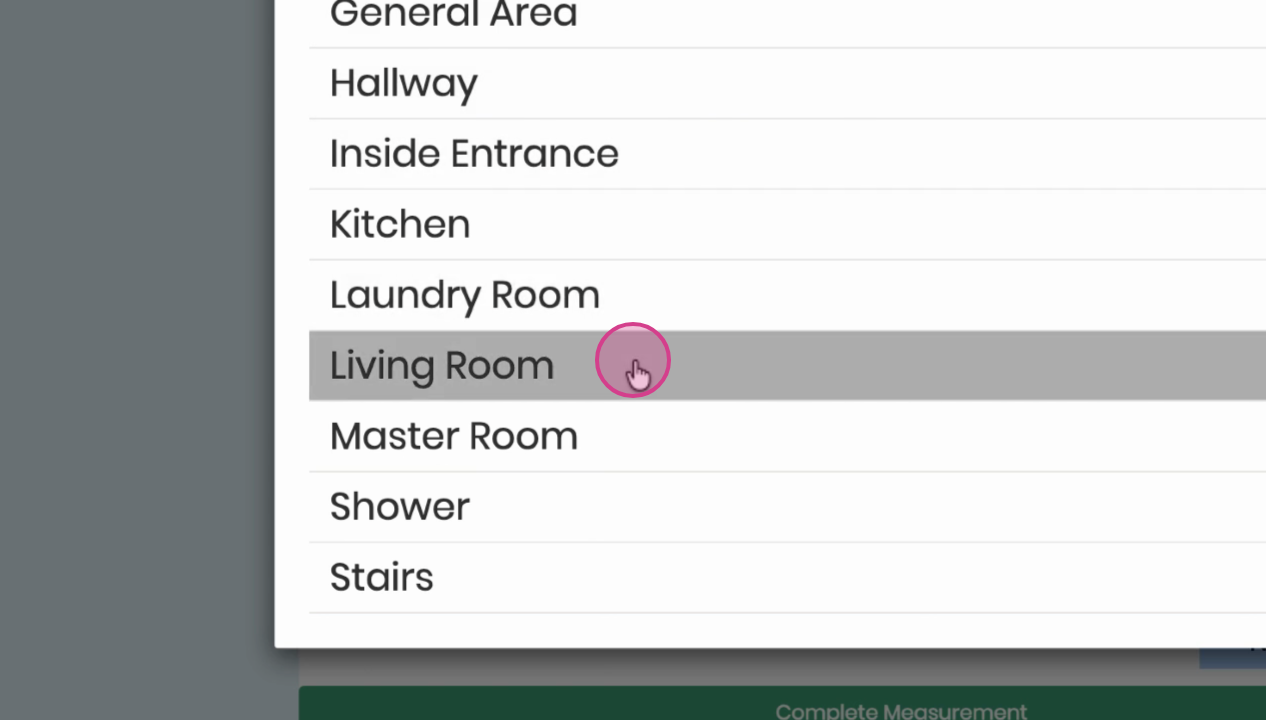
Step 7: Select the area to measure, such as Living Room.
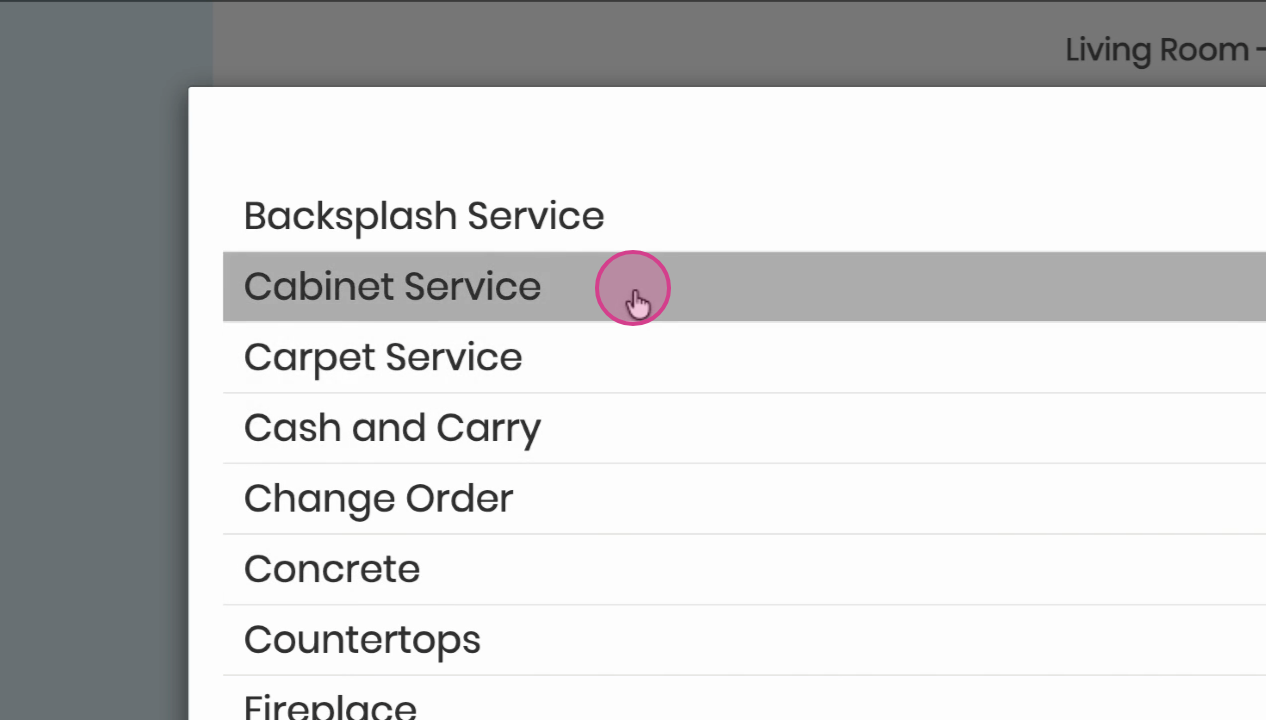
Step 8: Specify if floor removal is needed, note the current floor type (like hardwood), and select the new service (for example, carpet) along with any additional labor.
Step 9: Add the cut by tapping Add Cut, then enter the dimensions (for example, 50 ft by 30 ft).
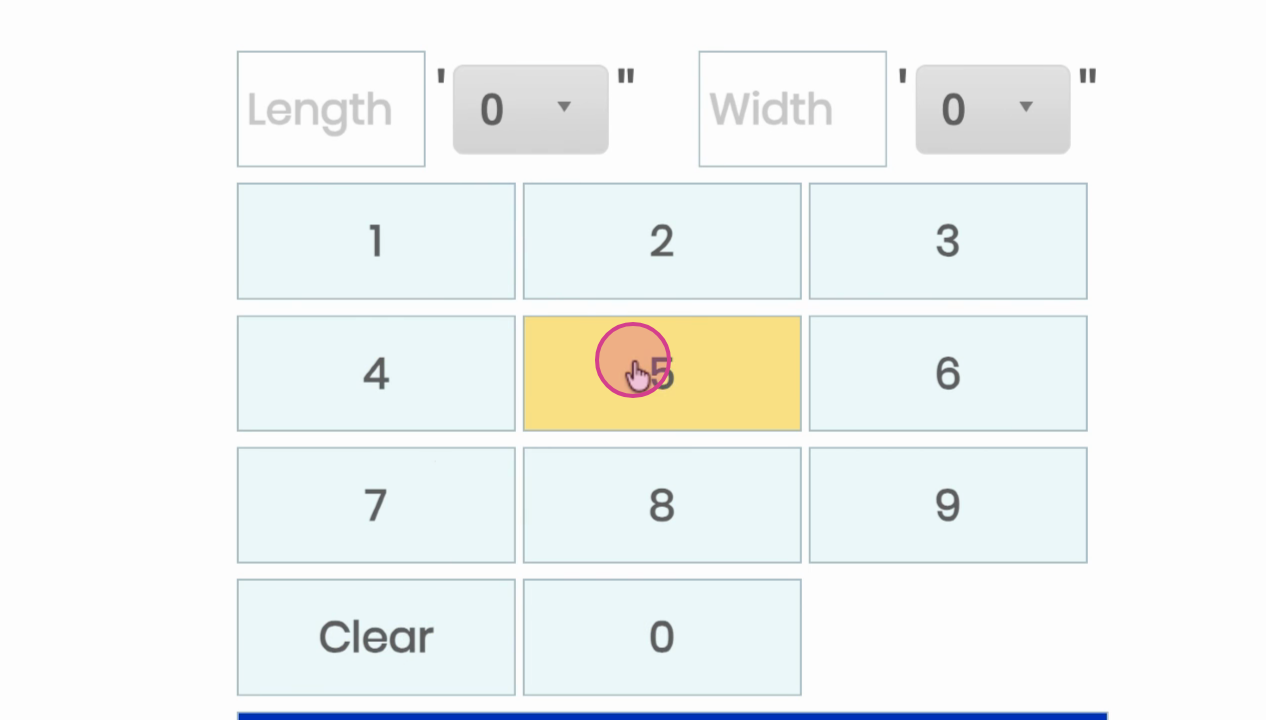
Step 10: Confirm the area size and review the calculated square footage.
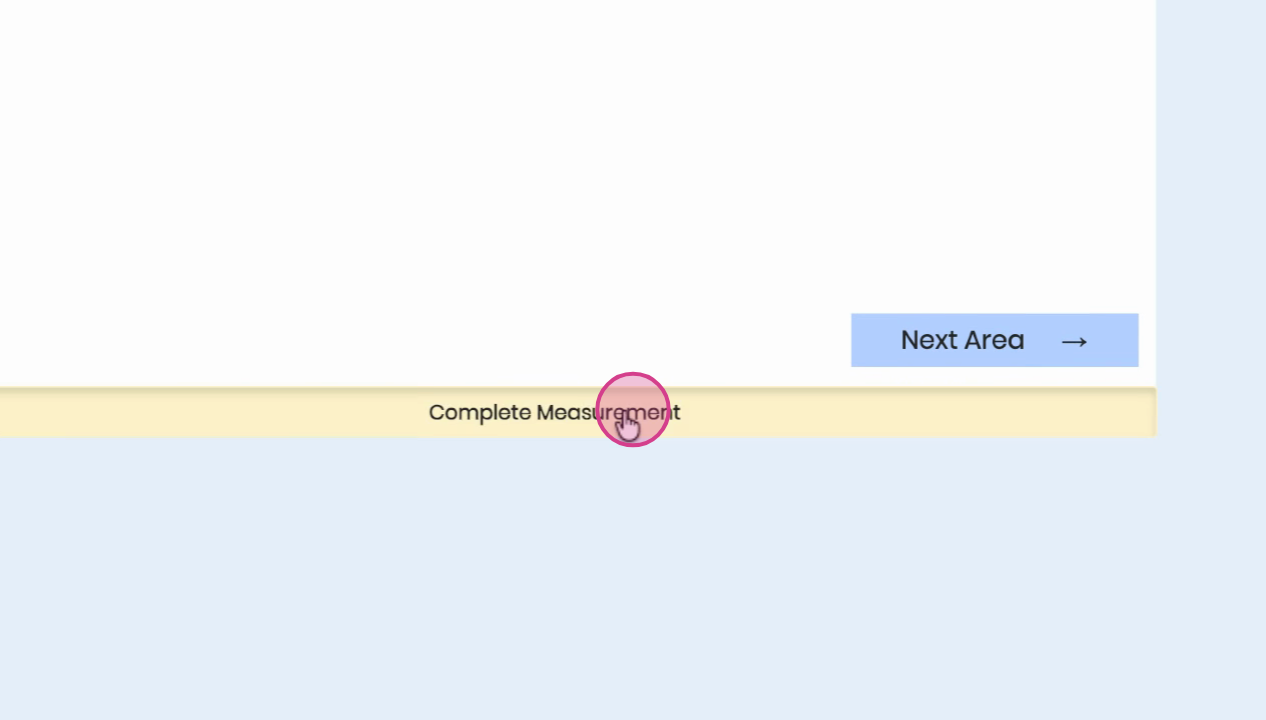
Step 11: Tap Complete Measurement and then Save Area Details.

Finding and Editing Your Measurement
Once saved, your measurement appears in the customer’s record, where you can view, edit, or delete it as needed.
Step 1: Open the Customers section.

Step 2: Search for and select the customer you assigned to the measurement.
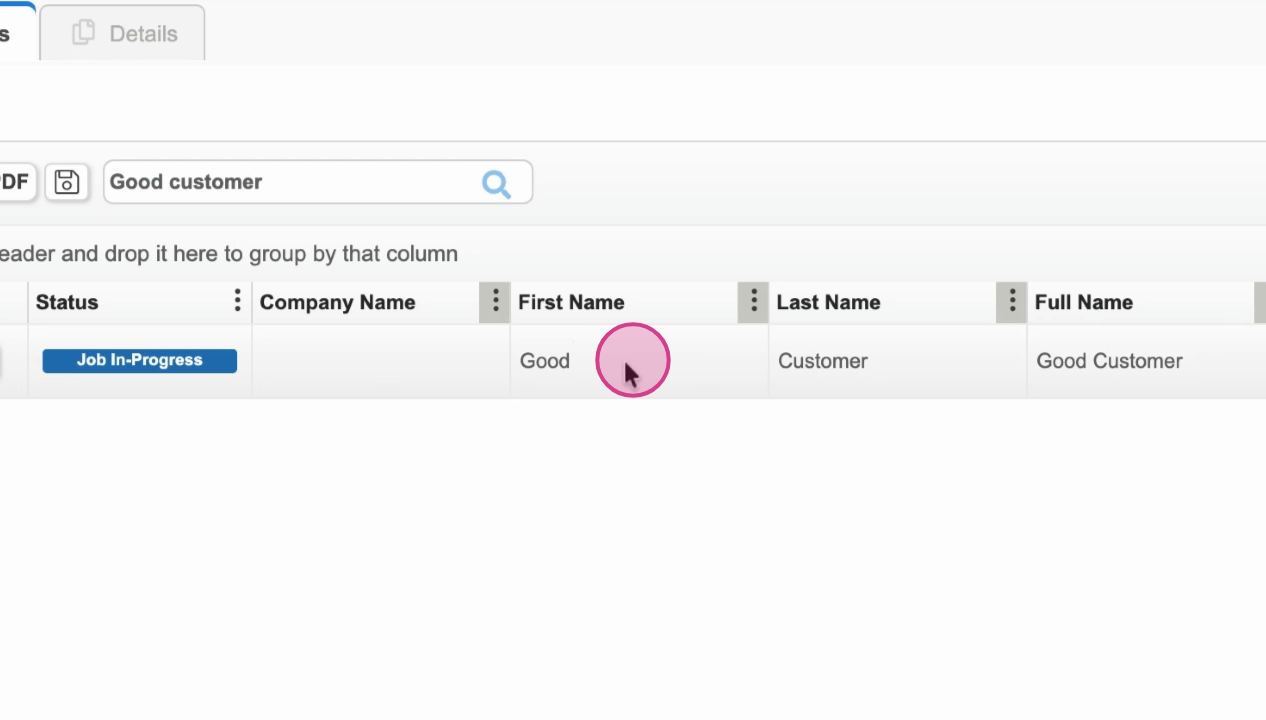
Step 3: Double-click the customer’s name, then navigate to Measurements.
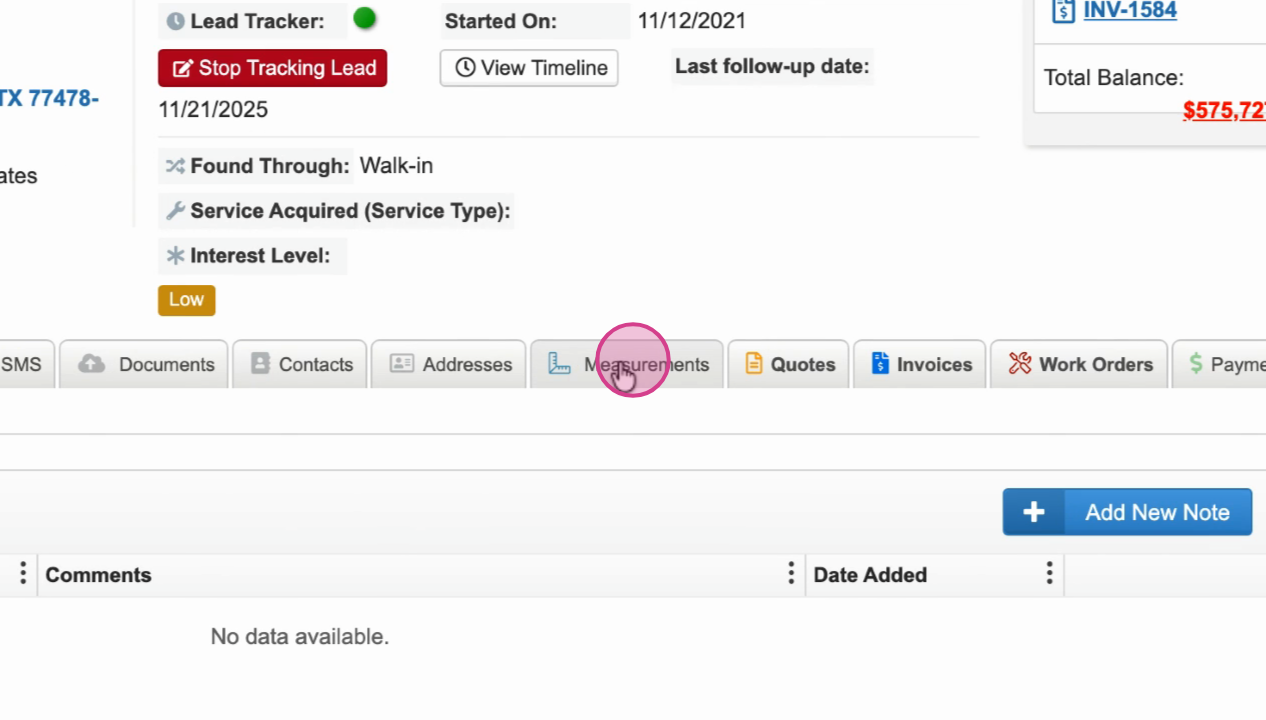
Step 4: Find your in-store measurement listed with details (like area and size). Edit, view rooms, or delete as your workflow requires.
Storing measurements in the Floors app keeps project details organized and accessible for your team and customers.