In this tutorial, you'll learn how to create and manage product labels.
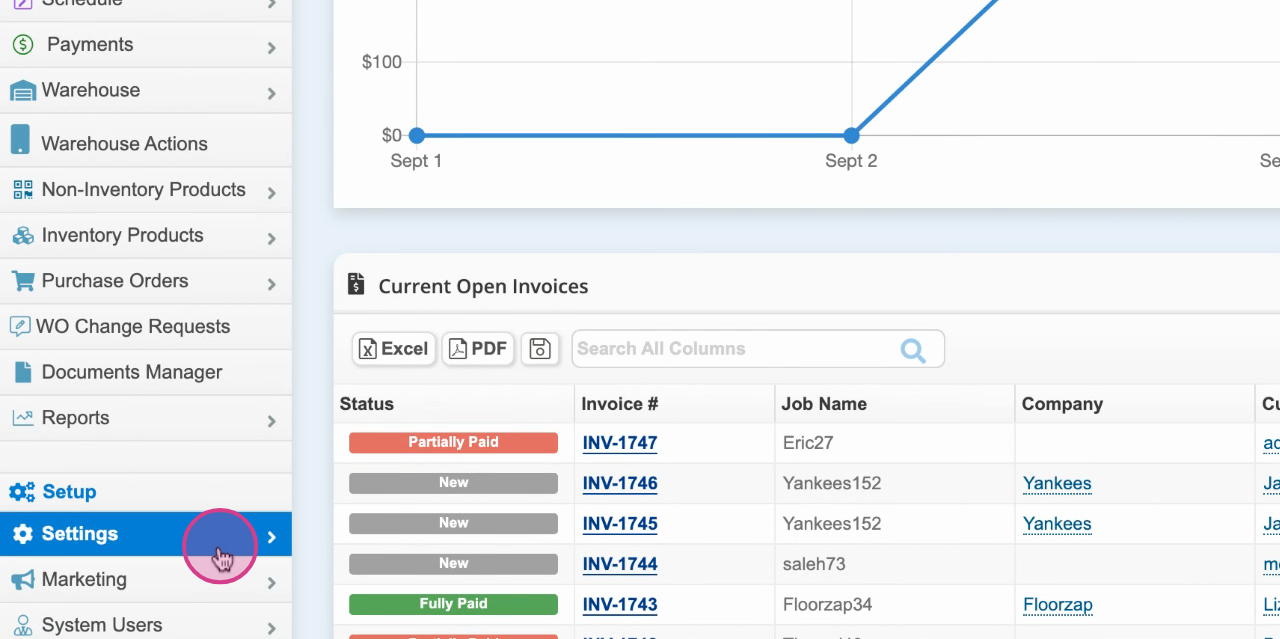
Step 1: Start by navigating to your settings.
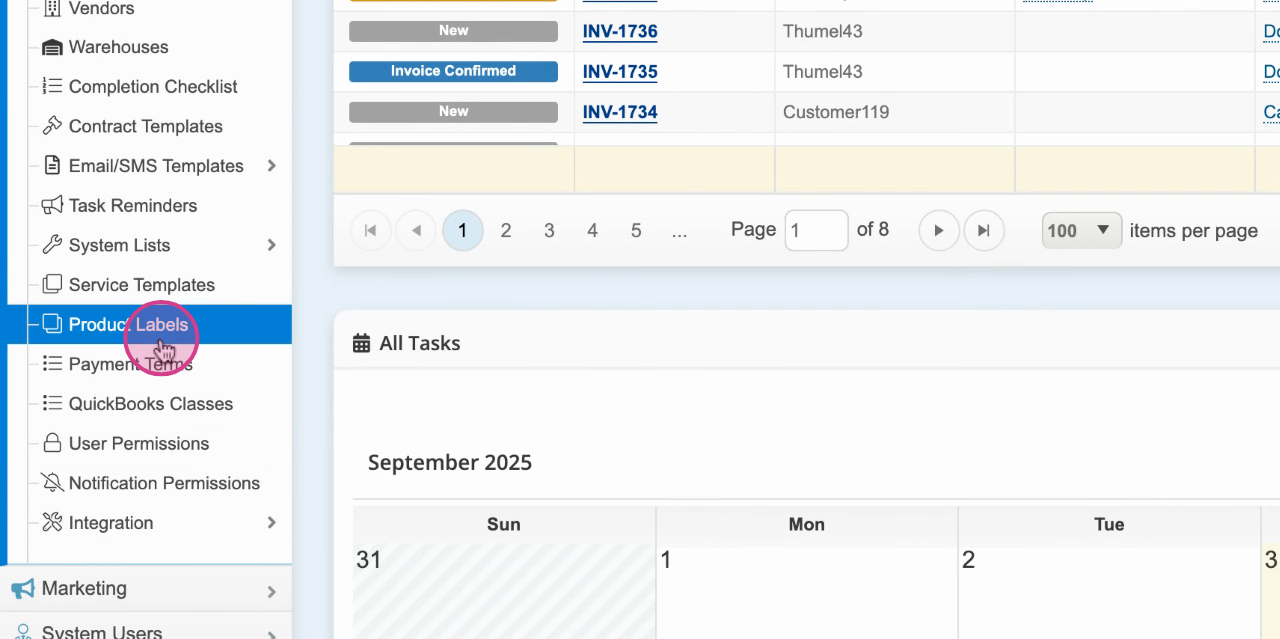
Step 2: Proceed to Product Labels.
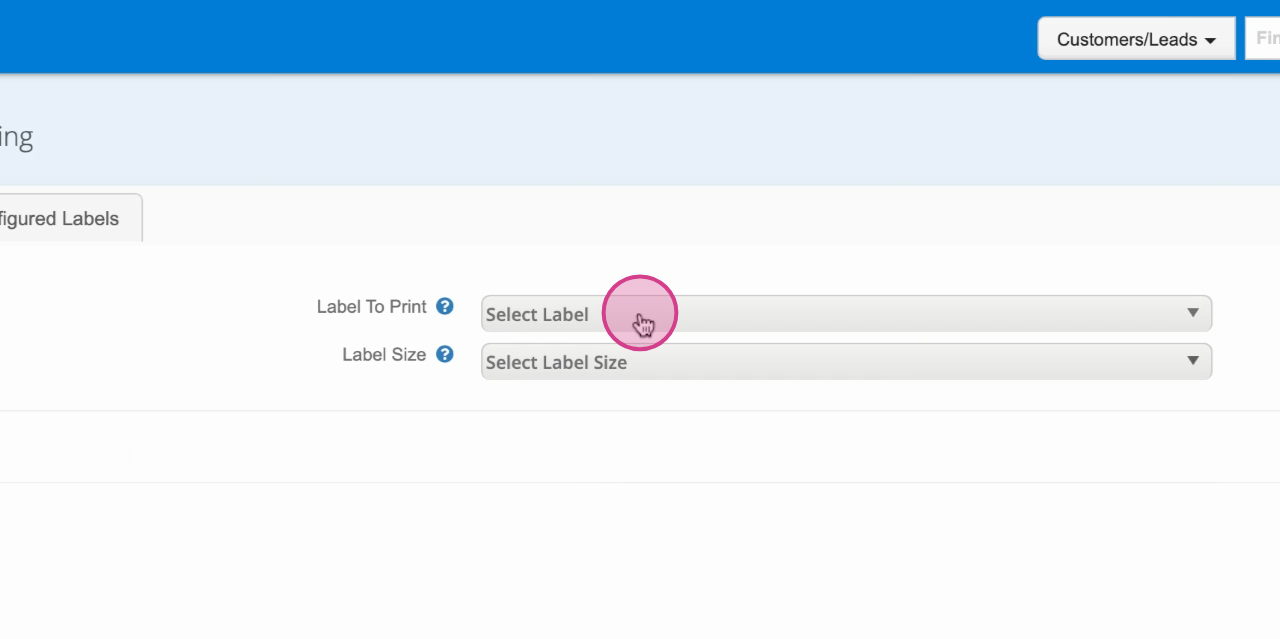
Step 3: Choose Select Product.
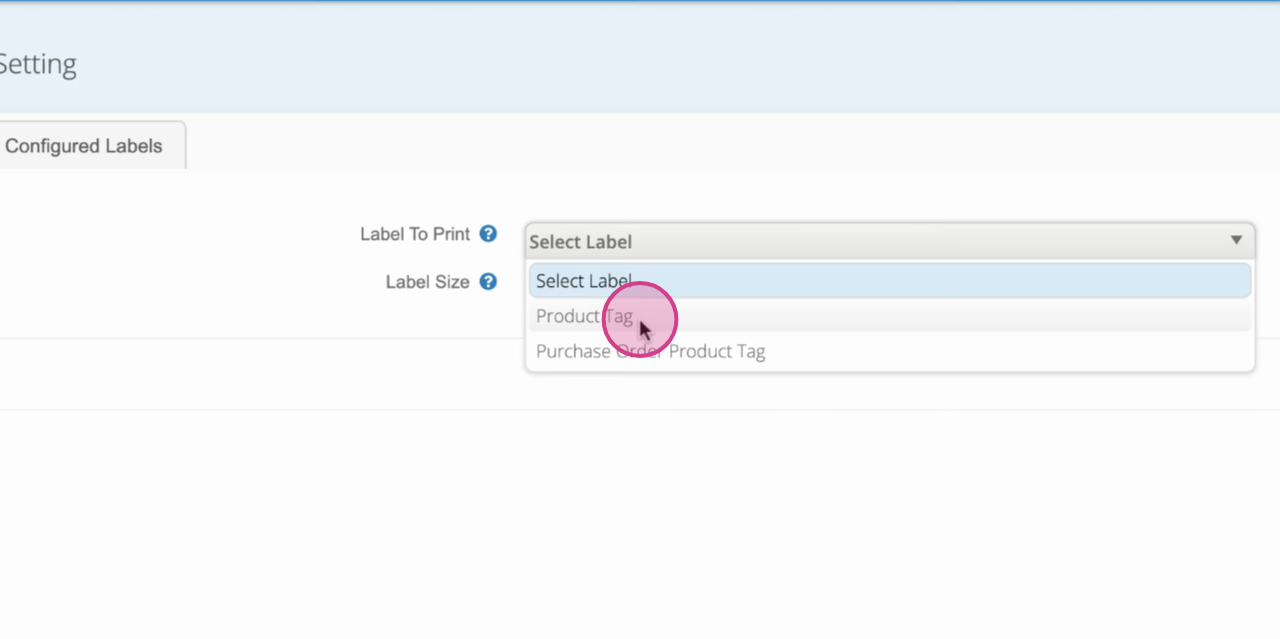
Step 4: Tag the label you want to print.
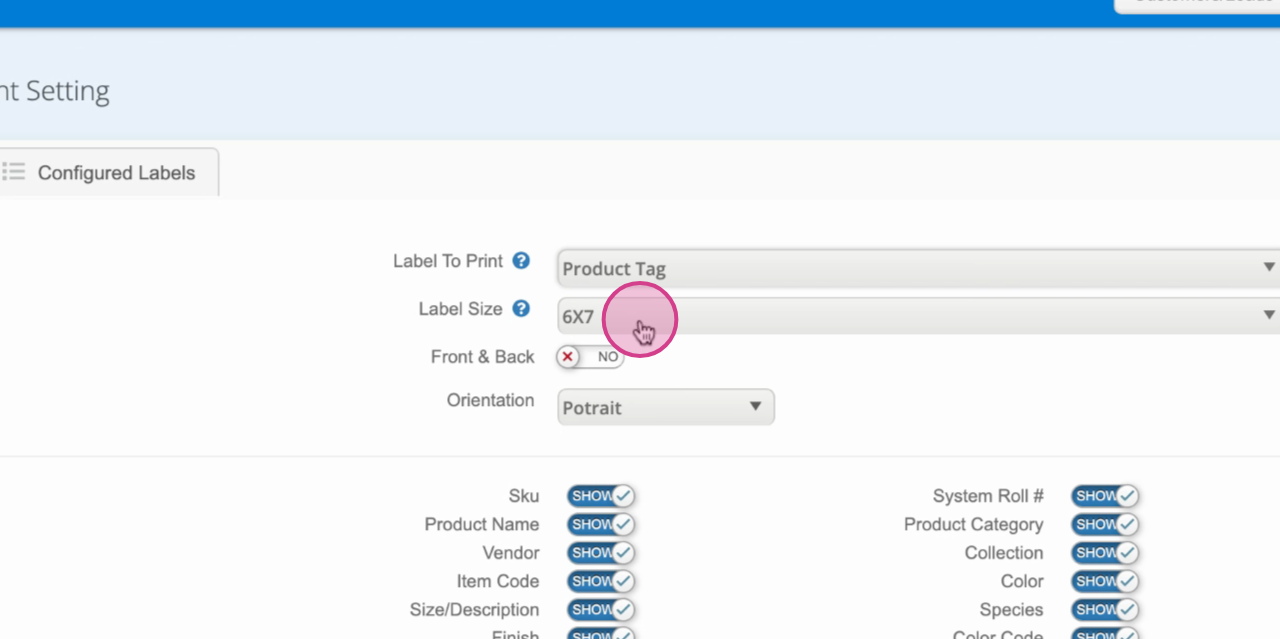
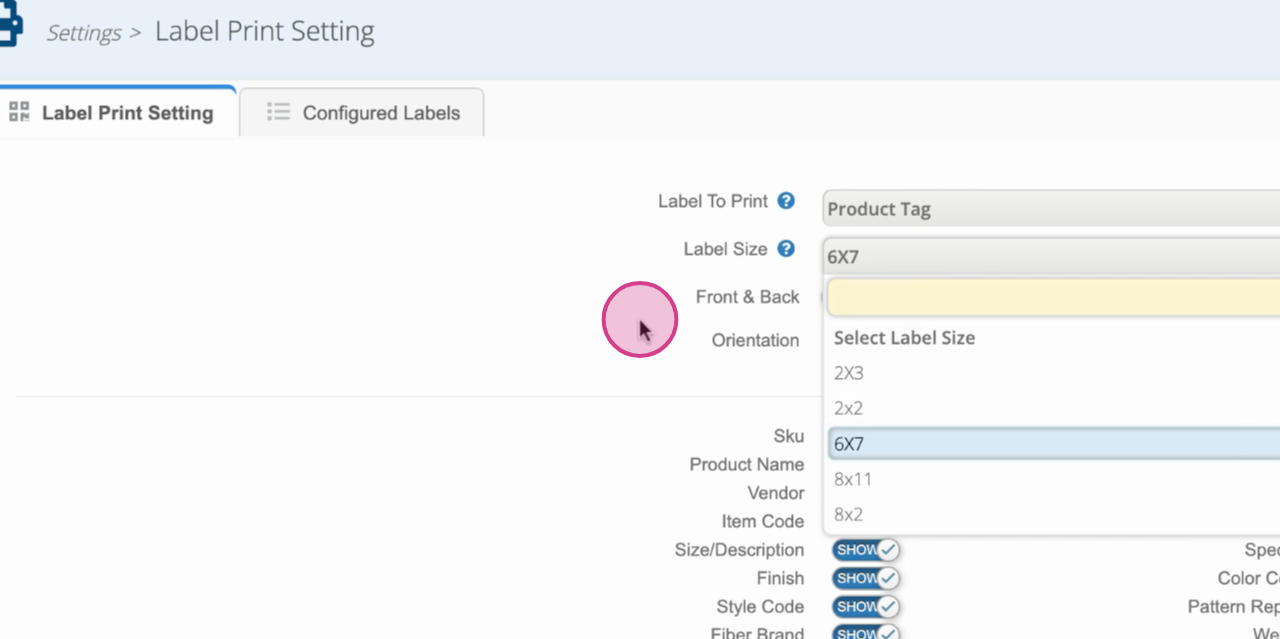
Step 5: Determine your label size.
Step 6: Decide if you want the label to print on both the front and back.
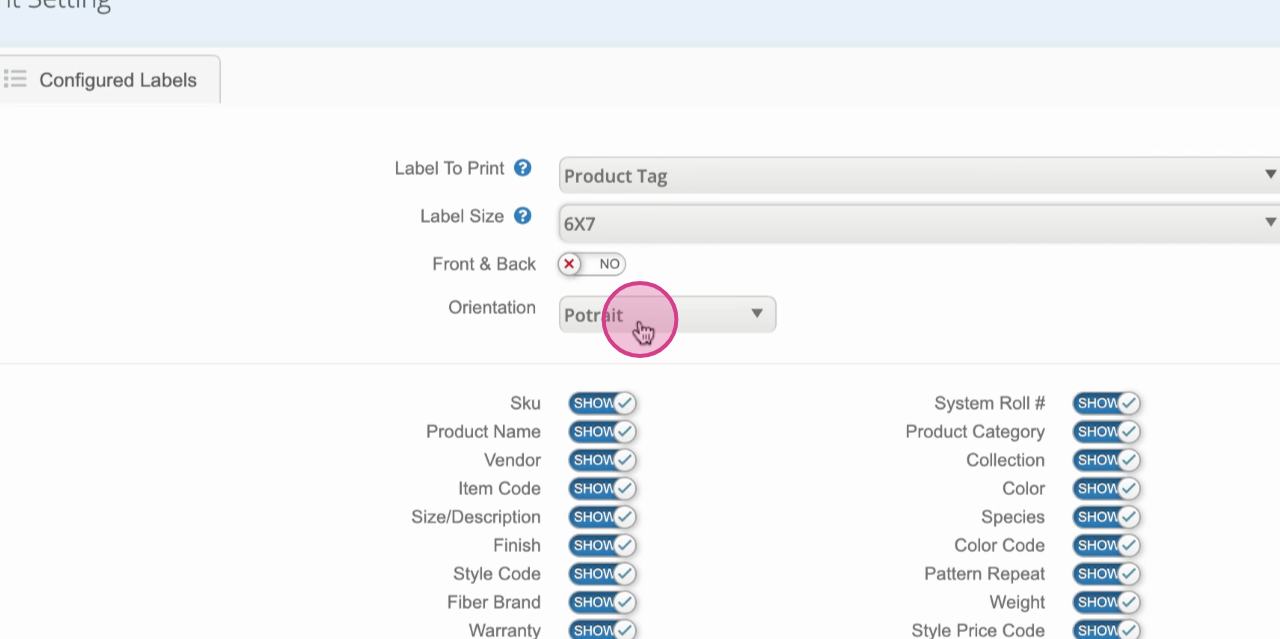
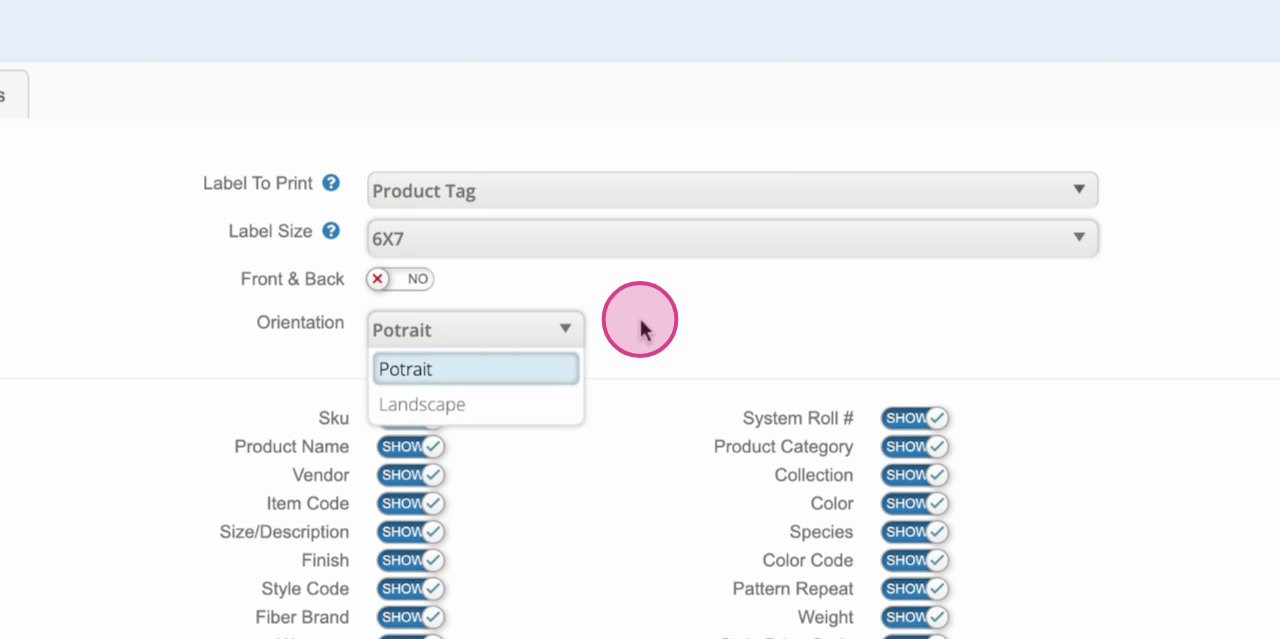
Step 7: Set your preferred orientation.
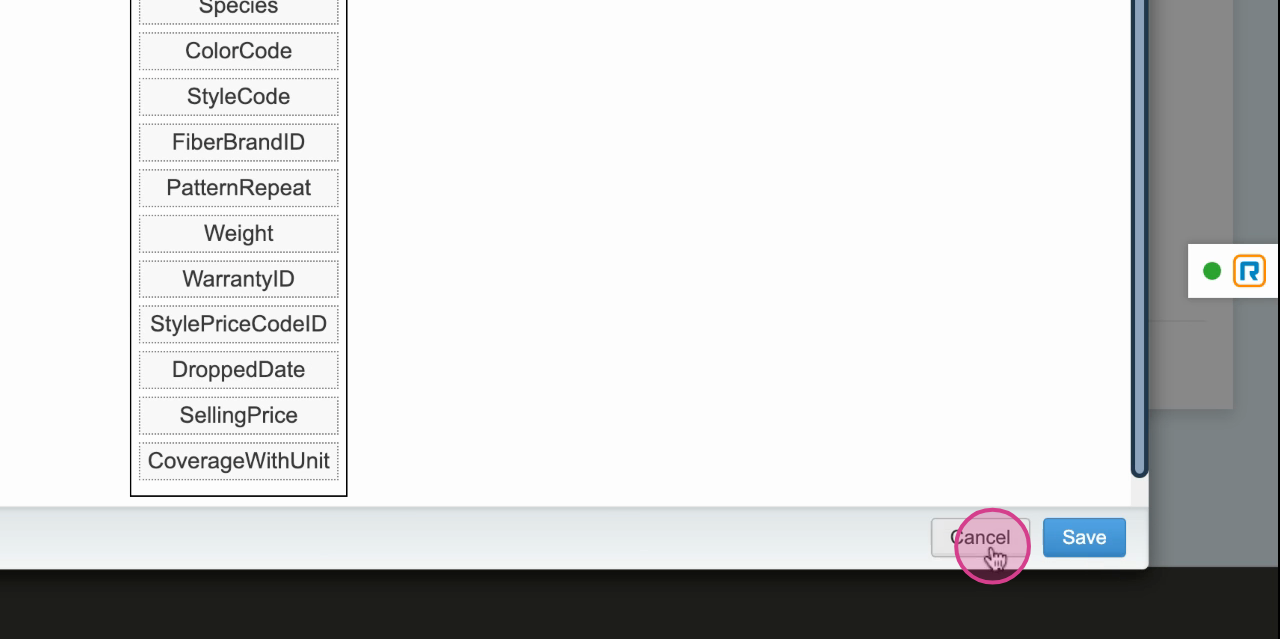
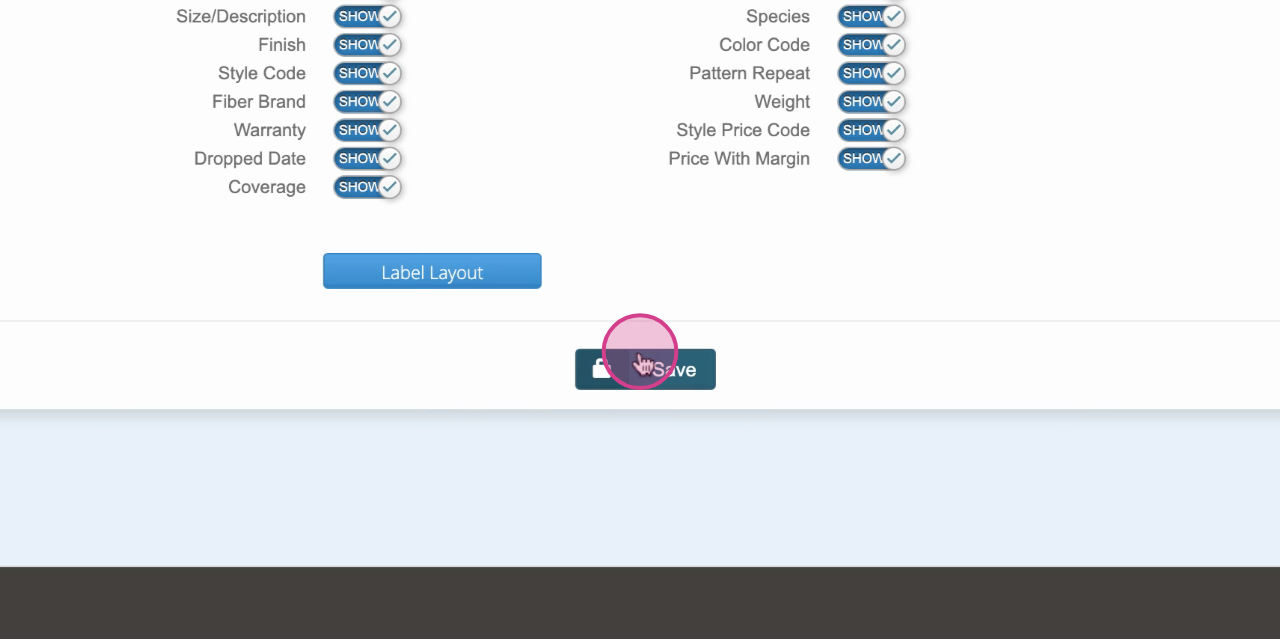
Step 8: Choose the product categories you want to display on the label.
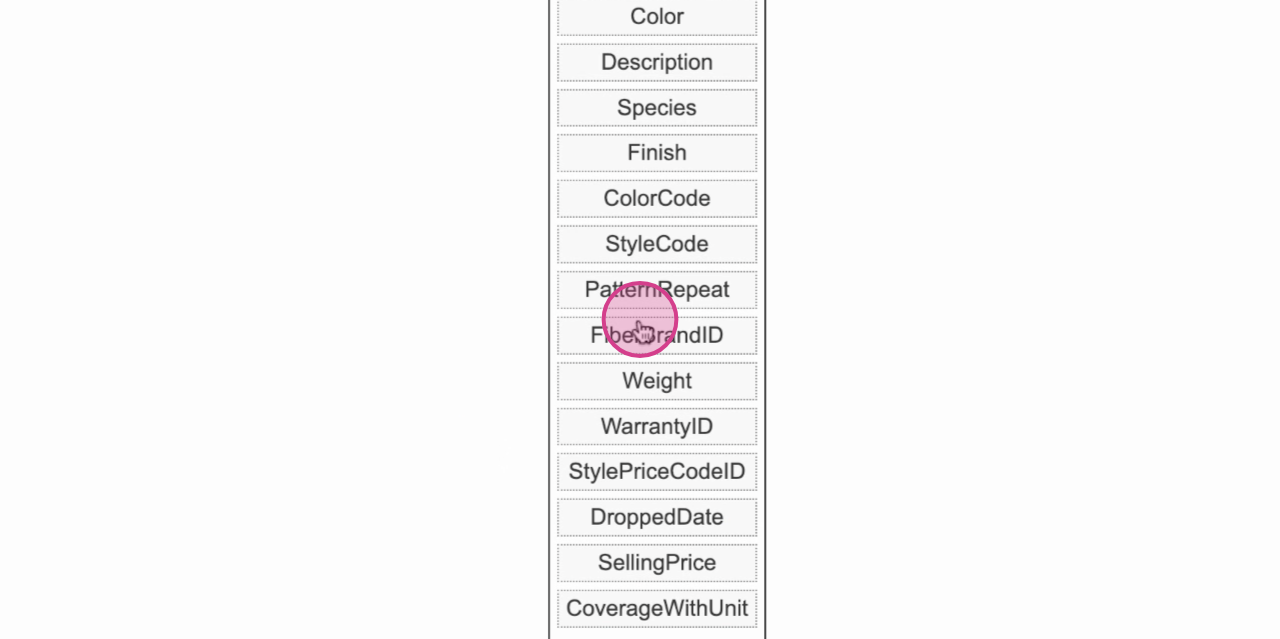
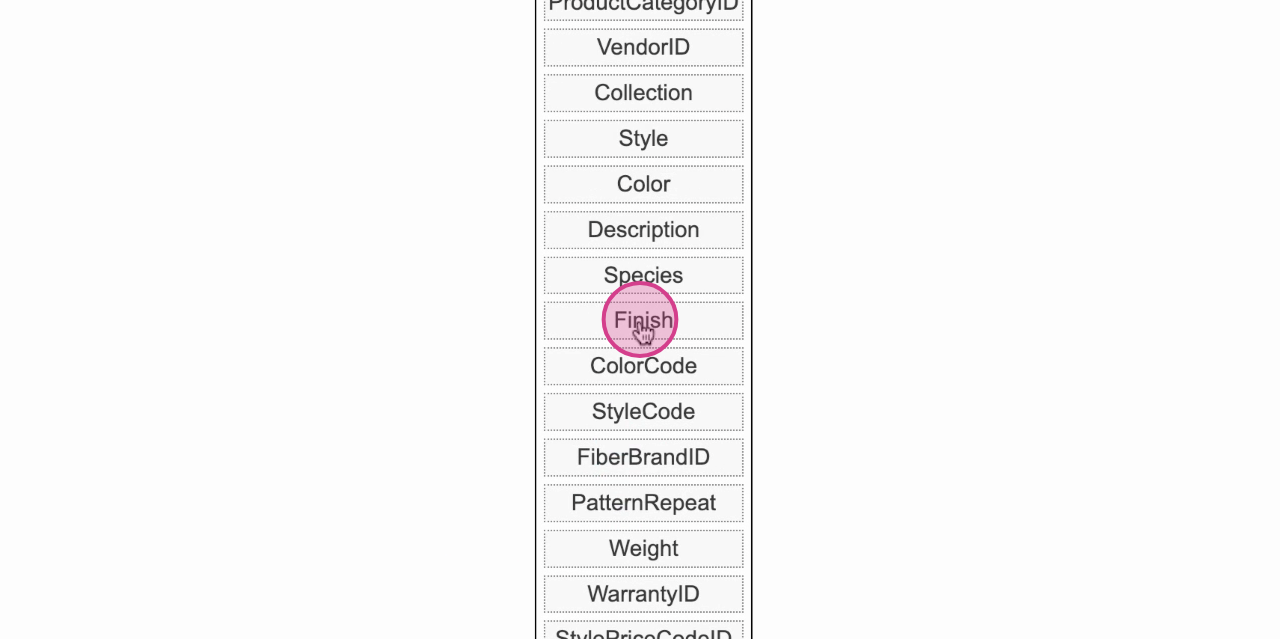
Step 9: After setting your preferences, preview and organize your label layout.
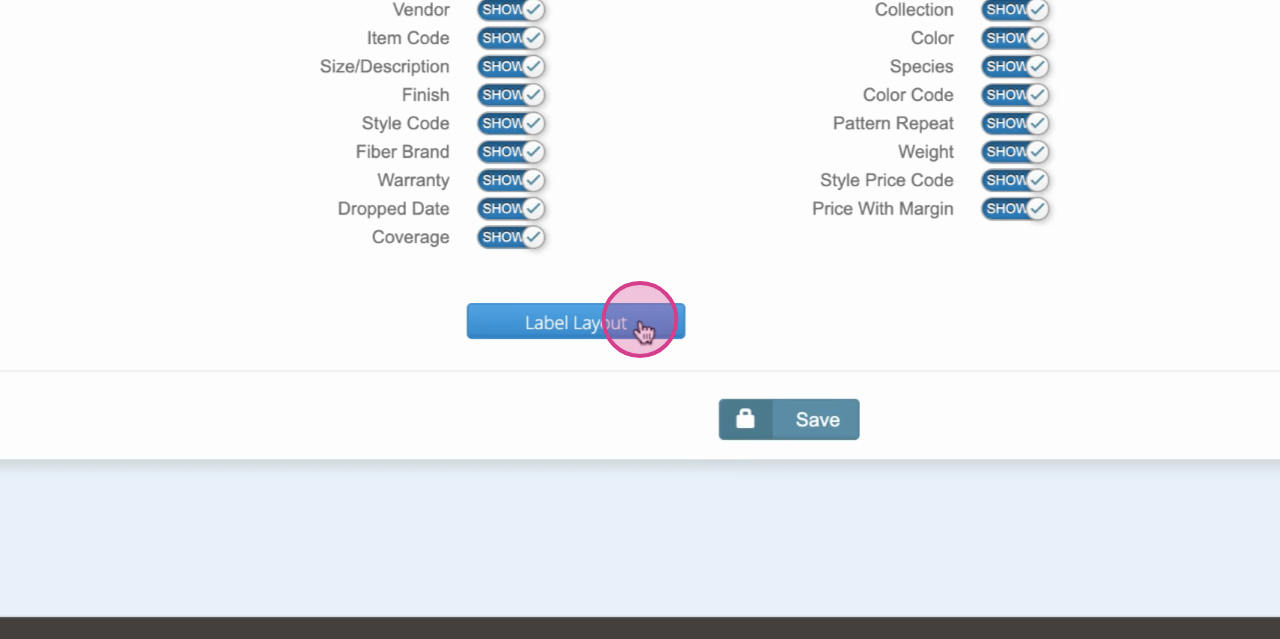
Step 10: Click Save to keep your settings.
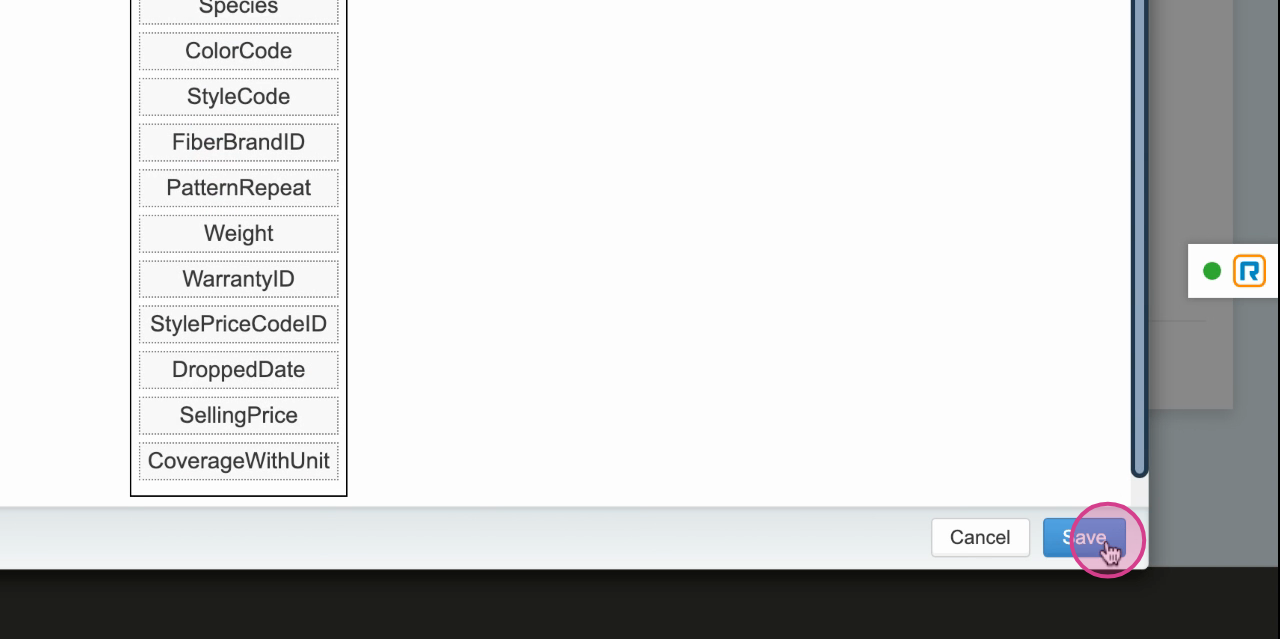
Step 11: If you need to cancel any changes, click Cancel.
Step 12: To save this product tag, hit Save again.
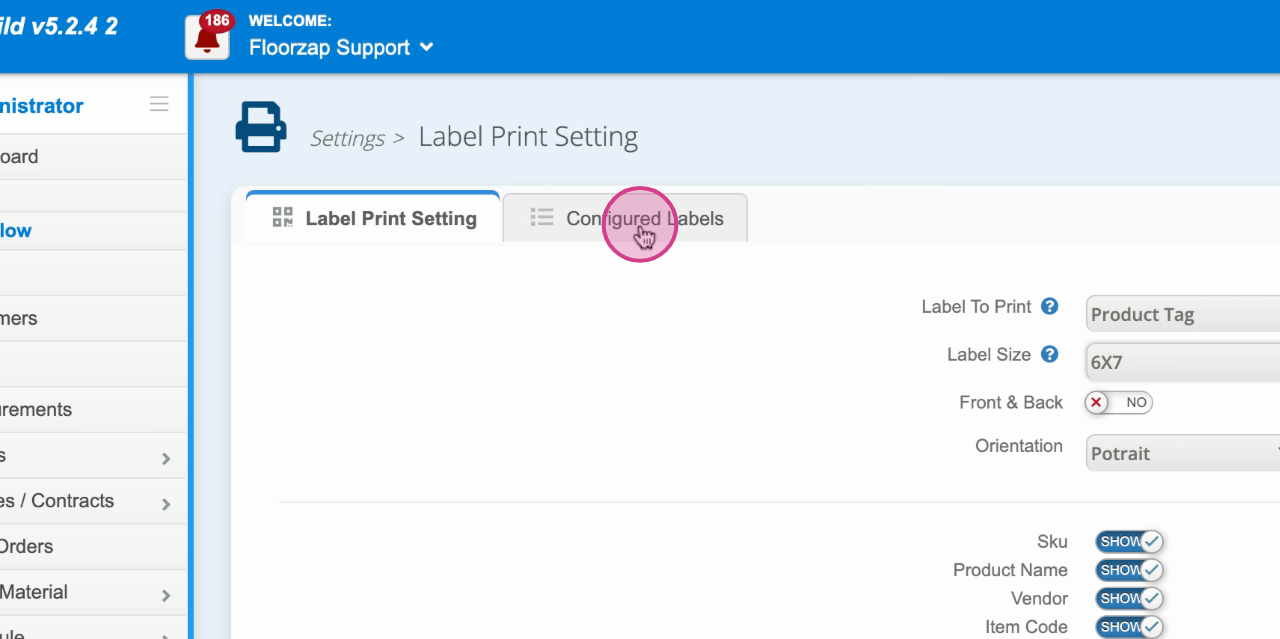
Step 13: To view your configured labels, switch to this tab.
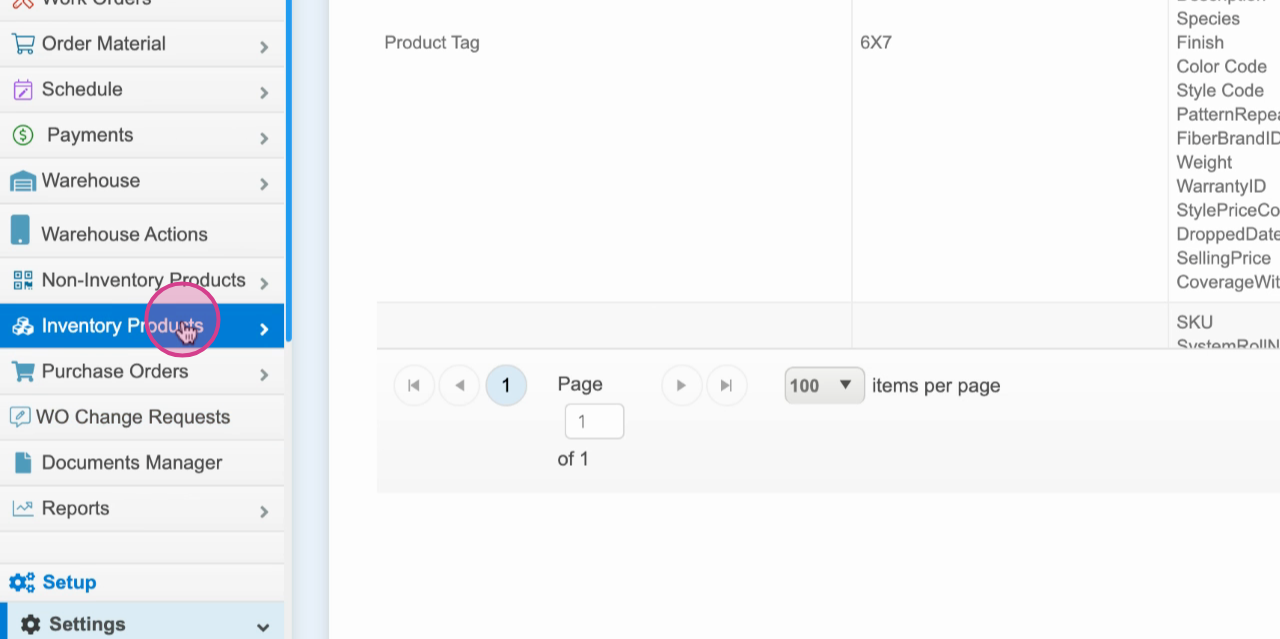
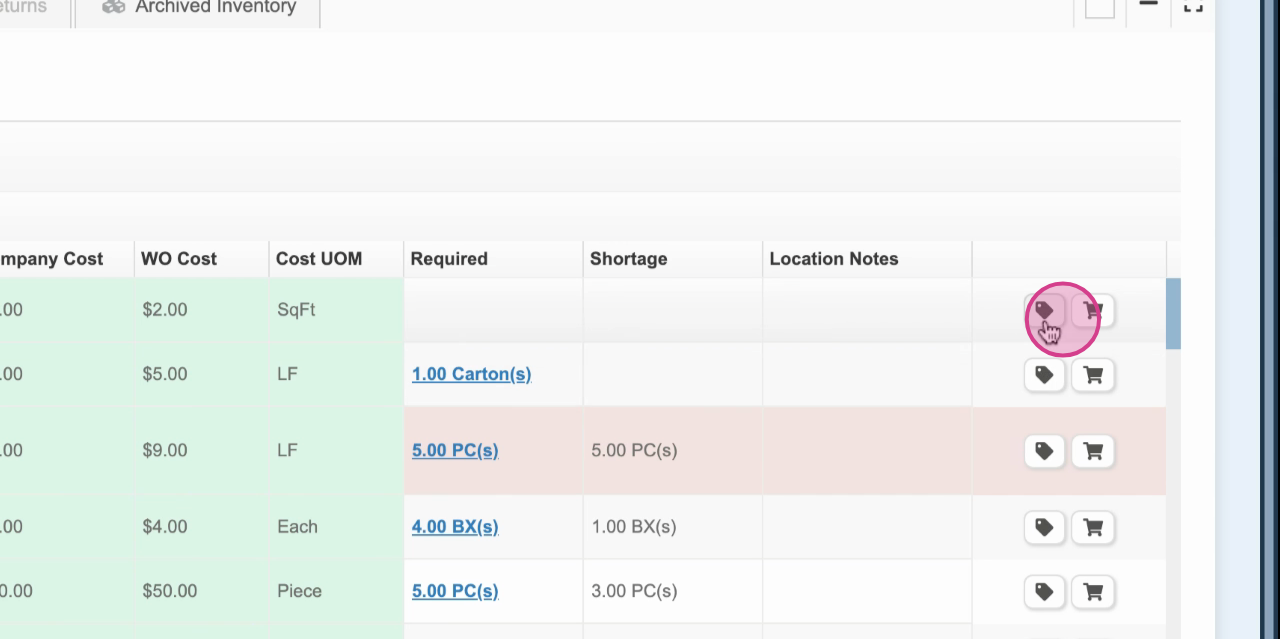
Step 14: To see your product label, go to your product stock and scroll all the way to the right. Click on the Product tag icon.
Step 15: Now, you're ready to print your product label.