In this article, you'll learn how to add a new product to your inventory purchase order and manage its status.
Step 1:
Start by going to Purchase orders.

Step 2:
Click on Inventory PO Add.

Step 3:
Press the new button.

Step 4:
Search for your vendor.

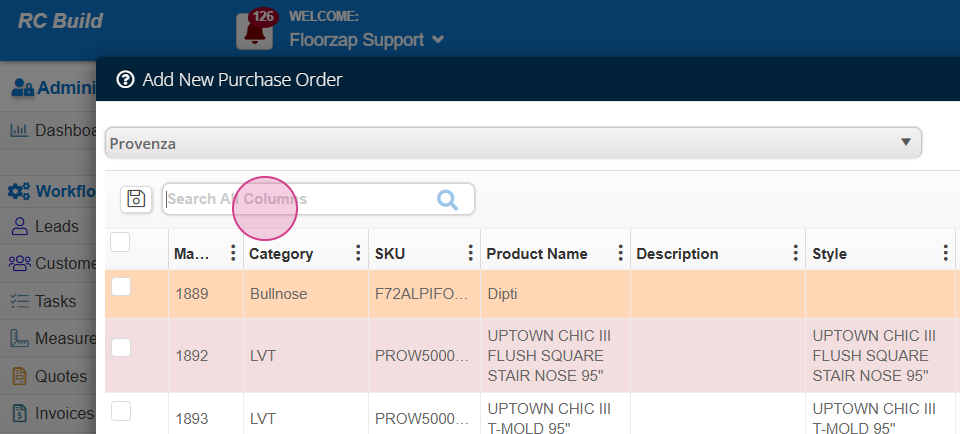
Step 5:
Input your product details.

Step 6:
Select the desired product.
Step 7:
Click Add to purchase order.

Step 8:
Enter the quantity of the product.

Step 9:
Press save.

Step 10:
Choose the warehouse type and your warehouse.

Step 11:
Change the order status if you've already placed the order.

Step 12:
Hit save again. Once you receive the product,

Step 13:
Click on the air gear icon.

Step 14:
Press Shipment arrival.

Step 15:
Update the estimated departure, arrival, and shipping details if necessary.

Step 16:
Add any comments.

Step 17:
Click on the blue plus sign.

Step 18:
Enter your quantity received, received date, and make adjustments to the warehouse type or warehouse if needed.

Step 19:
Mark as received or mark as received and move to inventory.

Step 20:
Go to your inventory product stock.

Step 21:
Here, you'll find the product. If you have auto-allocation enabled, your product may be allocated, but you'll see your purchase order is there.
