In this article, you'll learn how to create and send a quote using our system.
Step 1: Click on Quotes.

Step 2: Click on Create New Quote.

Step 3: Select the Customer.

Step 4: Choose the Sales Rep if it needs to be changed.


Step 5: Name the Job.

Step 6: Select a Quote Type.

Step 7: Choose a Location.

Step 8: Set the Quote Expiration Date and Recipient Contacts.


Step 9: Select your Service Type, Service Site Contact, and verify the Tax Rate.


Step 10: If you have Measure Square measurements, select them.


Step 11: Click on Begin Quote.

Step 12: If you've prepared service templates, select them.


Step 13: Add your Carpet Service or any other service you're adding.


Step 14: Select your Materials.
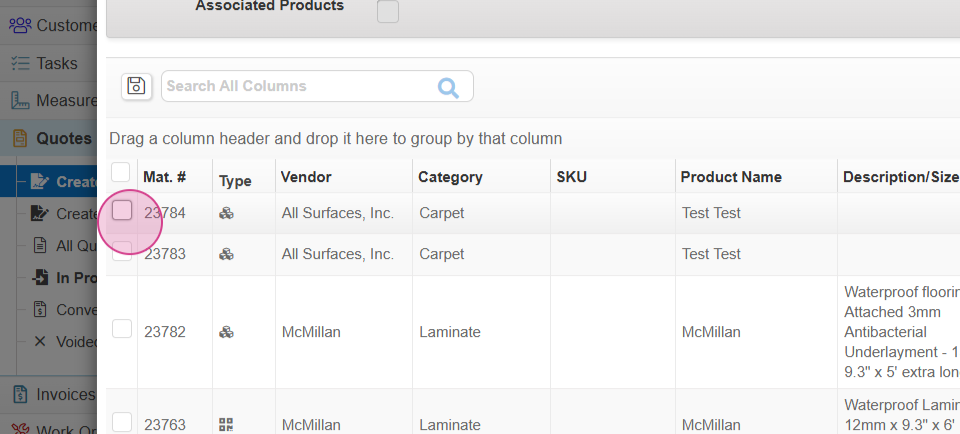

Step 15: Use the Search Box to find specific items or use other search features.


Step 16: Once you've selected your materials, click Add Materials.


Step 17: Add your Square Footage. This button updates the square footage for the entire document.


Step 18: Add your Labor Items. You're able to select all or any specific labor items.


Step 19: Note that you can manually add material and labor items from here. You can also add an expense line to cover freight or any other fees.


Step 20: Add a Freight Fee.


Step 21: Once you've added everything to your quote, click Save Quote.

Step 22: Check out the Customer Quote Options. This allows you to add or remove items from your quote, adjust the quantity, show the unit price, and more.


Step 23: View the customer quote before sending if you prefer. This gives you a chance to review what's included in the quote.


Step 24: Once you're ready, send the quote. You can email the quote to the customer, customize the email, or send the SMS to the customer. If the customer is with you, you can manually convert the quote to an invoice.
