This article will guide you through the process of converting a non-inventory product to inventory and creating a purchase order.
Step 1: Start by navigating to your non-inventory products product list. Find the product that you want to convert to inventory.

Step 2: Click on the Gear icon.

Step 3: Select Convert to Inventory. Make sure the information is correct.

Step 4: Click Save.
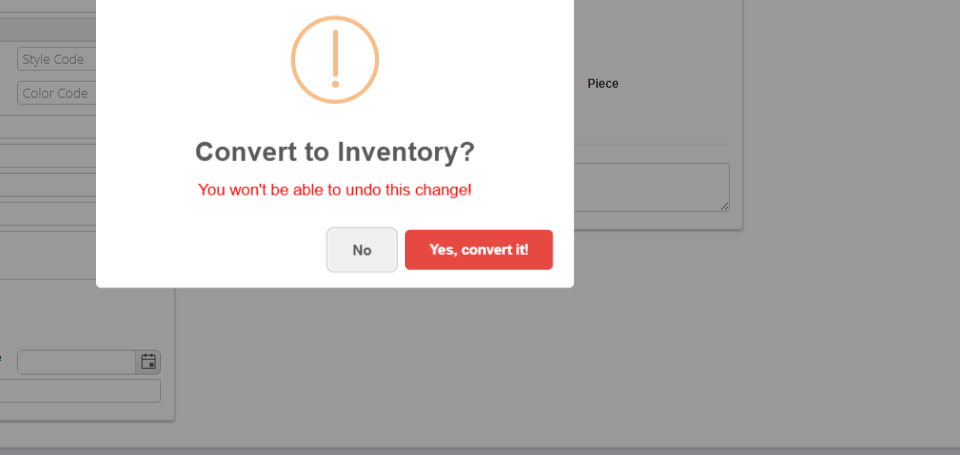
Step 5: Confirm by clicking Yes.

Step 6: This action will take you to the product stock page.

Step 7: If you have existing inventory of this item, add it by clicking the appropriate button.

Step 8: For this tutorial, click on Inventory Product List.

Step 9: You'll find your product listed here.


Step 10: Scroll to the right.

Step 11: Click on the Shopping Cart icon.

Step 12: Locate your product.

Step 13: Select the checkbox and click Add Selected Products.


Step 14: Enter the quantity.

Step 15: Choose the warehouse where the product will be delivered.


Step 16: If you've already ordered the product, select the status as Ordered. If not, leave it as it is.

Step 17: Click Save to create a pending purchase order.


Step 18: Once the product arrives, return to the purchase order page.

Step 19: Click on the Gear icon.

Step 20: Select Shipment Arrival.

Step 21: To receive the product, click the Plus icon. If you've received the full quantity ordered, leave this as it is and click Mark as Received.

Step 22: If you need to update the quantity, do it here. Then click Mark Received and Move to Inventory.


Step 23: You can now locate your product and view its inventory. In this example, we have 25 pieces.
