In this article, you'll learn how to add a contract to your invoice using the Floors app.
Step 1: Start by navigating to the app's
Settings.
Step 2: From there, proceed to
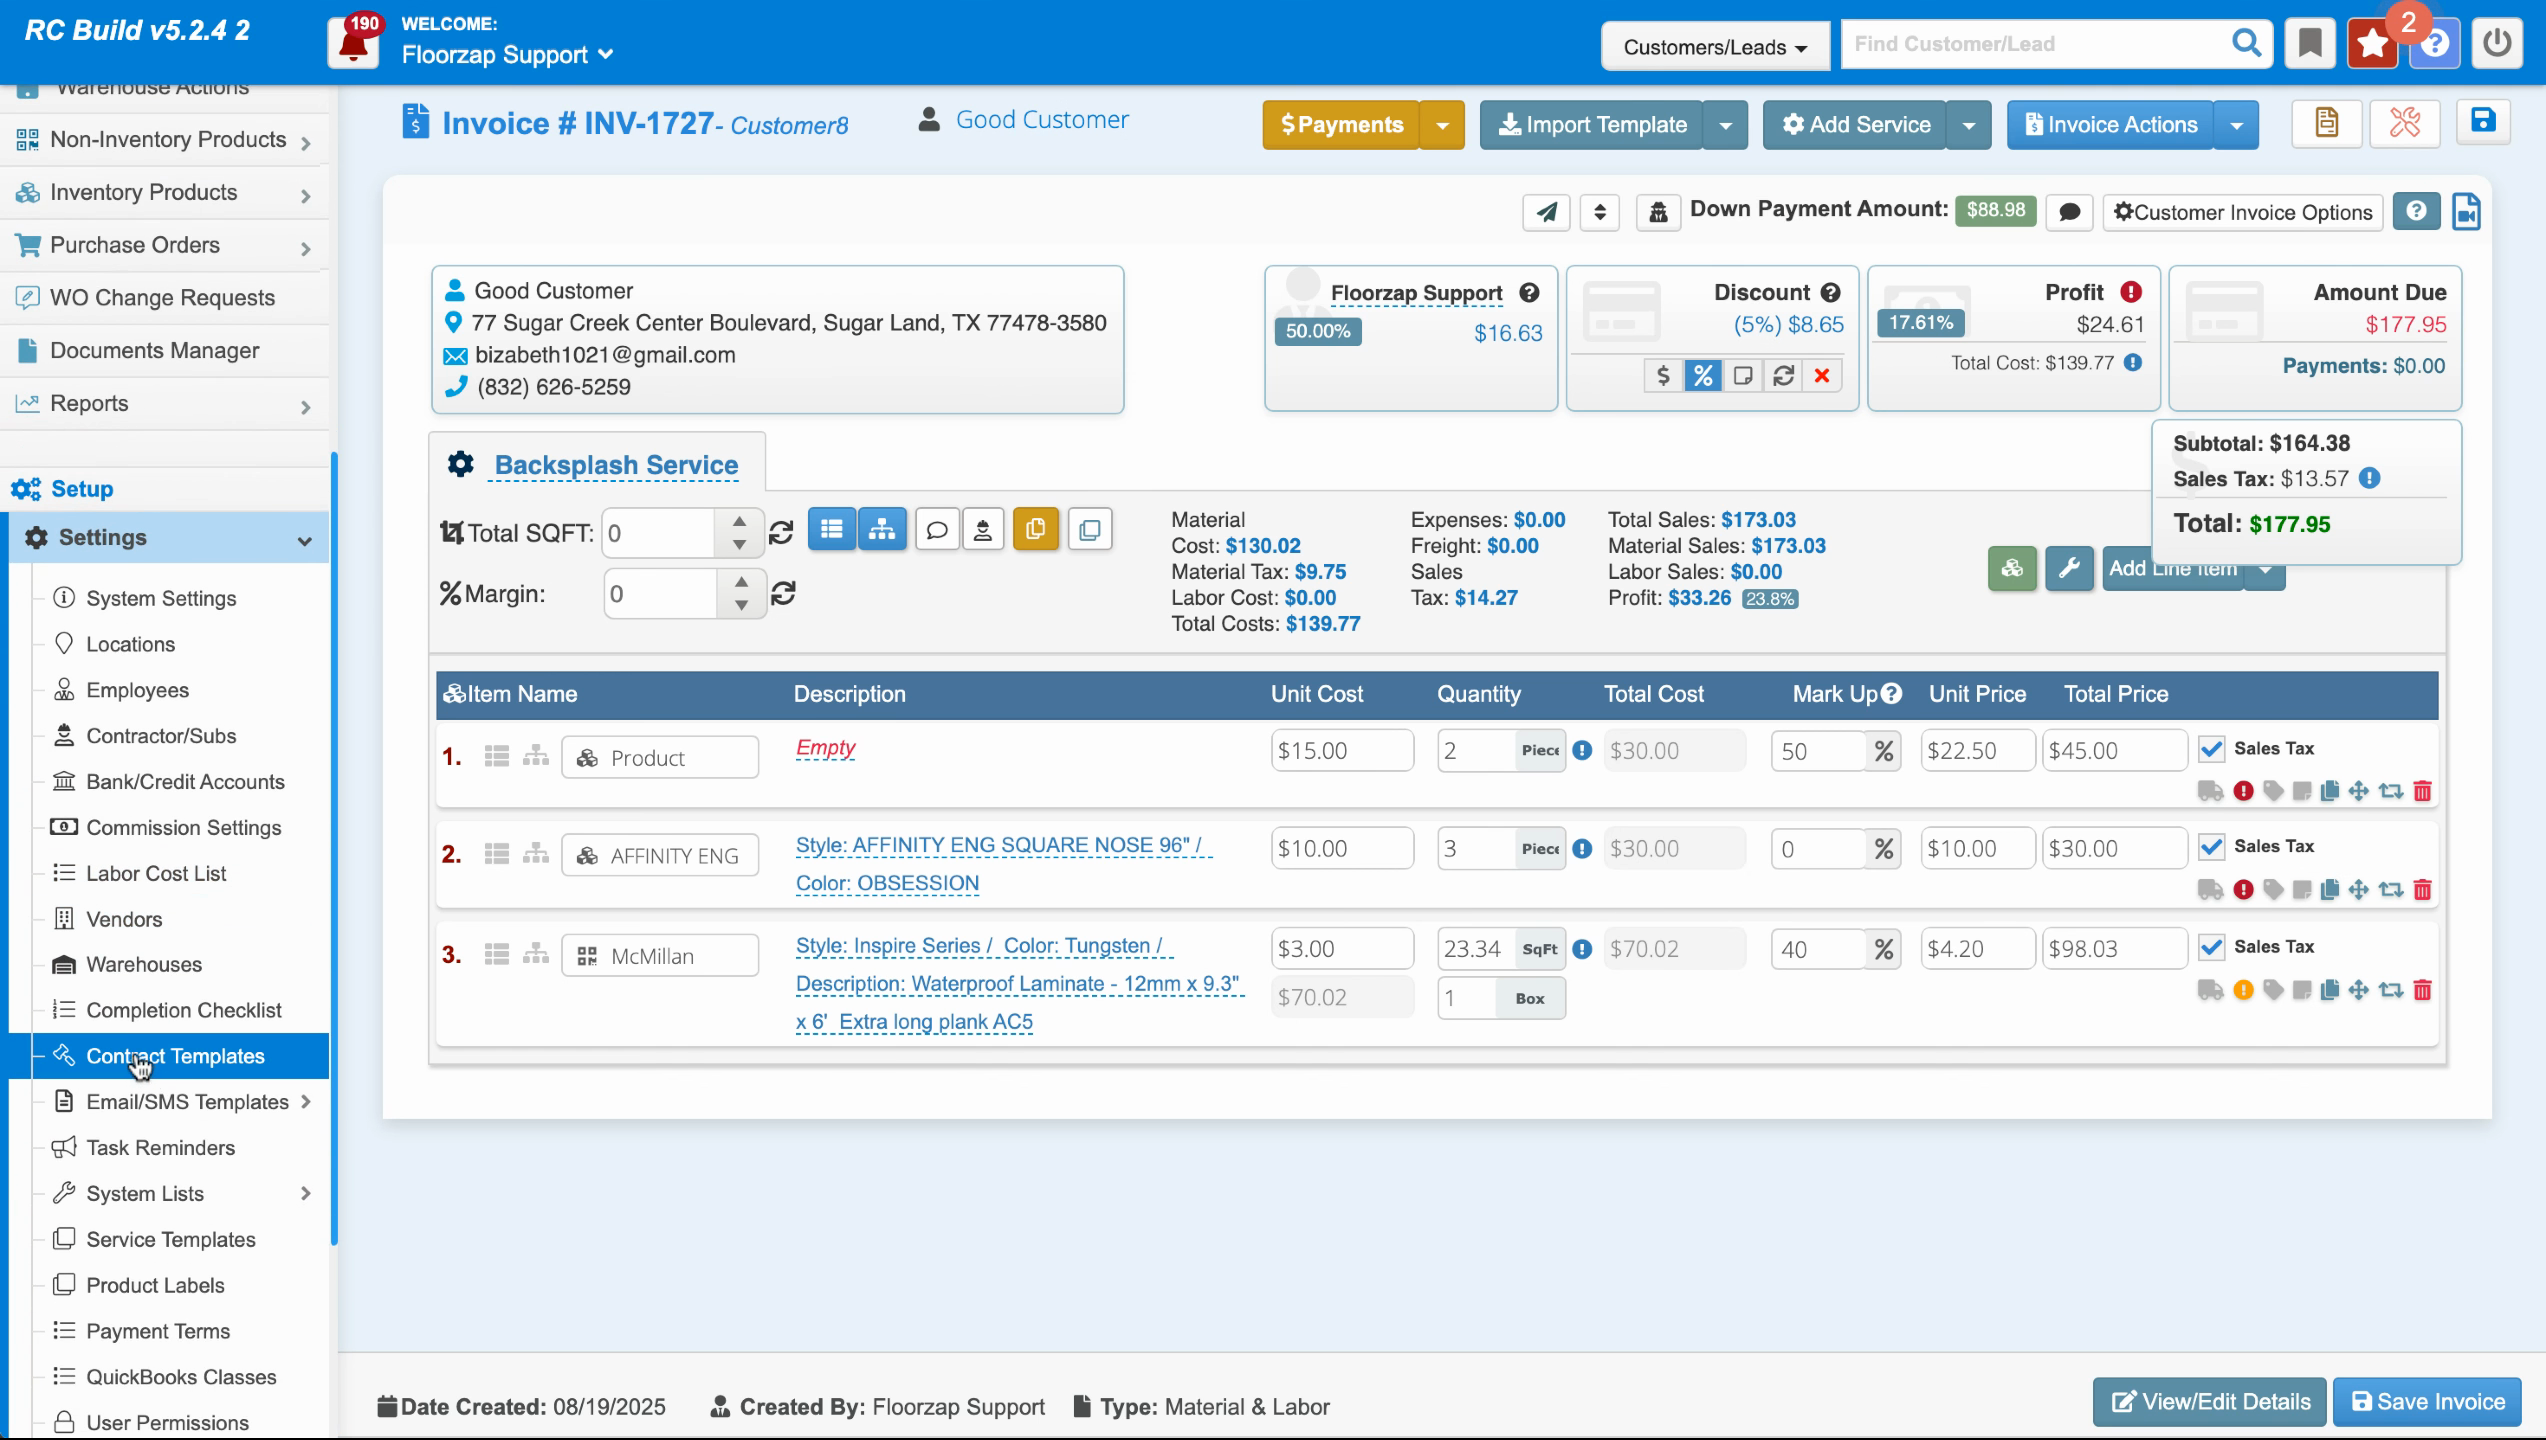
Contract Templates. Here, you'll create and mark the contracts you wish to add to your invoice or quote.
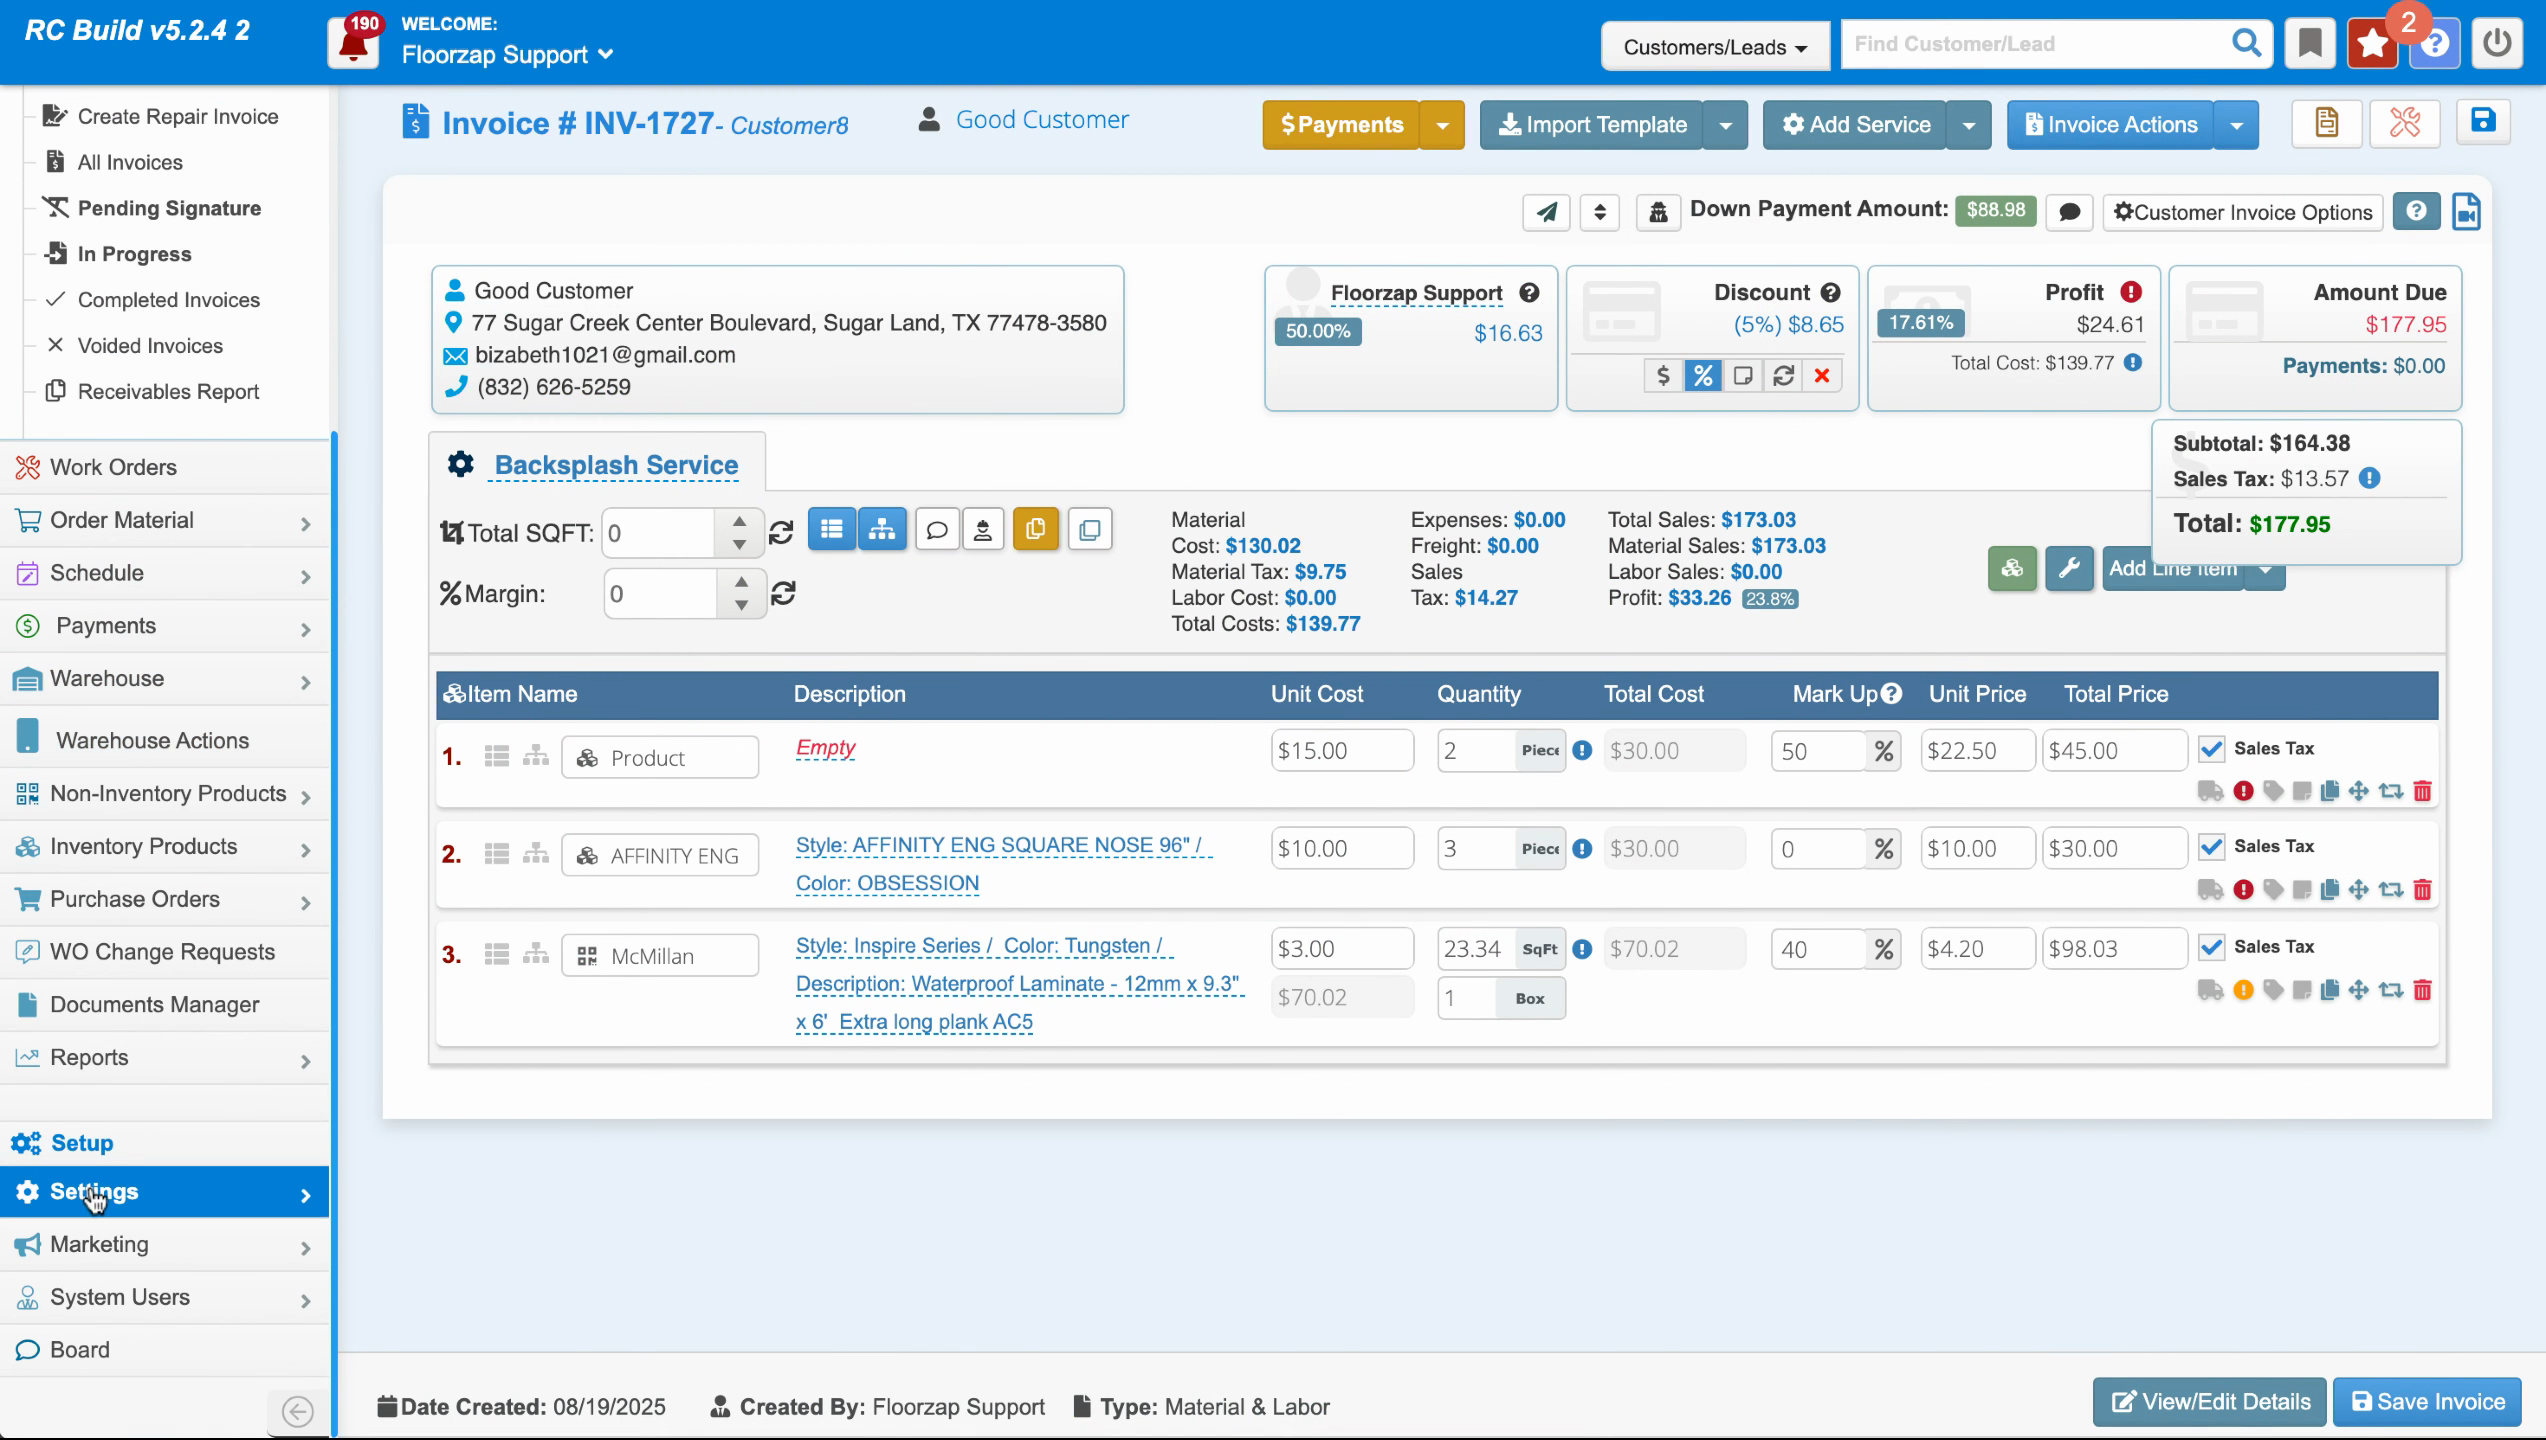
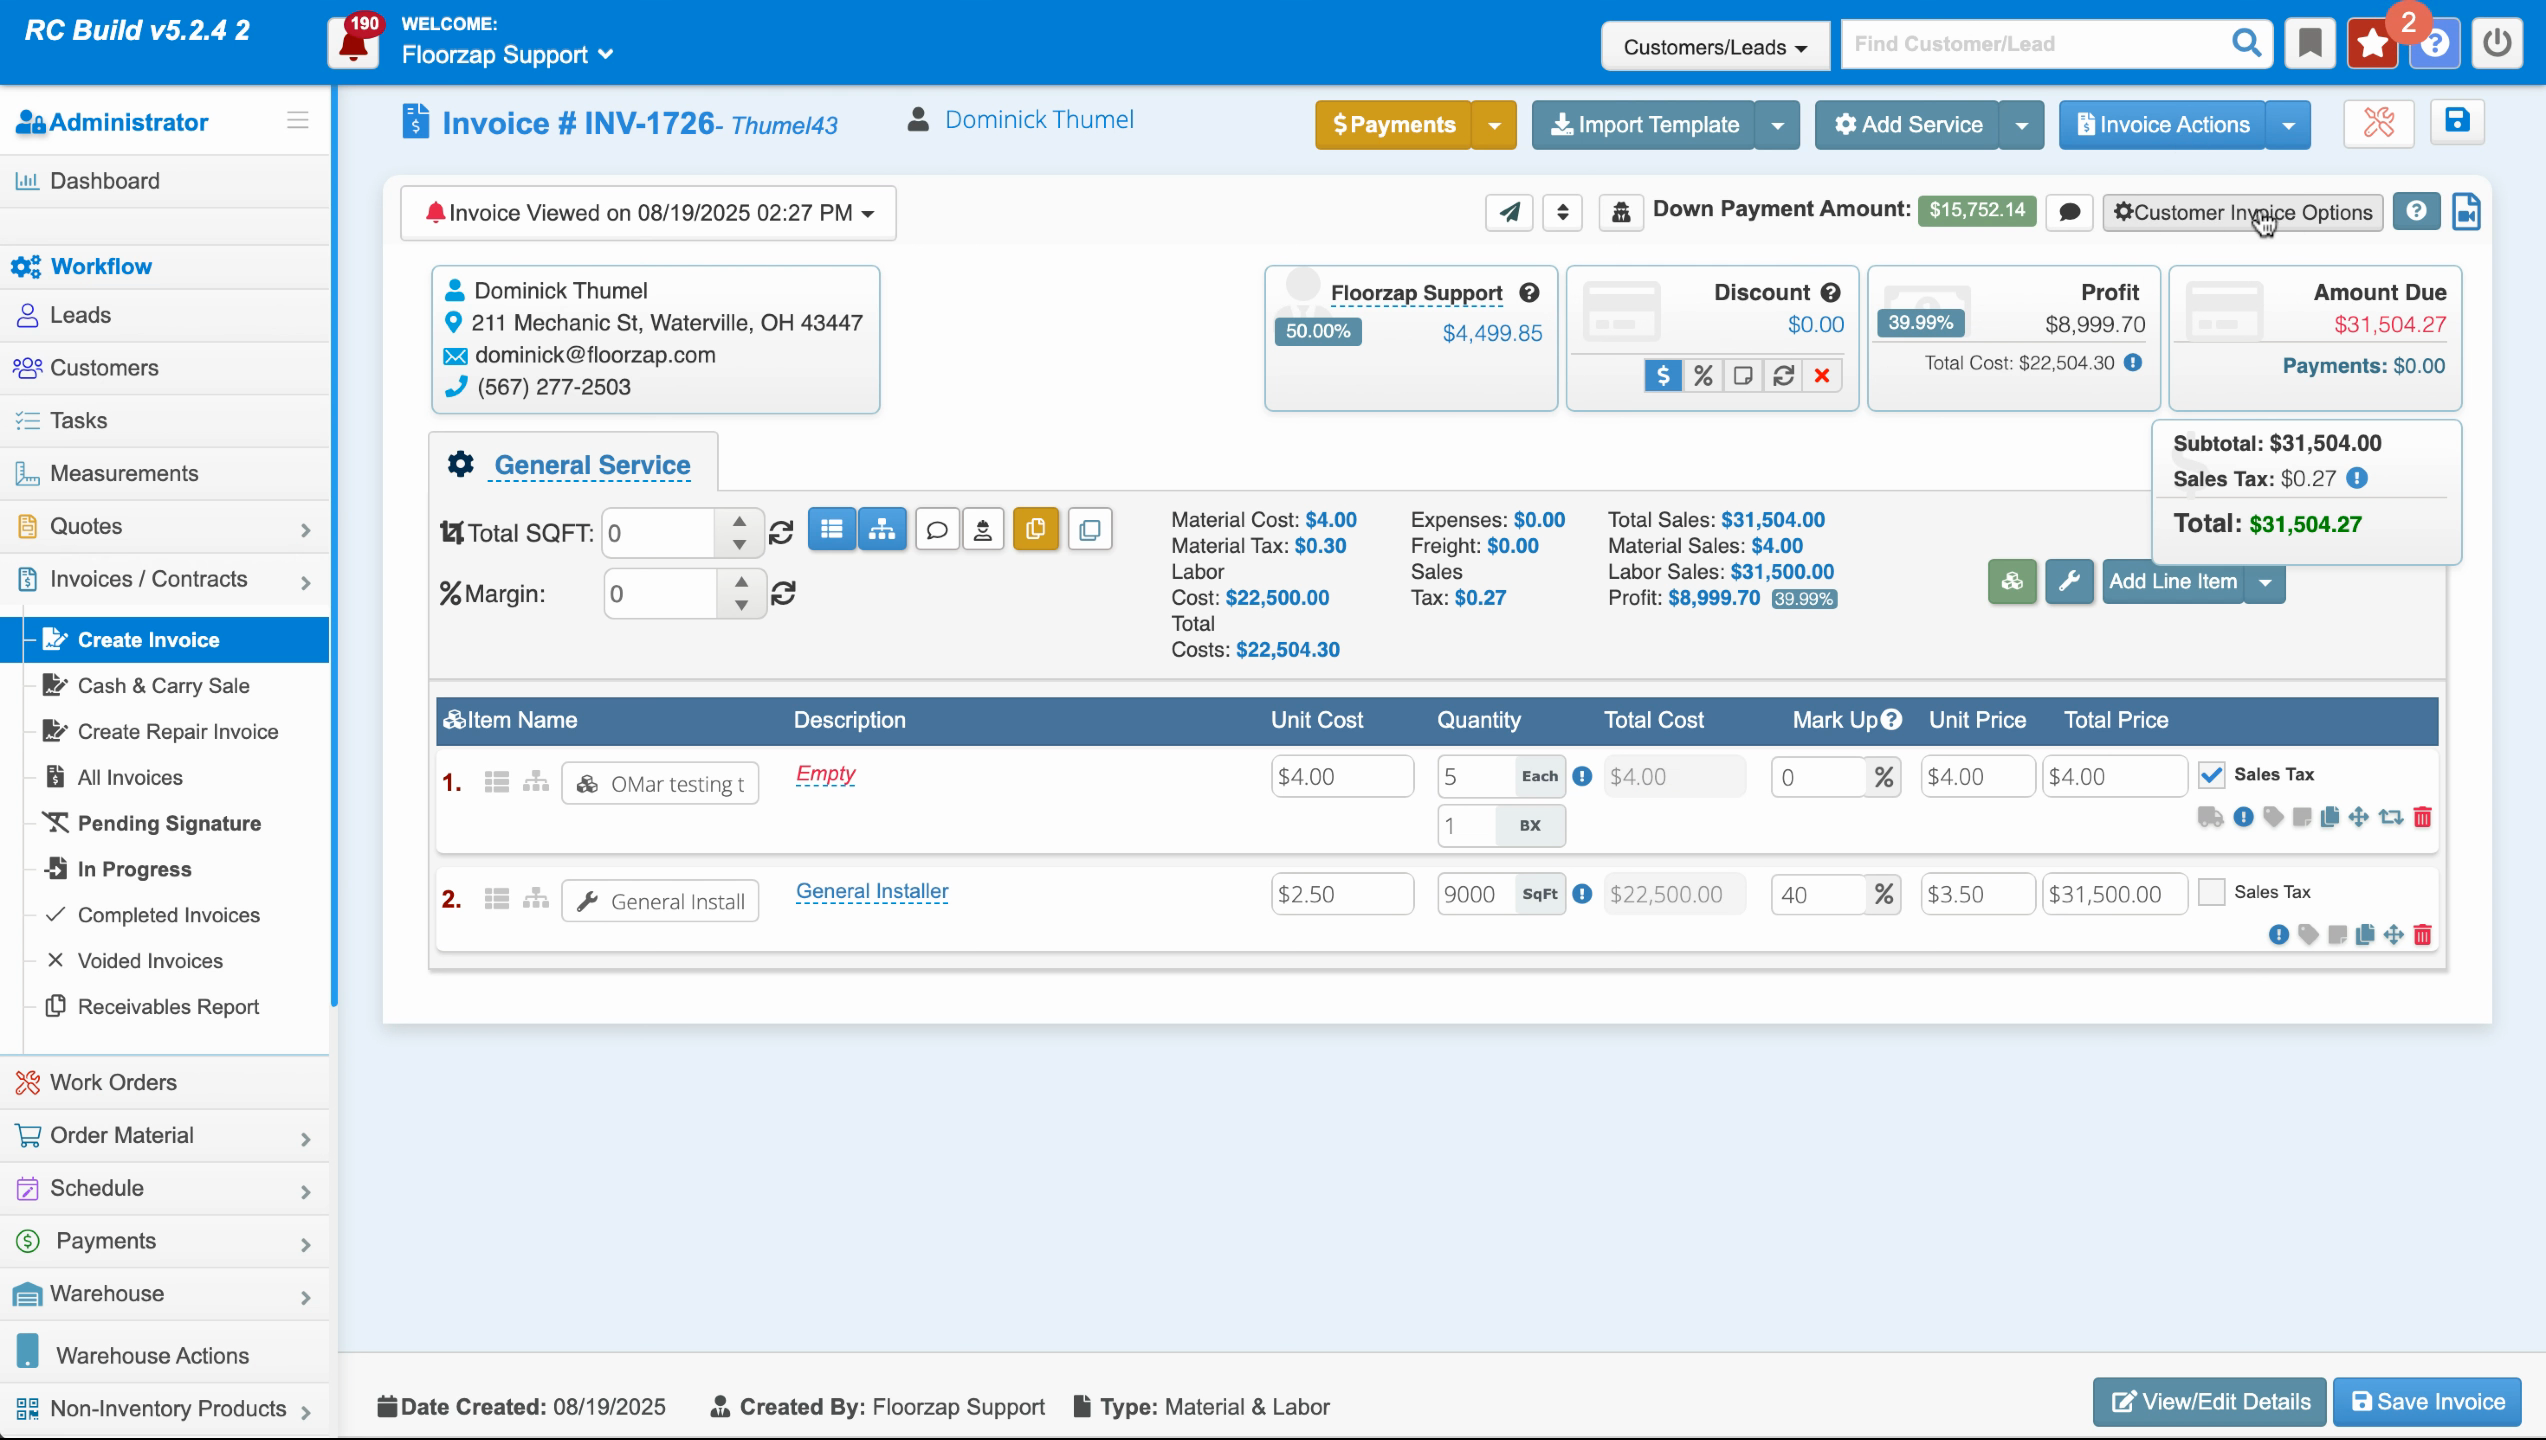
Step 3: Now, let's move to an

invoice. For this tutorial, we'll use an invoice I created today.
Step 4: Next, navigate to

Customer Invoice Options.
Step 5: Click on
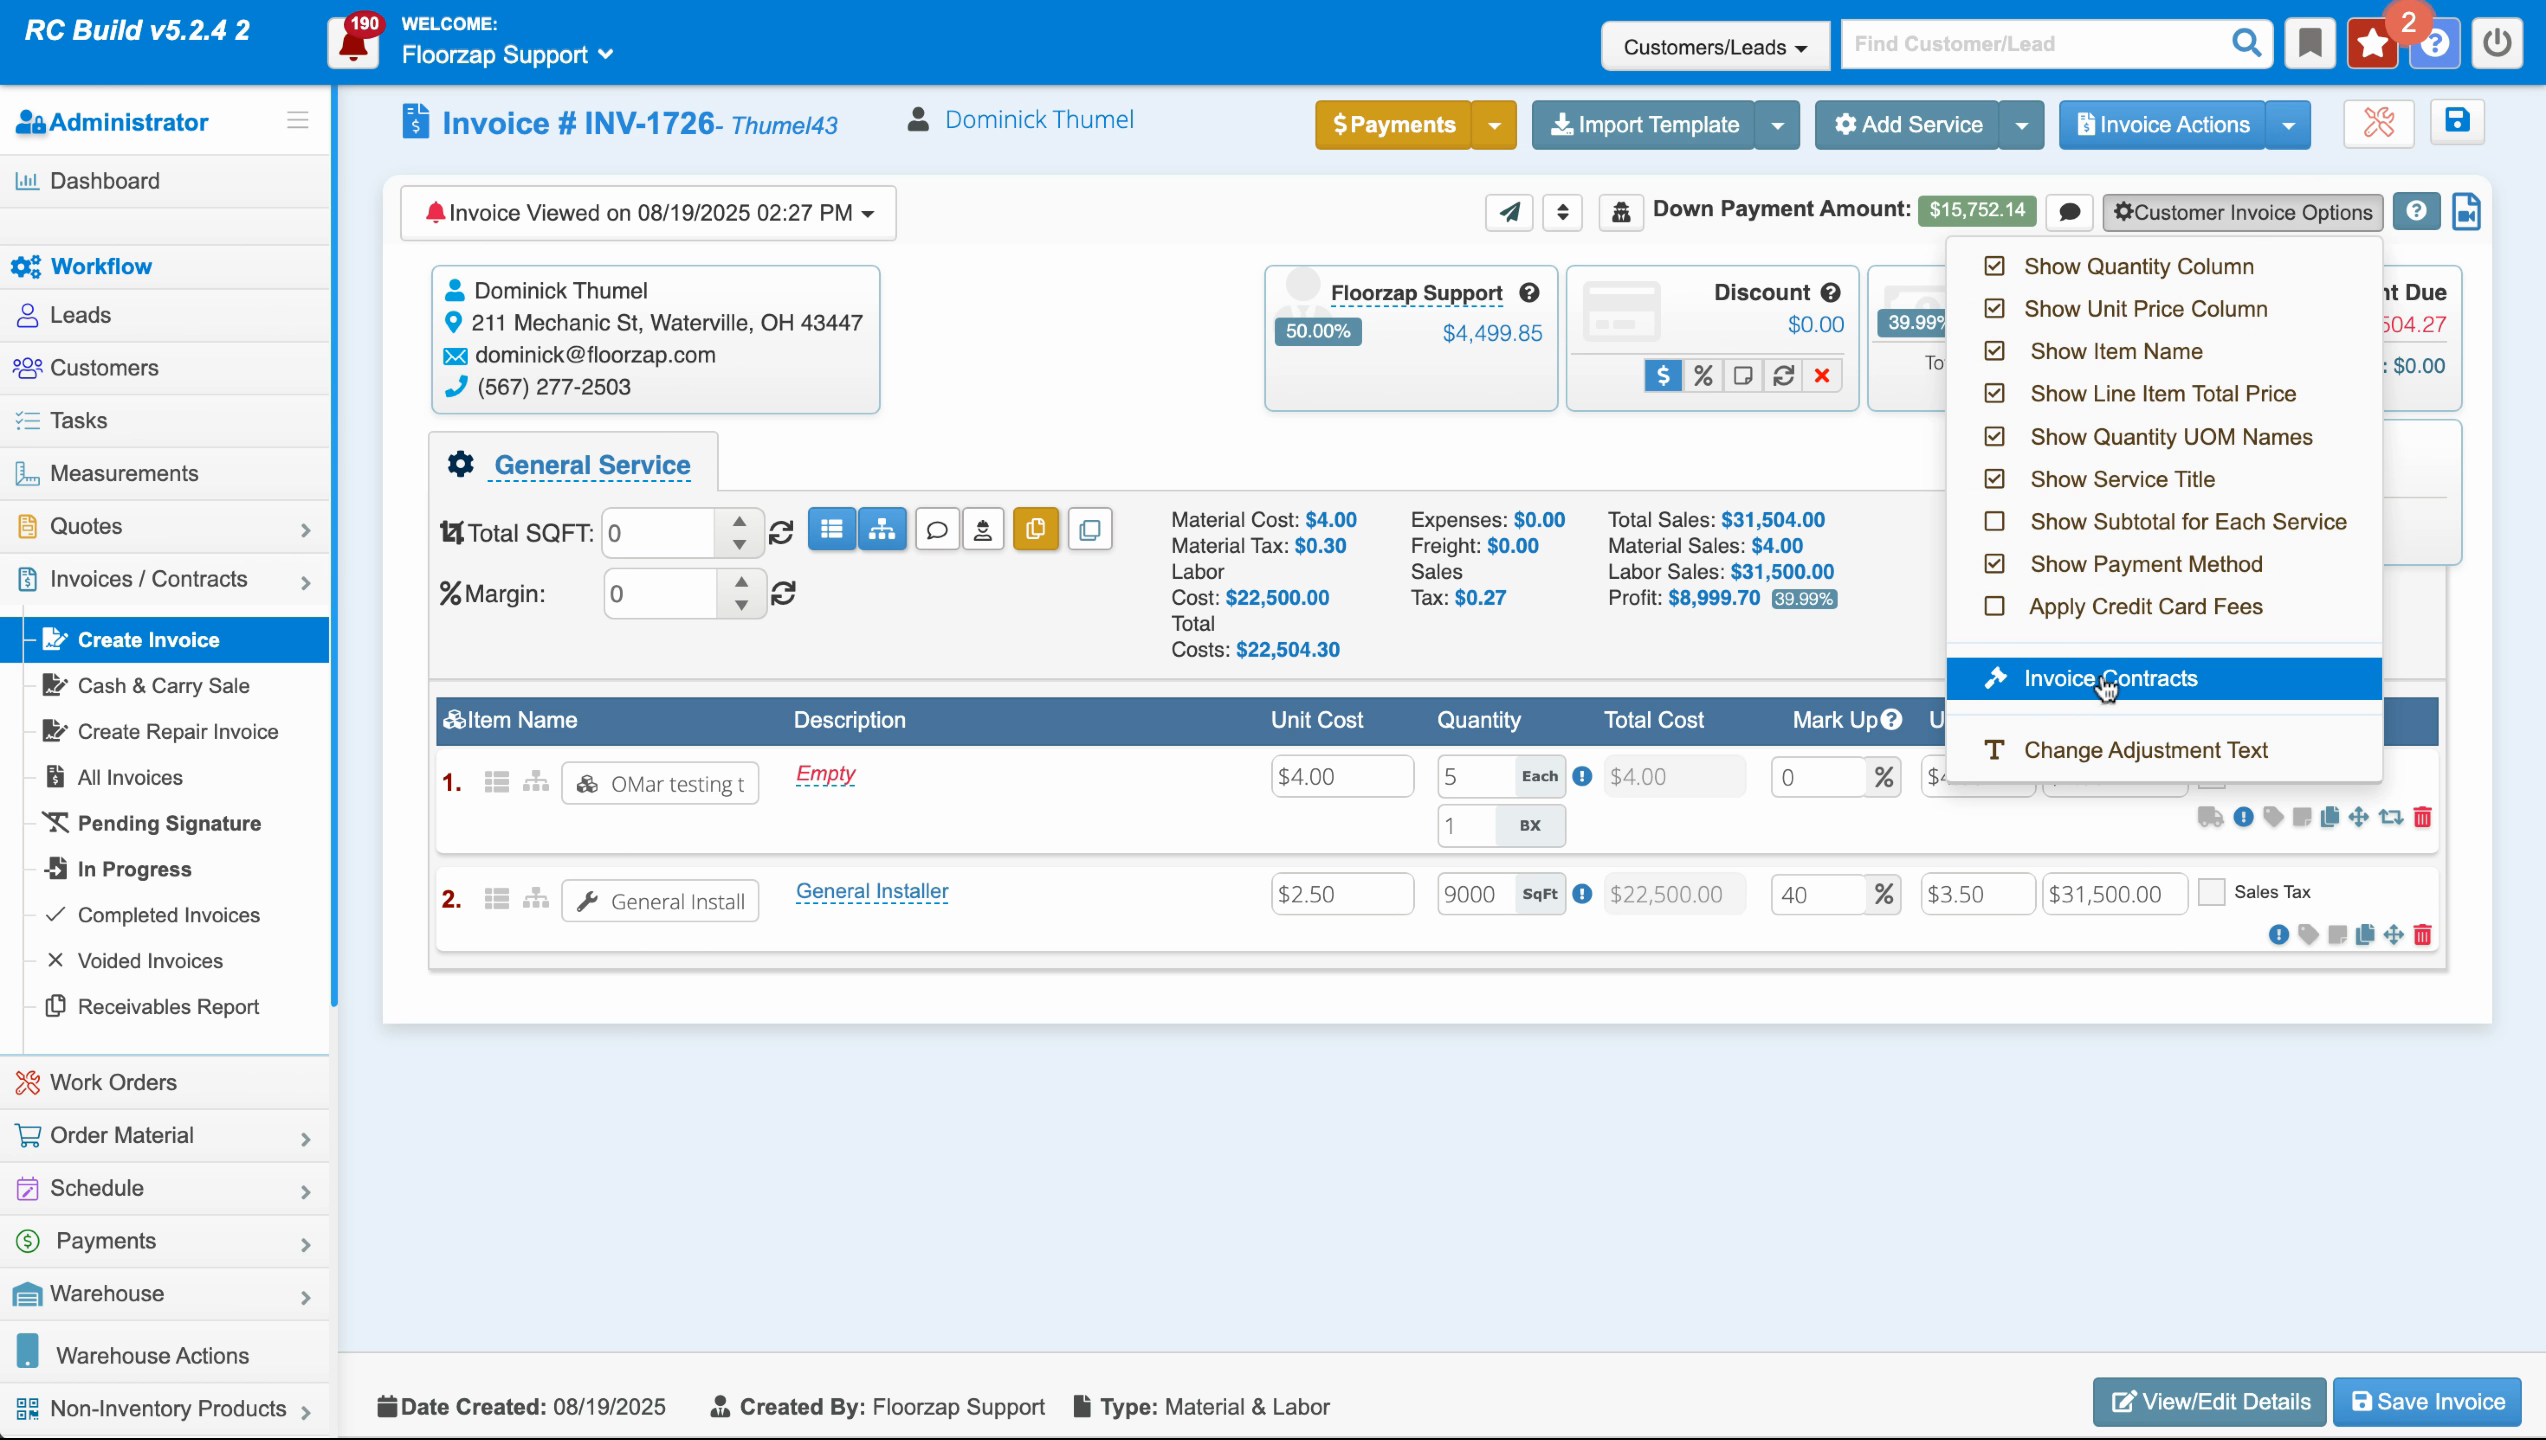
Invoice Contracts. Here, you'll decide what to include by checking the appropriate box. For instance, if you want to include the right to rescission, check the corresponding box.
Step 6: After making your selections, click
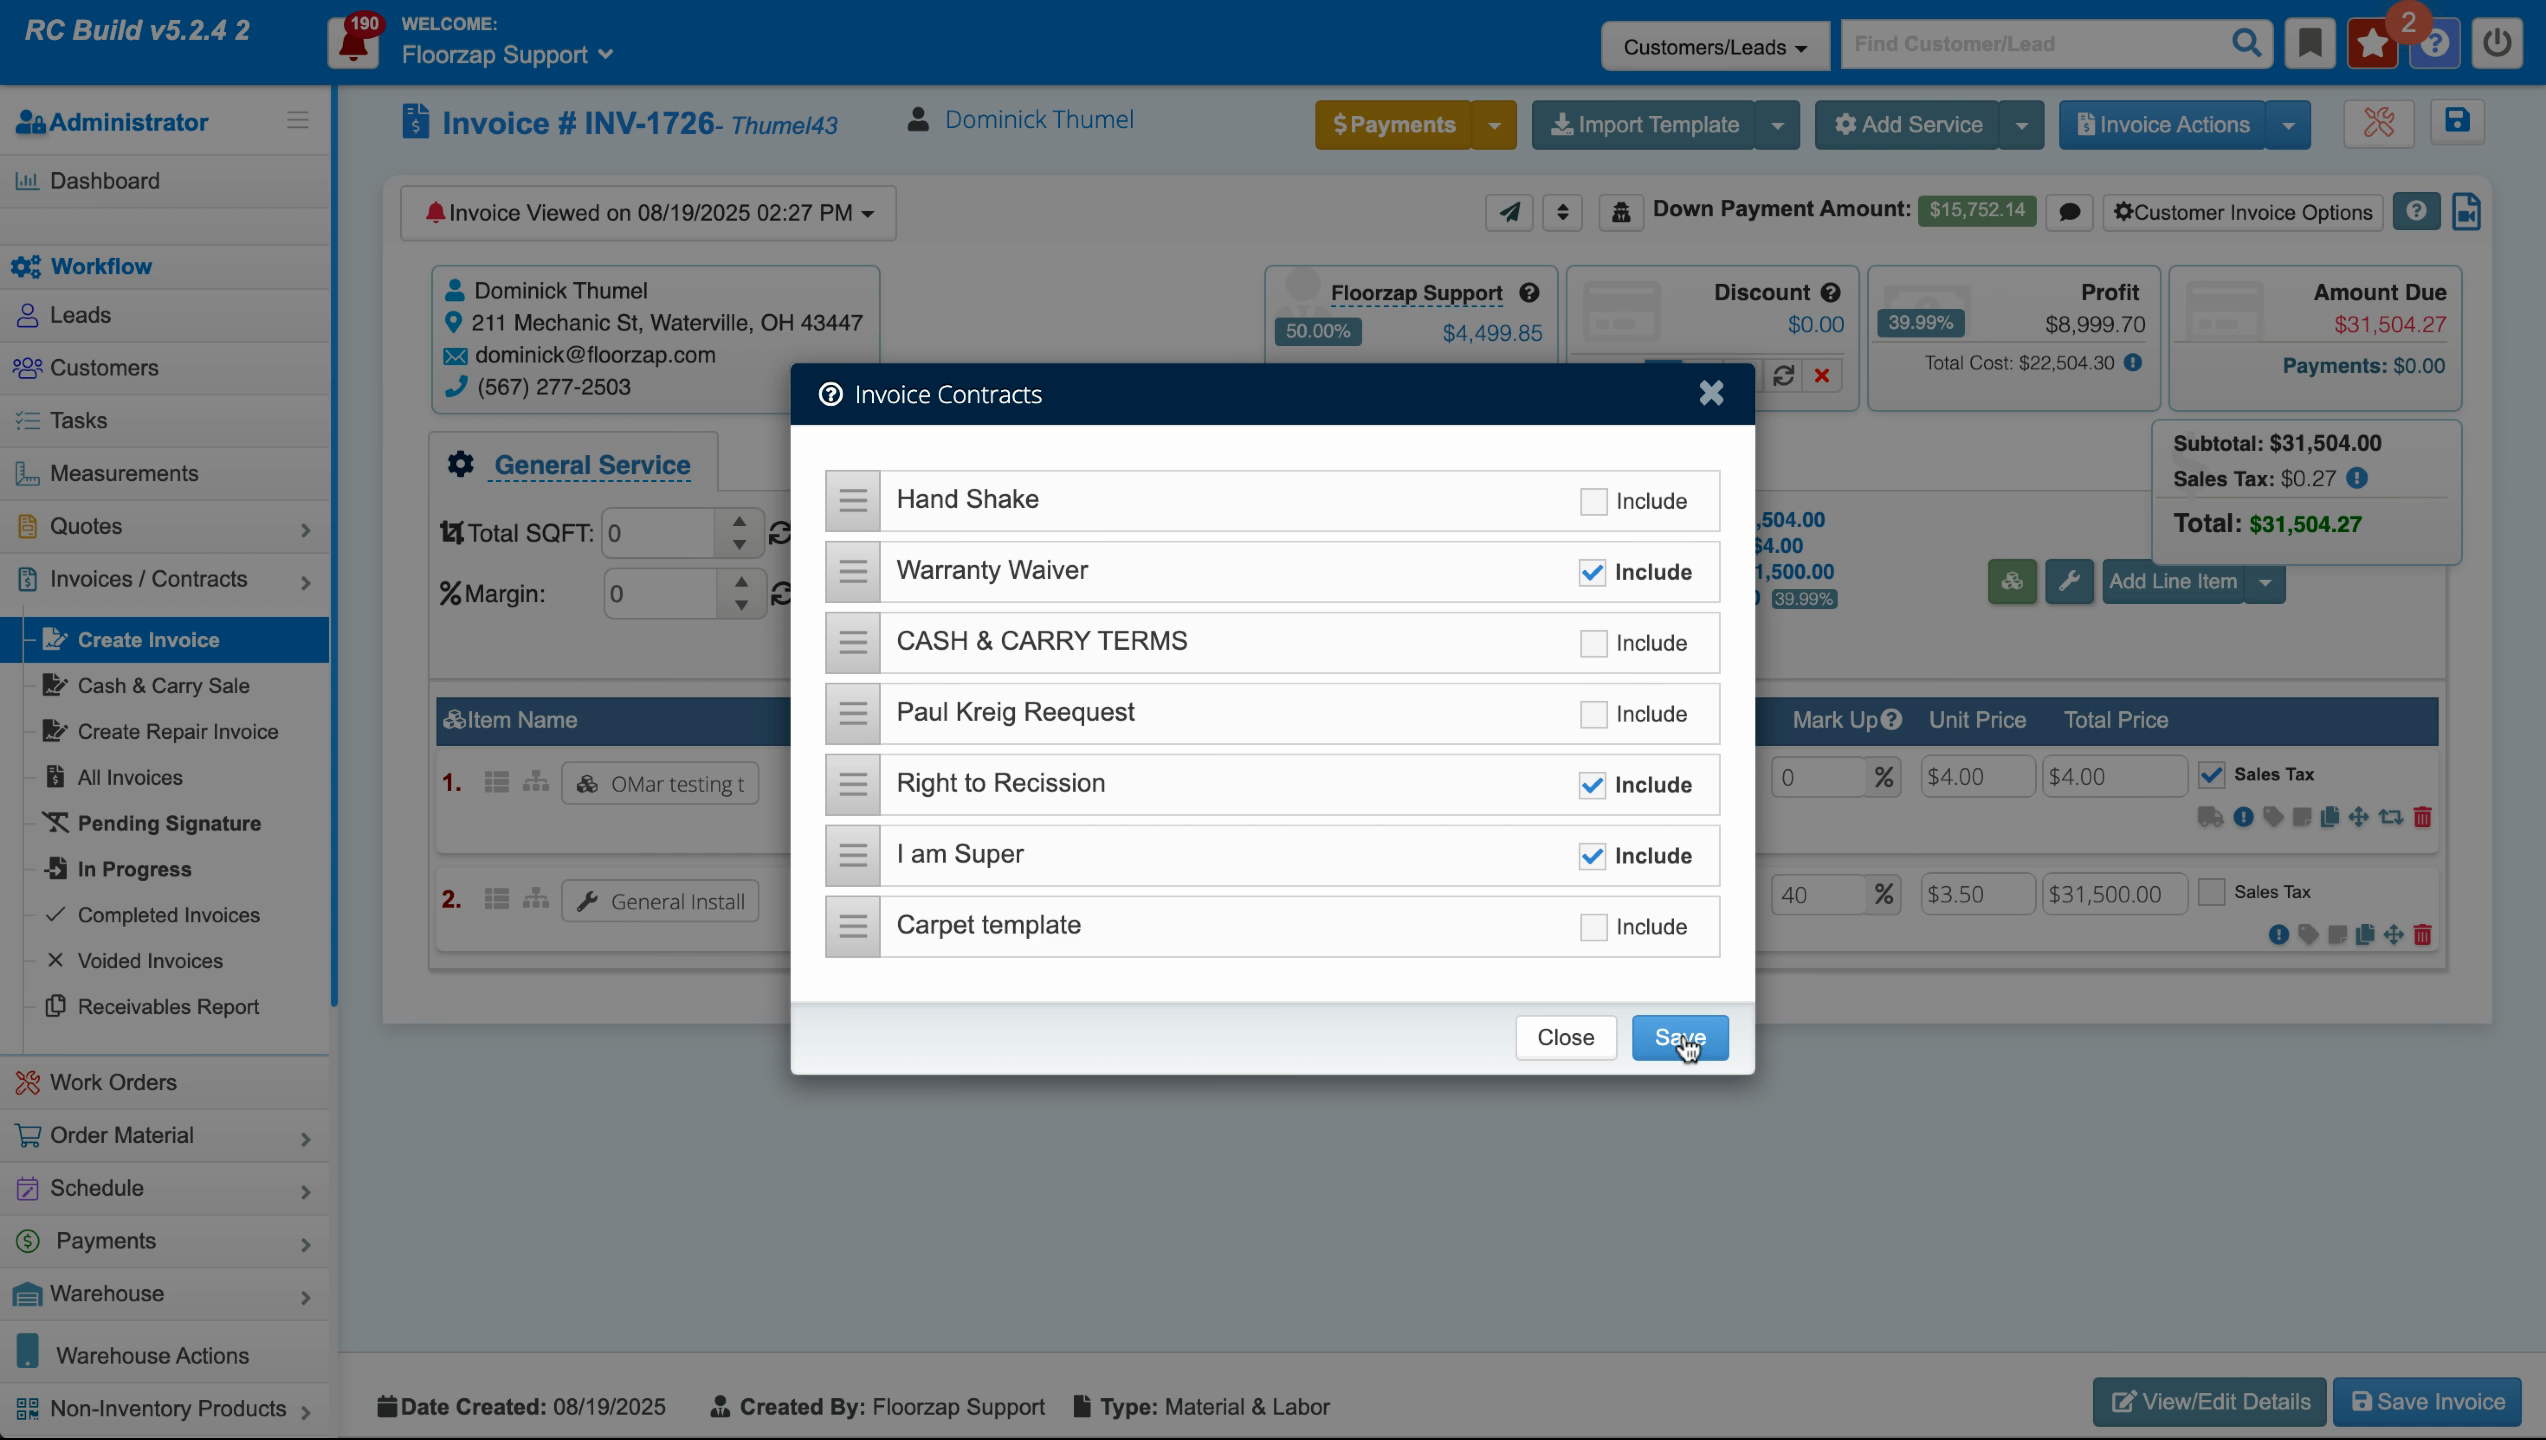
Save. The contracts will then be saved to your invoice.
Step 7: To view the contract, click on

Contract. The customer will see this contract on their invoice and will need to initial it to agree to the terms.
Step 8: To add more contracts, simply return to the Invoice Contracts section and click on
the contract you want to include. Once you send the invoice, the customer will see these terms and conditions.
That's it! You've successfully added a contract to your invoice in the Floors app.