Assign Employee Access to Locations
Managing employee access to locations is essential for ensuring your team only sees the information they need. No matter which role you assign to an employee, you’ll need to specify the locations they can access. Here’s how to set up and manage these permissions.
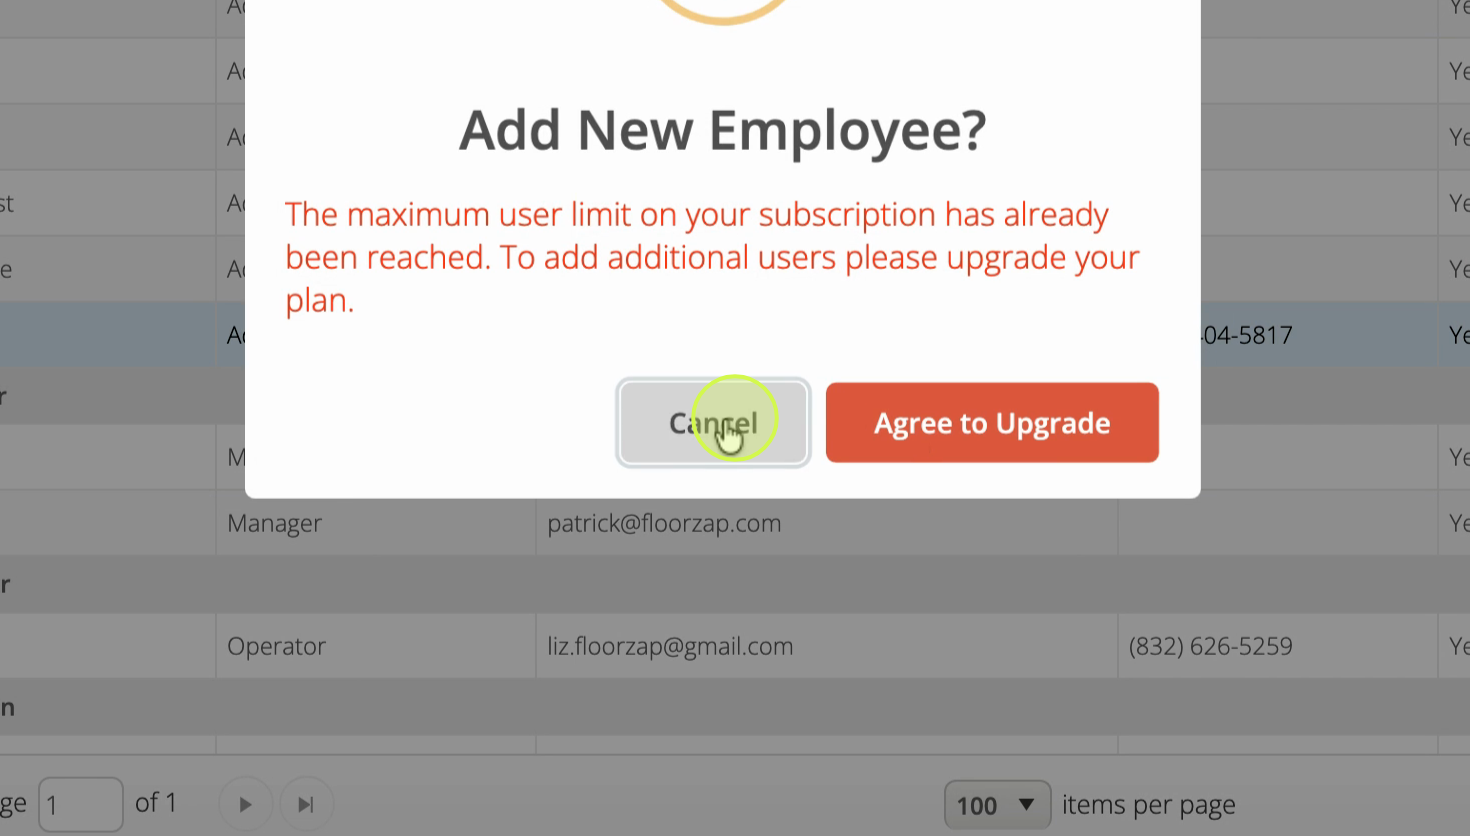
Step 1: Click Add New Employee to begin the setup process.
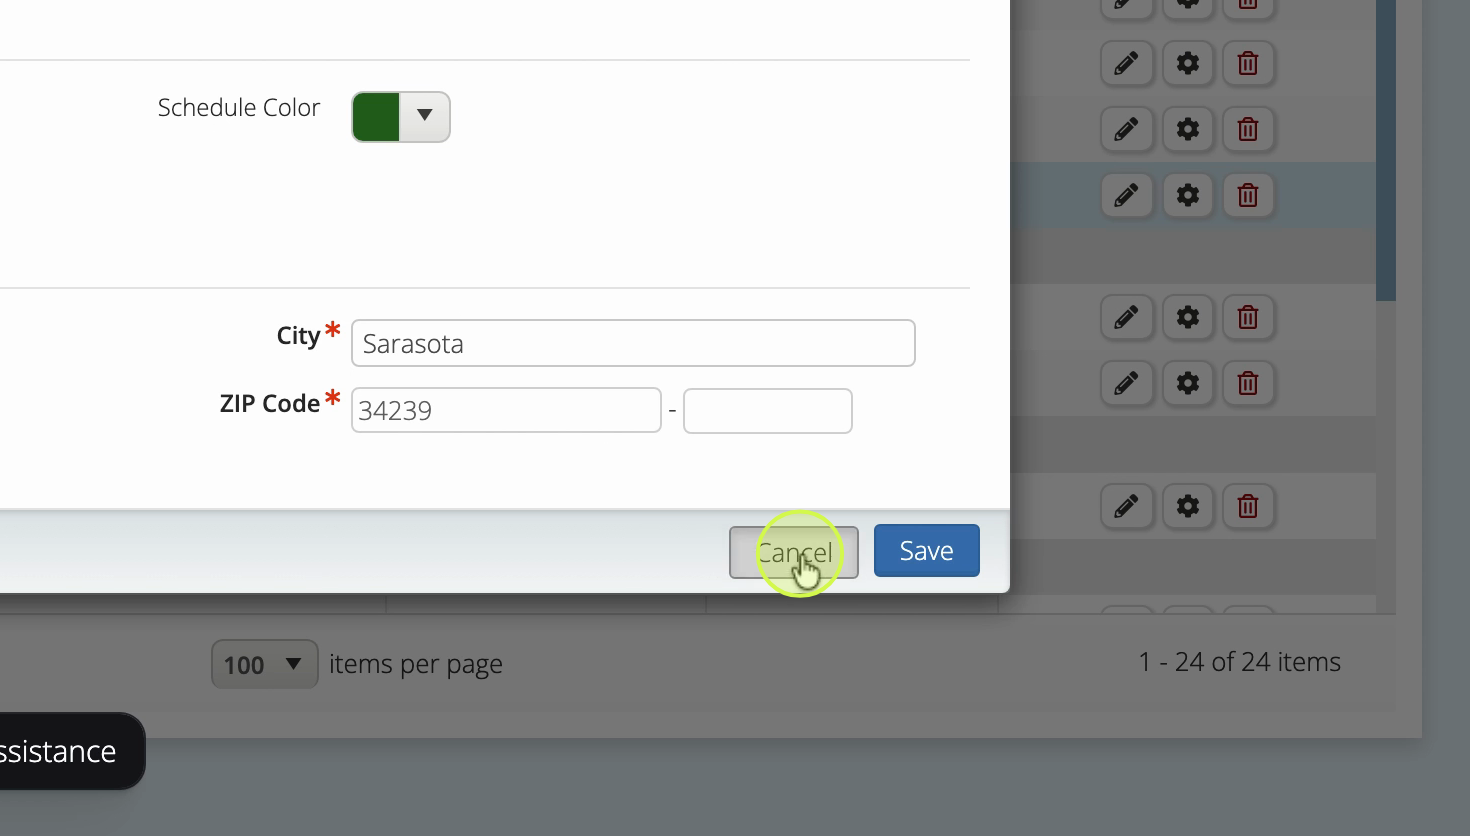
Step 2: Fill out the new employee details. After saving, the employee record appears.
Step 3: Assign locations by selecting them from the list. Employees can only view information associated with locations you check here.
Step 4: To allow an employee to see all locations, make sure every location is selected in their profile.
Step 5: If your organization has multiple locations, ensure you regularly update employee access to reflect any changes.
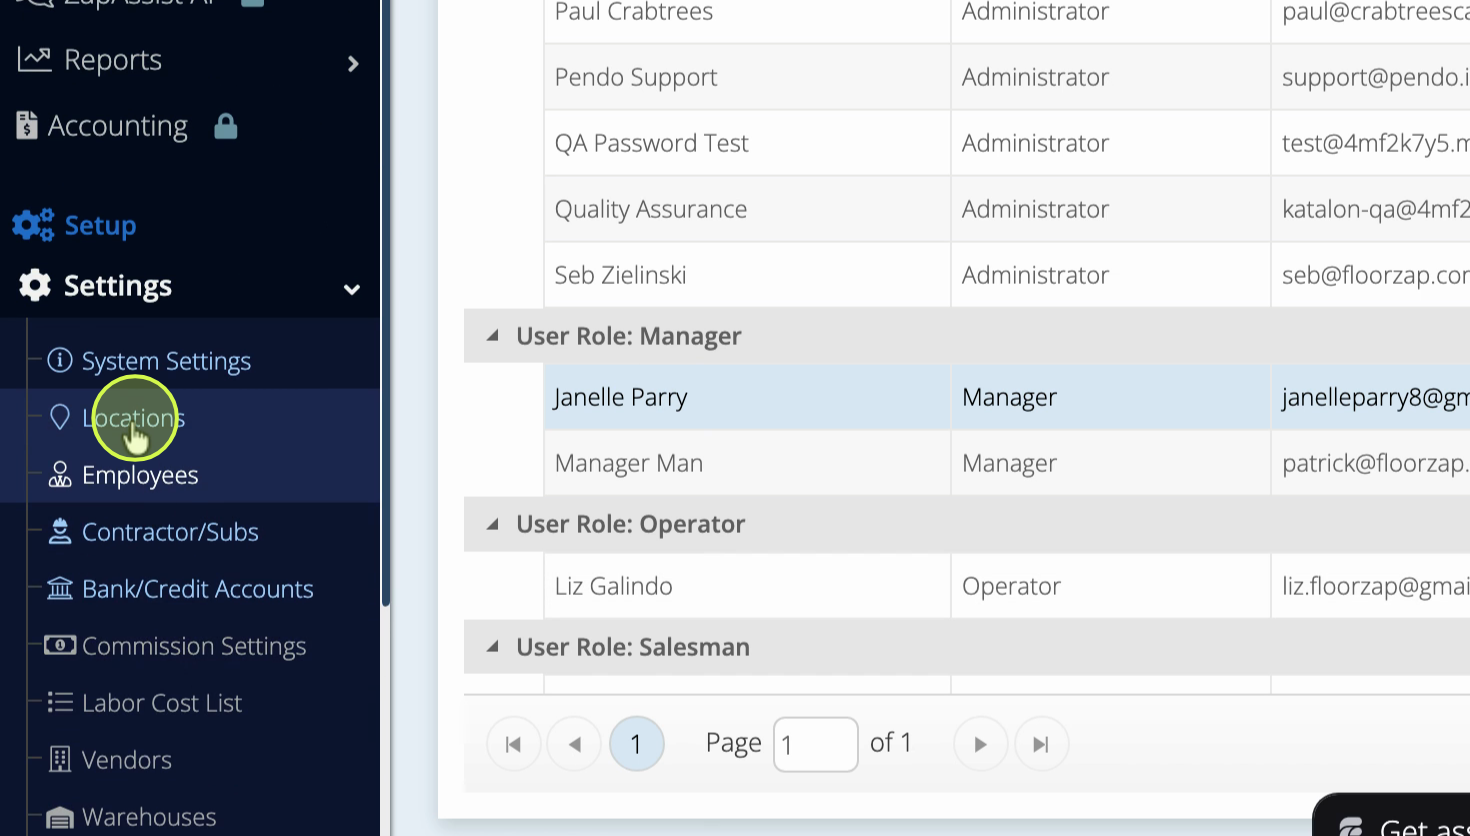
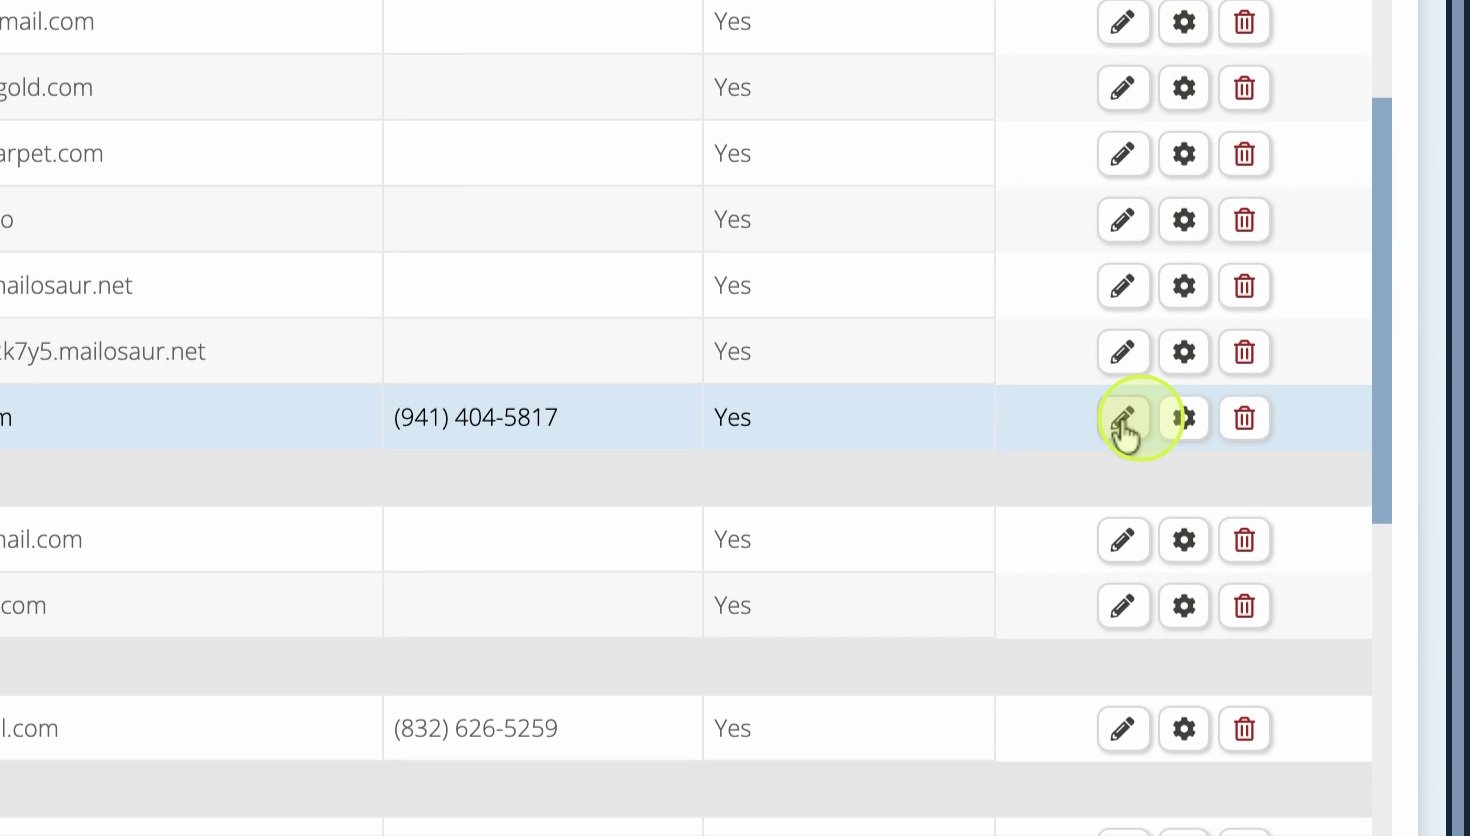
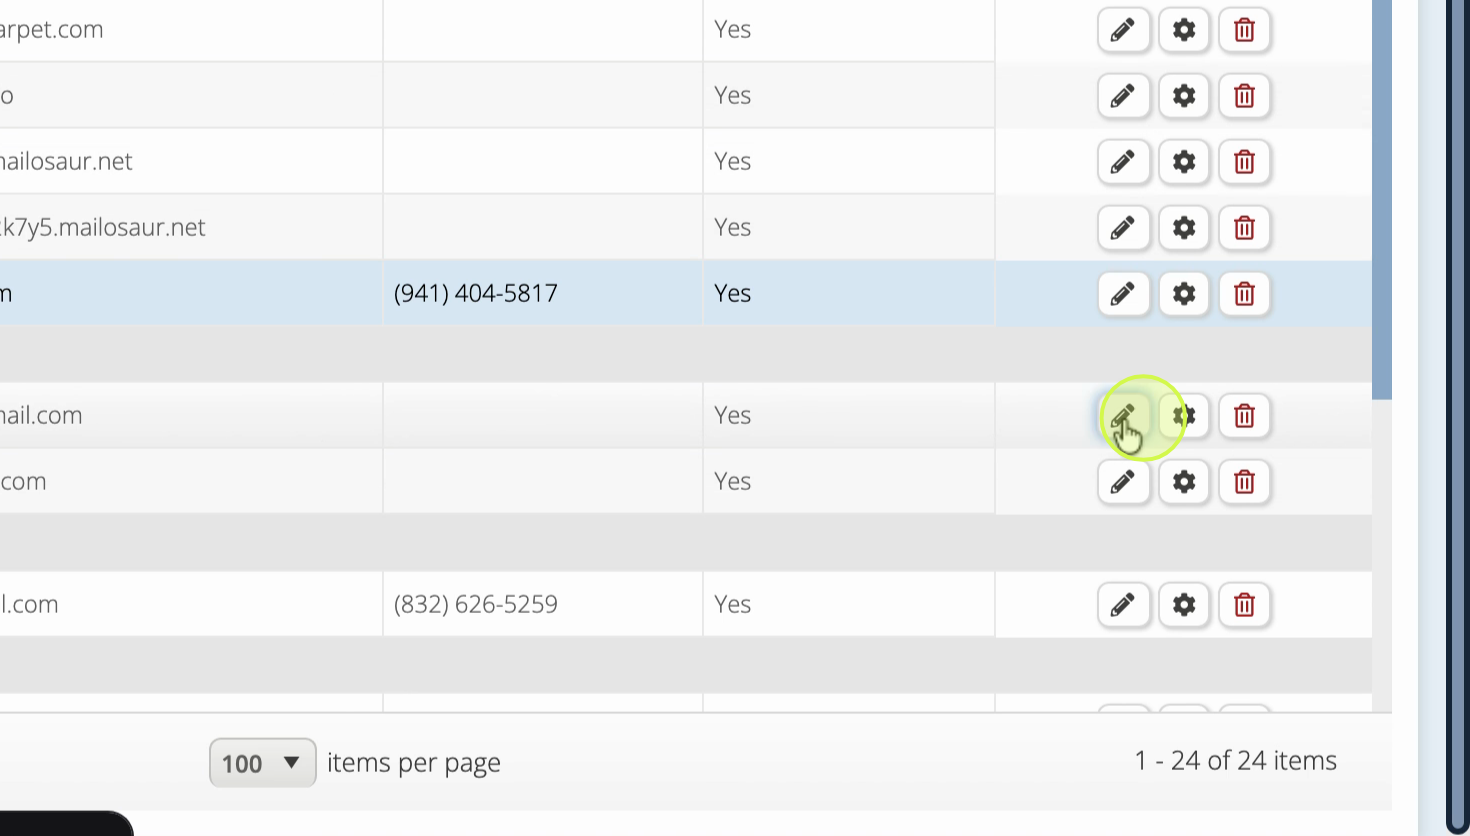
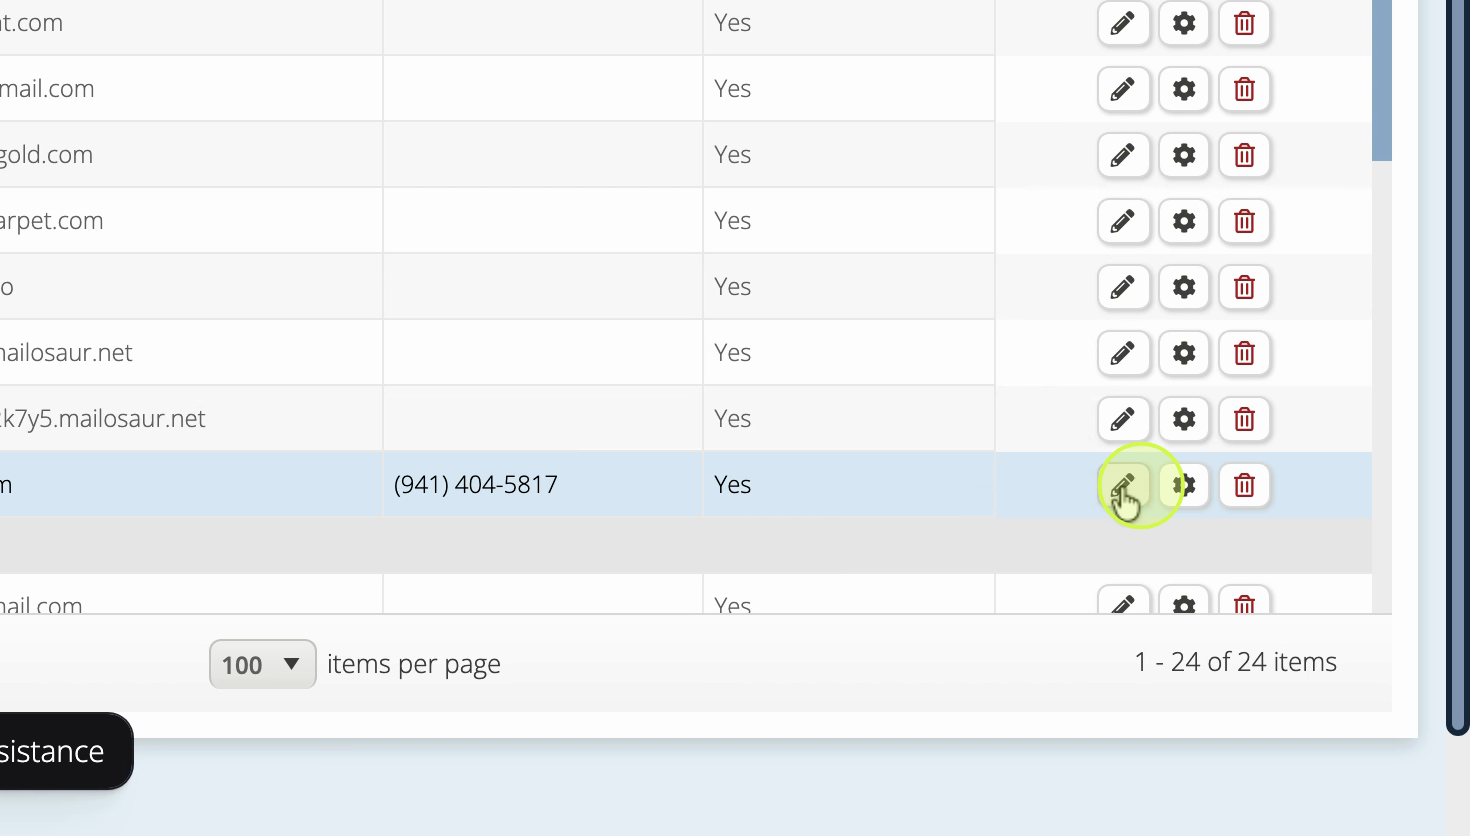
Step 6: To edit an employee's locations, click the edit pencil next to their name.
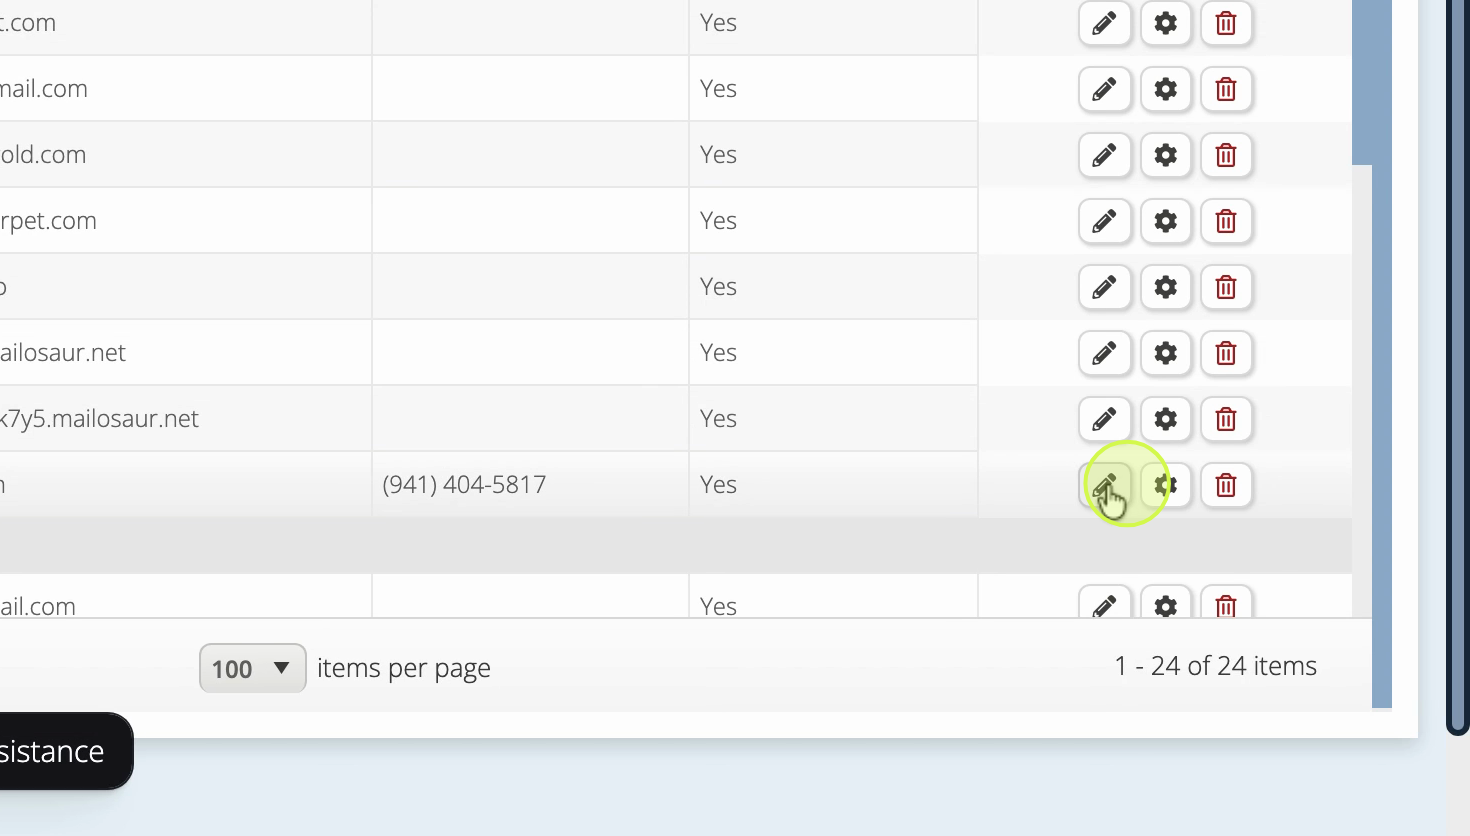
Step 7: Add or remove locations as needed. If an employee isn’t listed for a particular location, they won’t see related documents (like purchase orders or invoices) tied to that location.
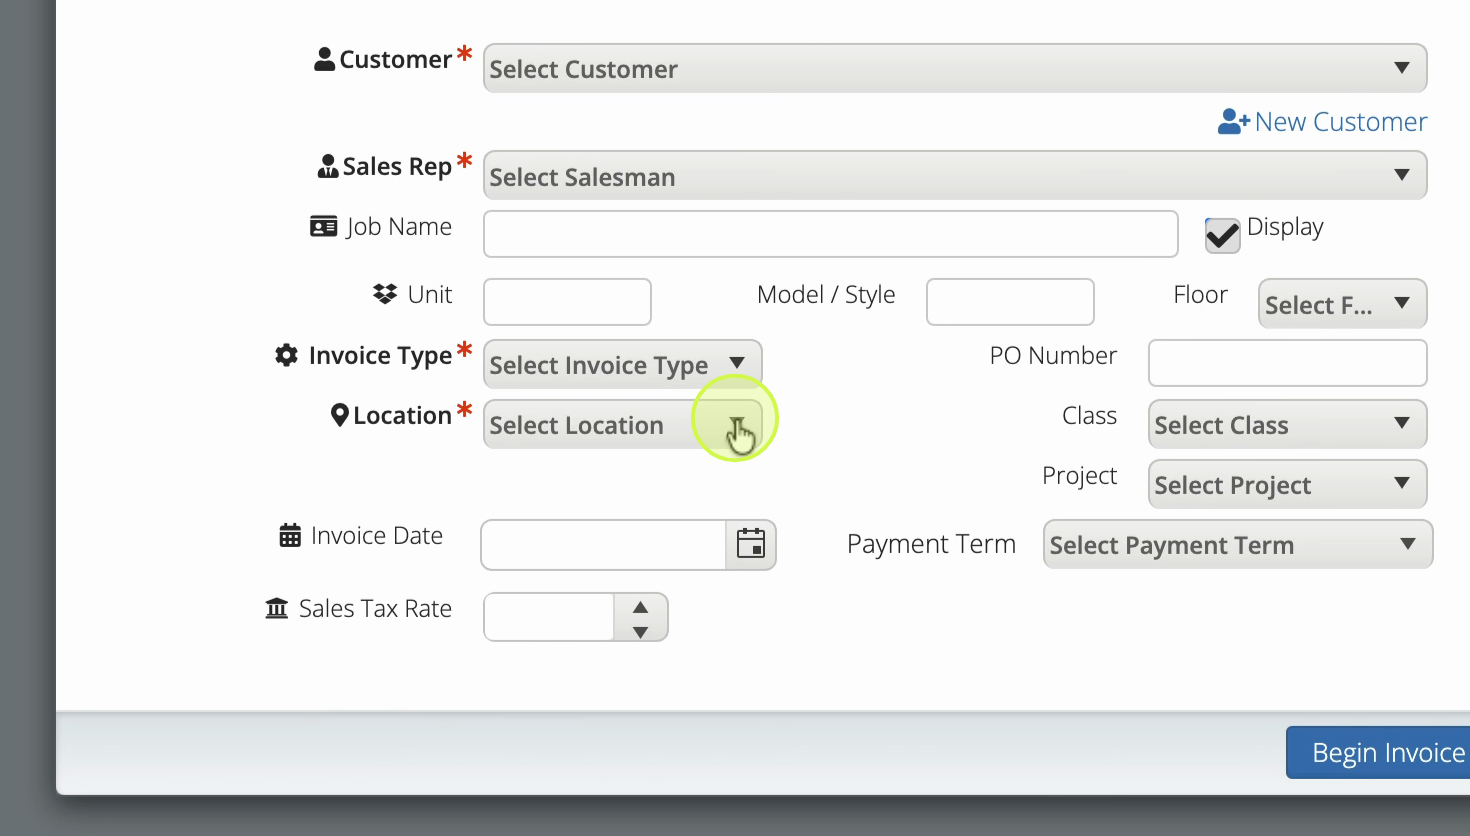
Step 8: When you create a new invoice, select the correct Location. Only employees assigned to that location can view or manage the invoice.
Granting employees the right location access helps keep your business organized and ensures everyone only sees what they need. Regularly review employee permissions as your locations or team members change.