How to Import from B2B Vendors
Importing products from B2B vendors streamlines your inventory updates and keeps your data accurate. Here’s a step-by-step guide to finding, importing, and managing B2B files, as well as adding and validating vendors.
Importing B2B Files
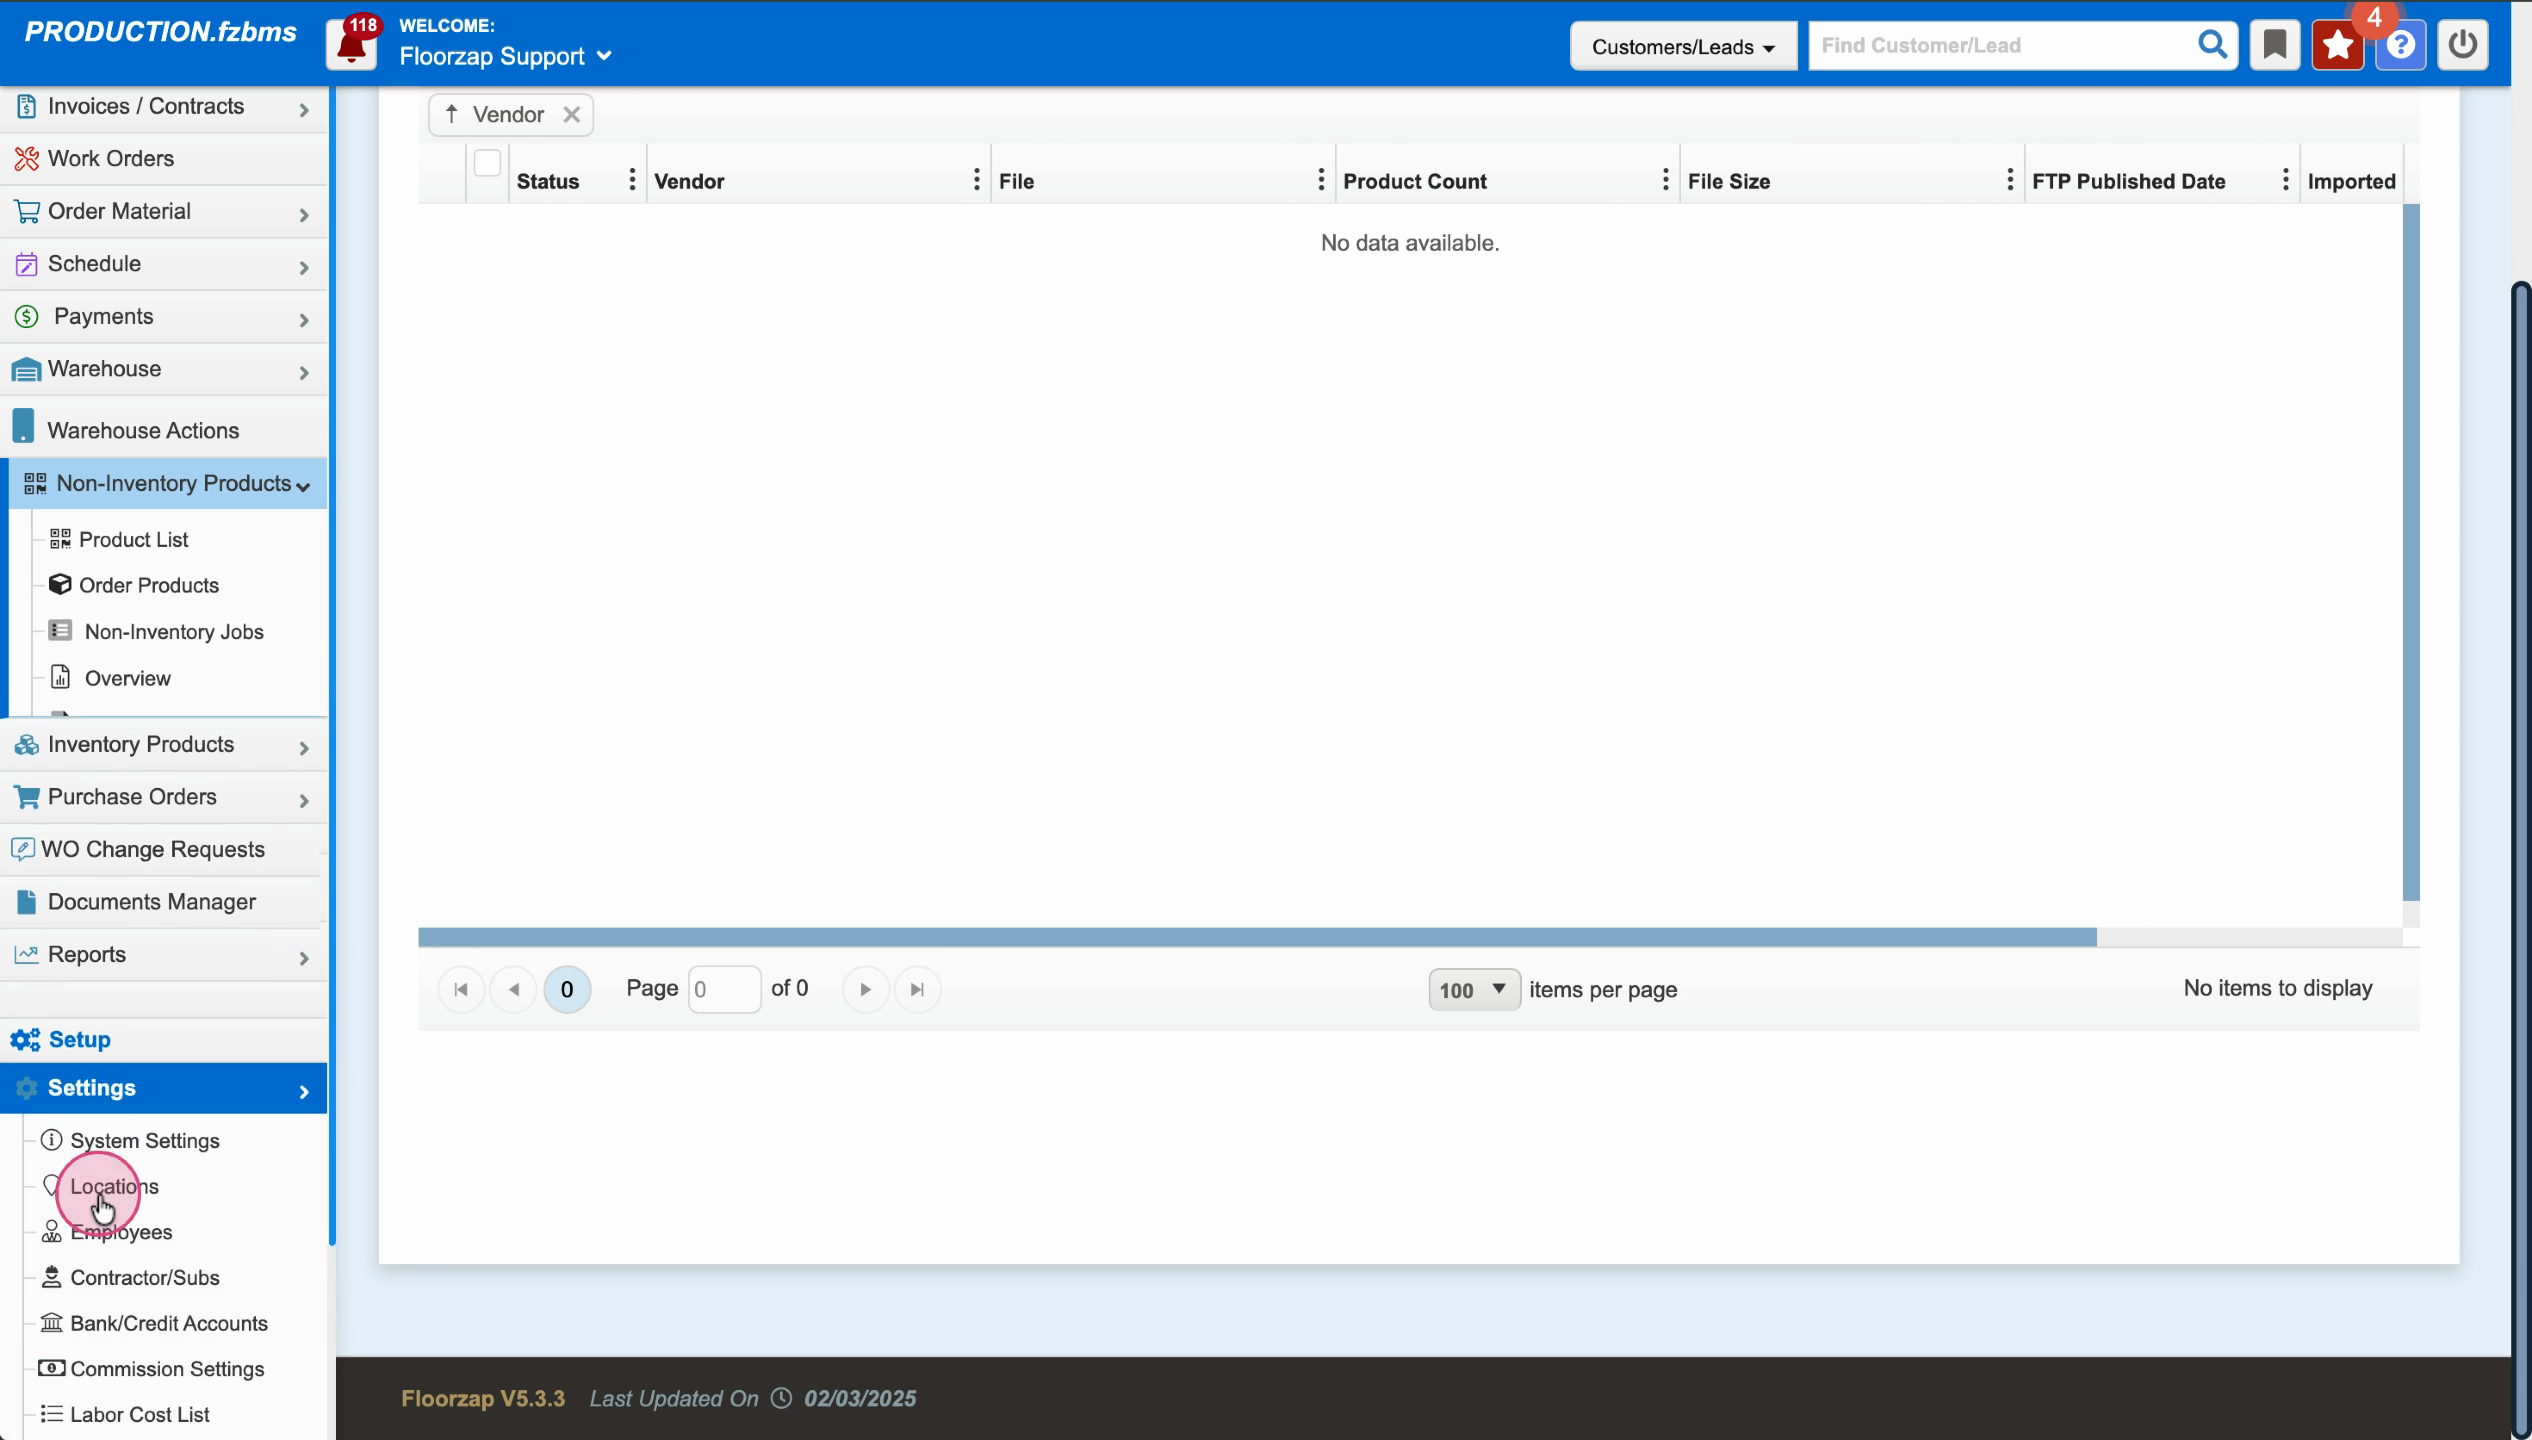
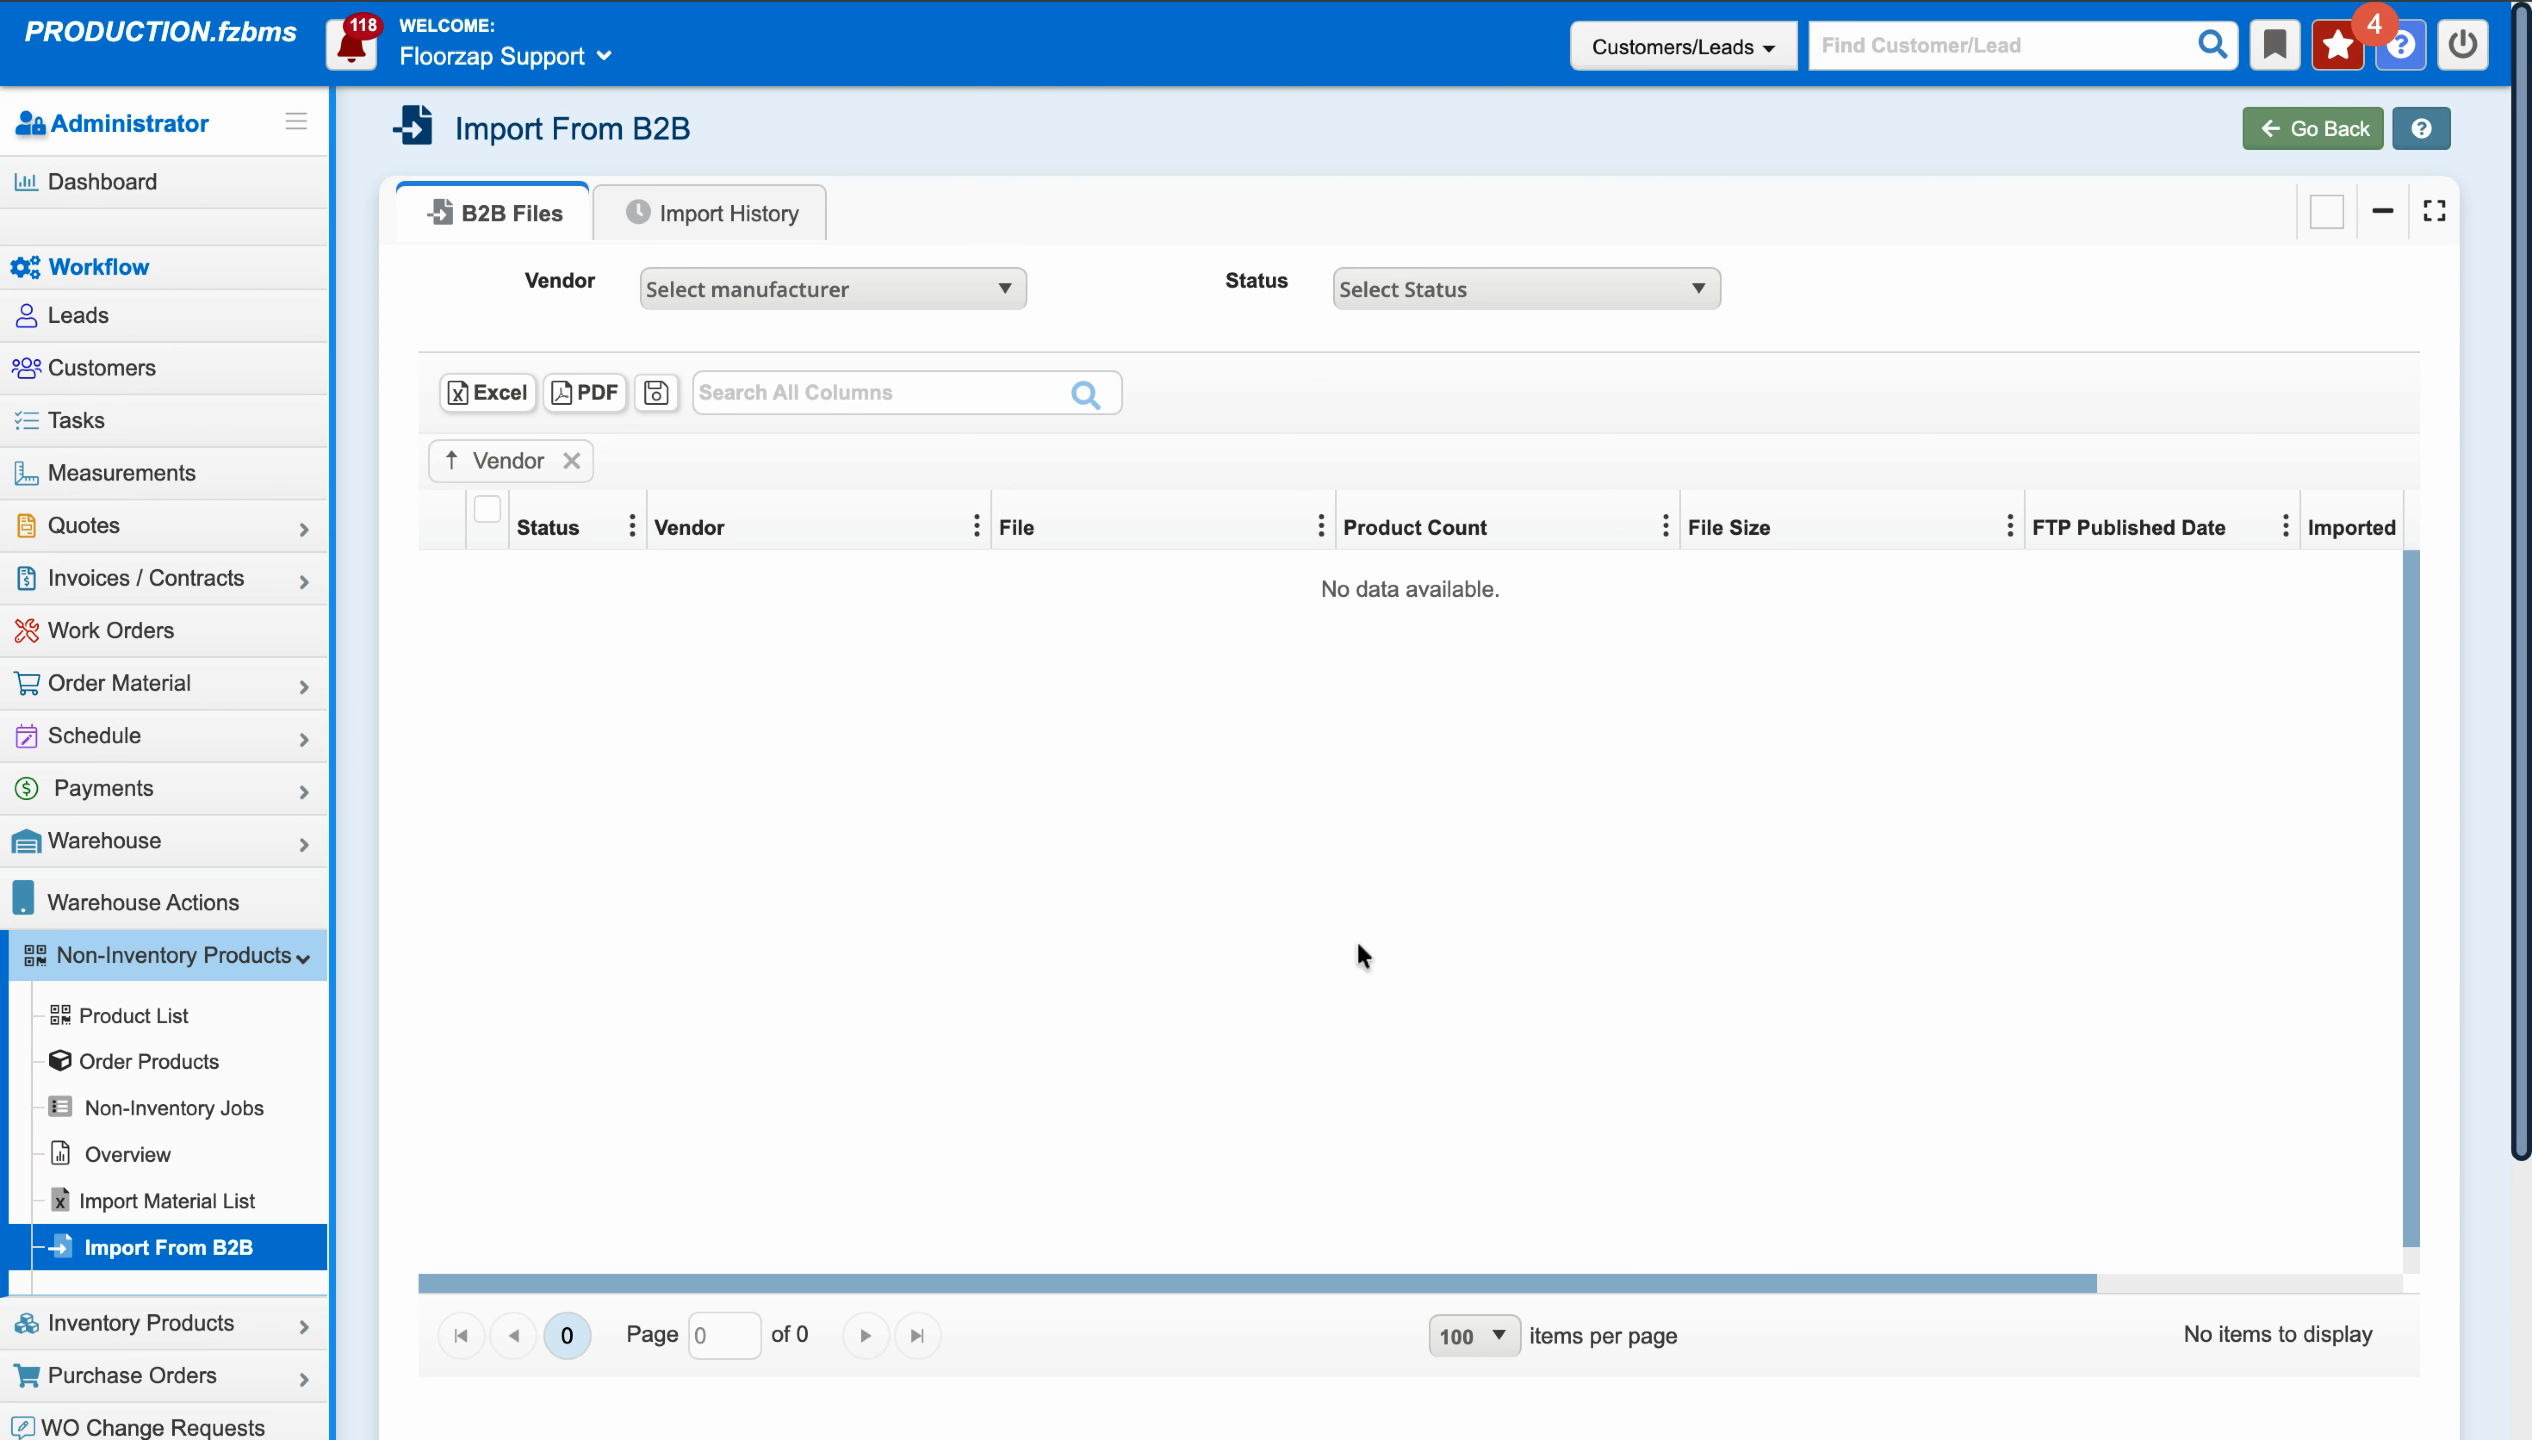
Step 1: Go to Non Inventory Products and select Import from B2B.
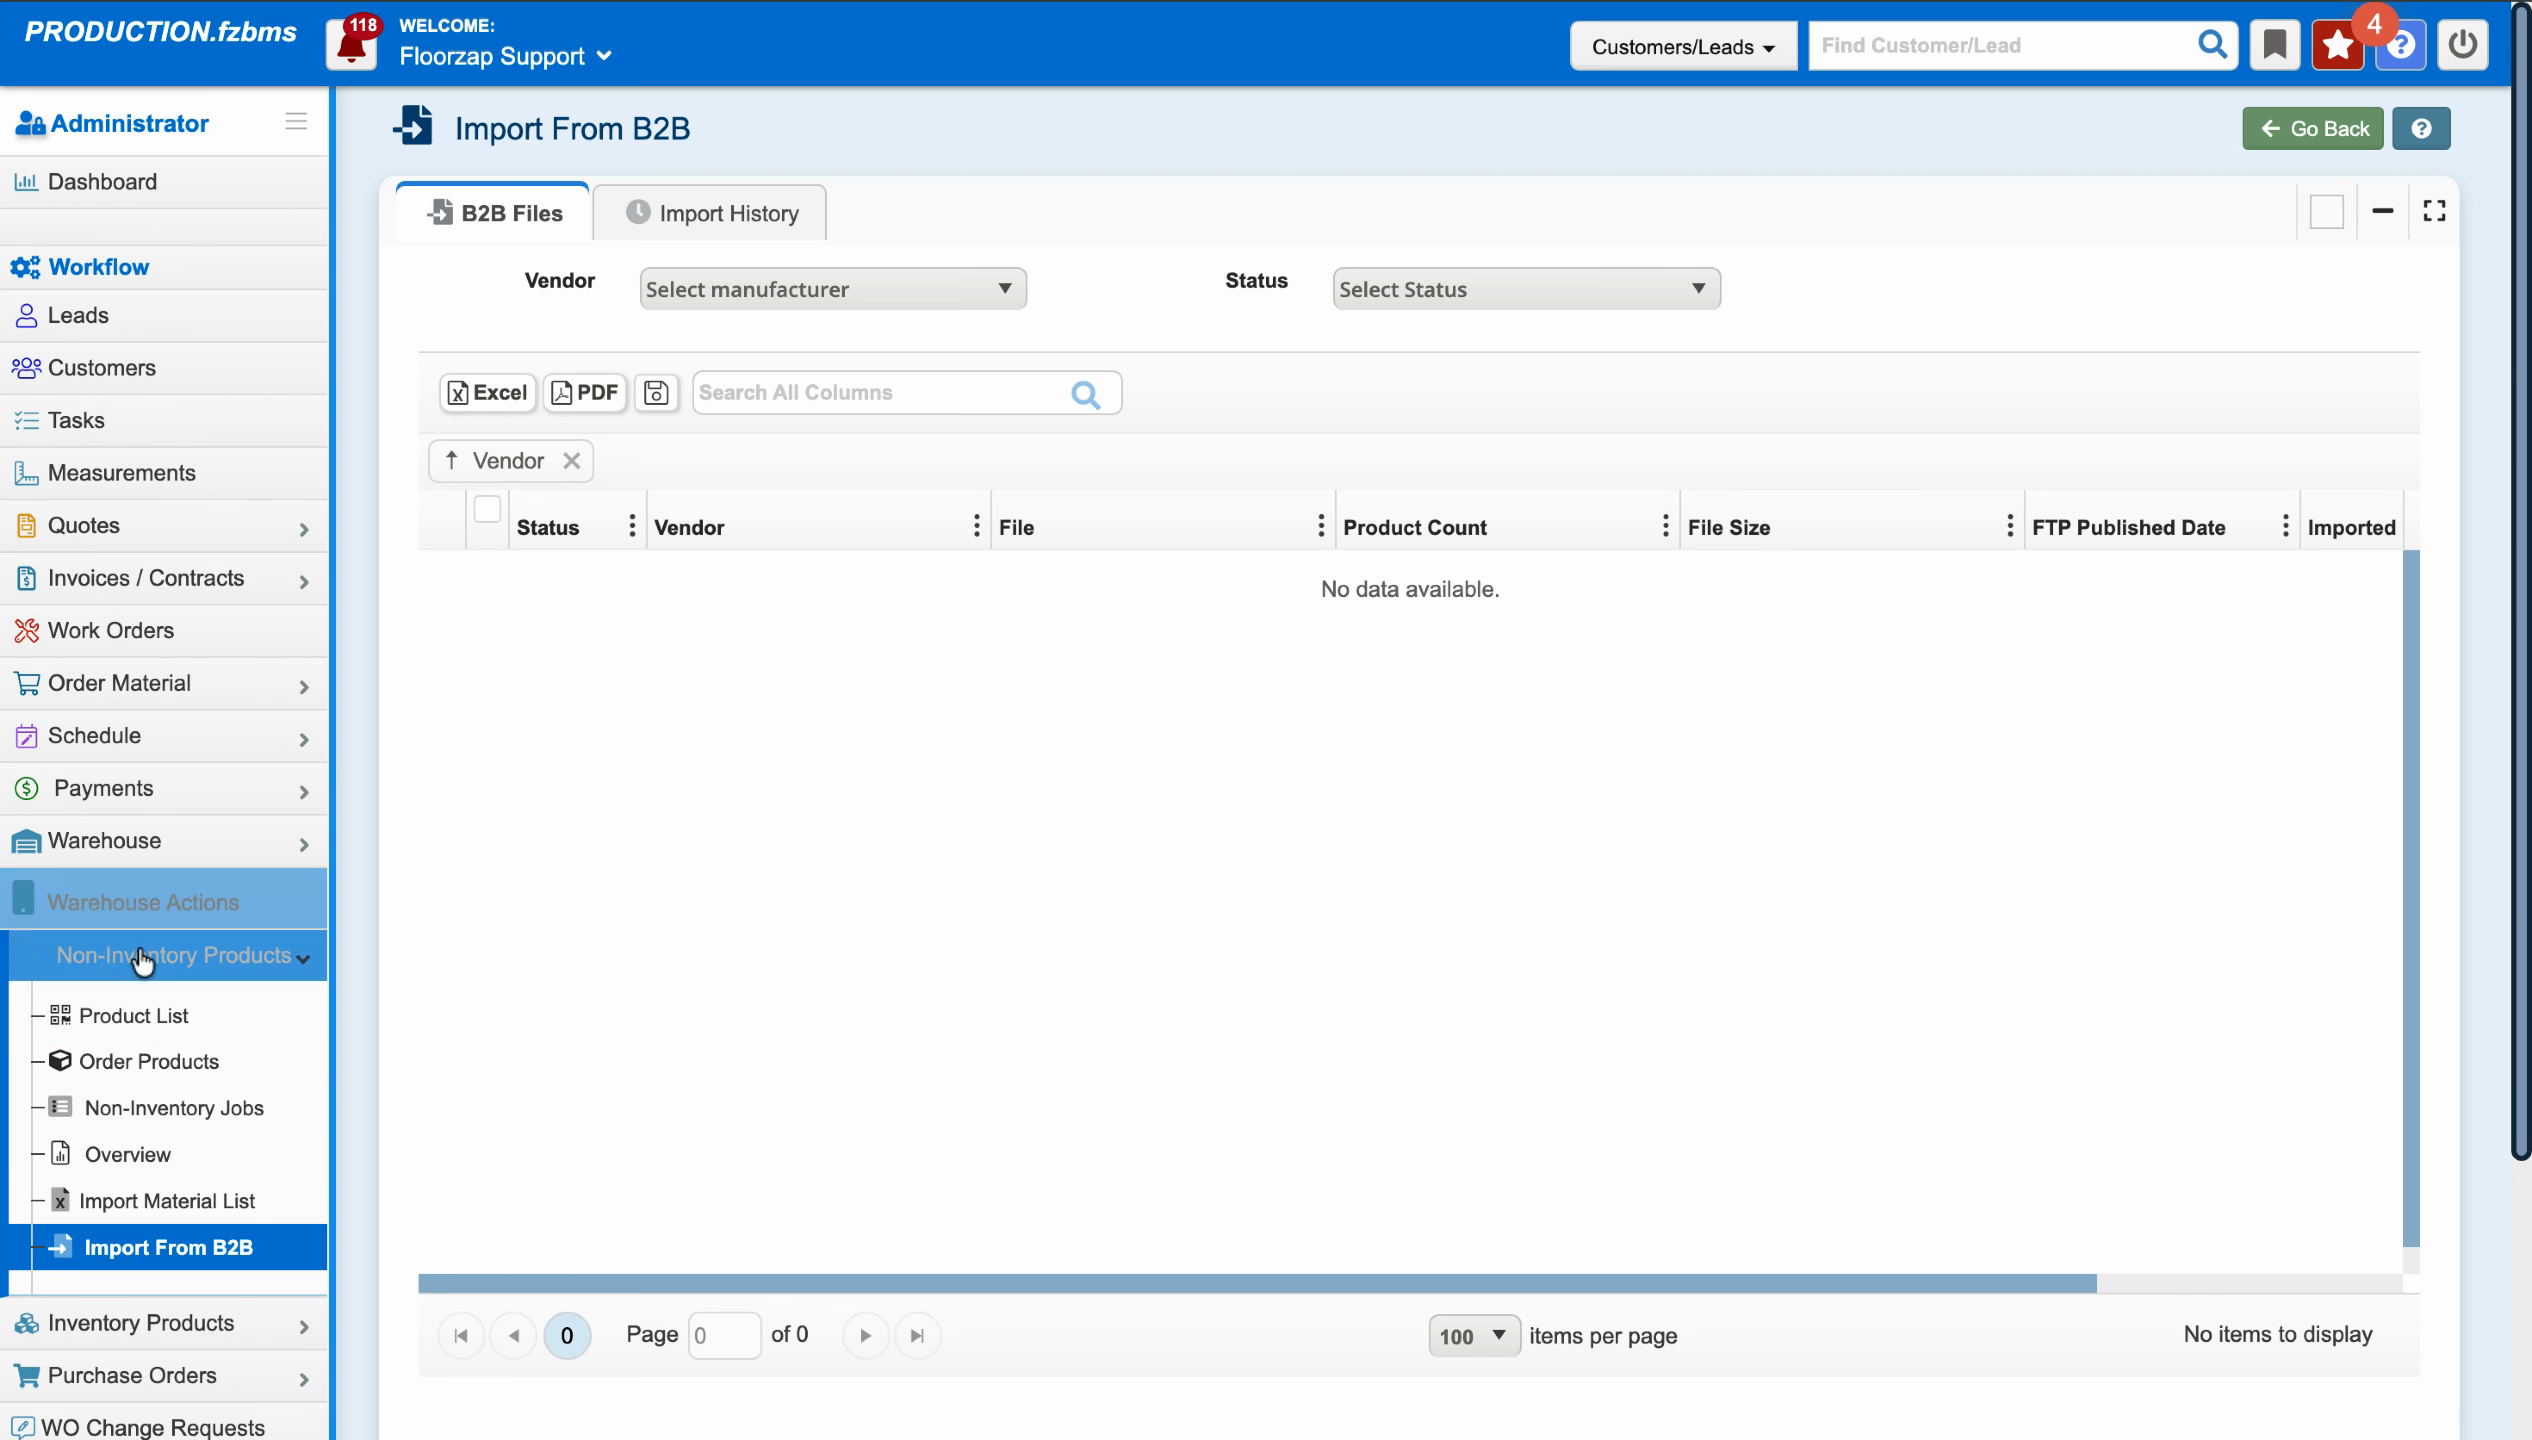
Step 2: Choose the manufacturer you want to import from, such as Dixie.

Step 3: Review the list of available files. Scroll to the right and click the Import button next to the file you want to bring in.

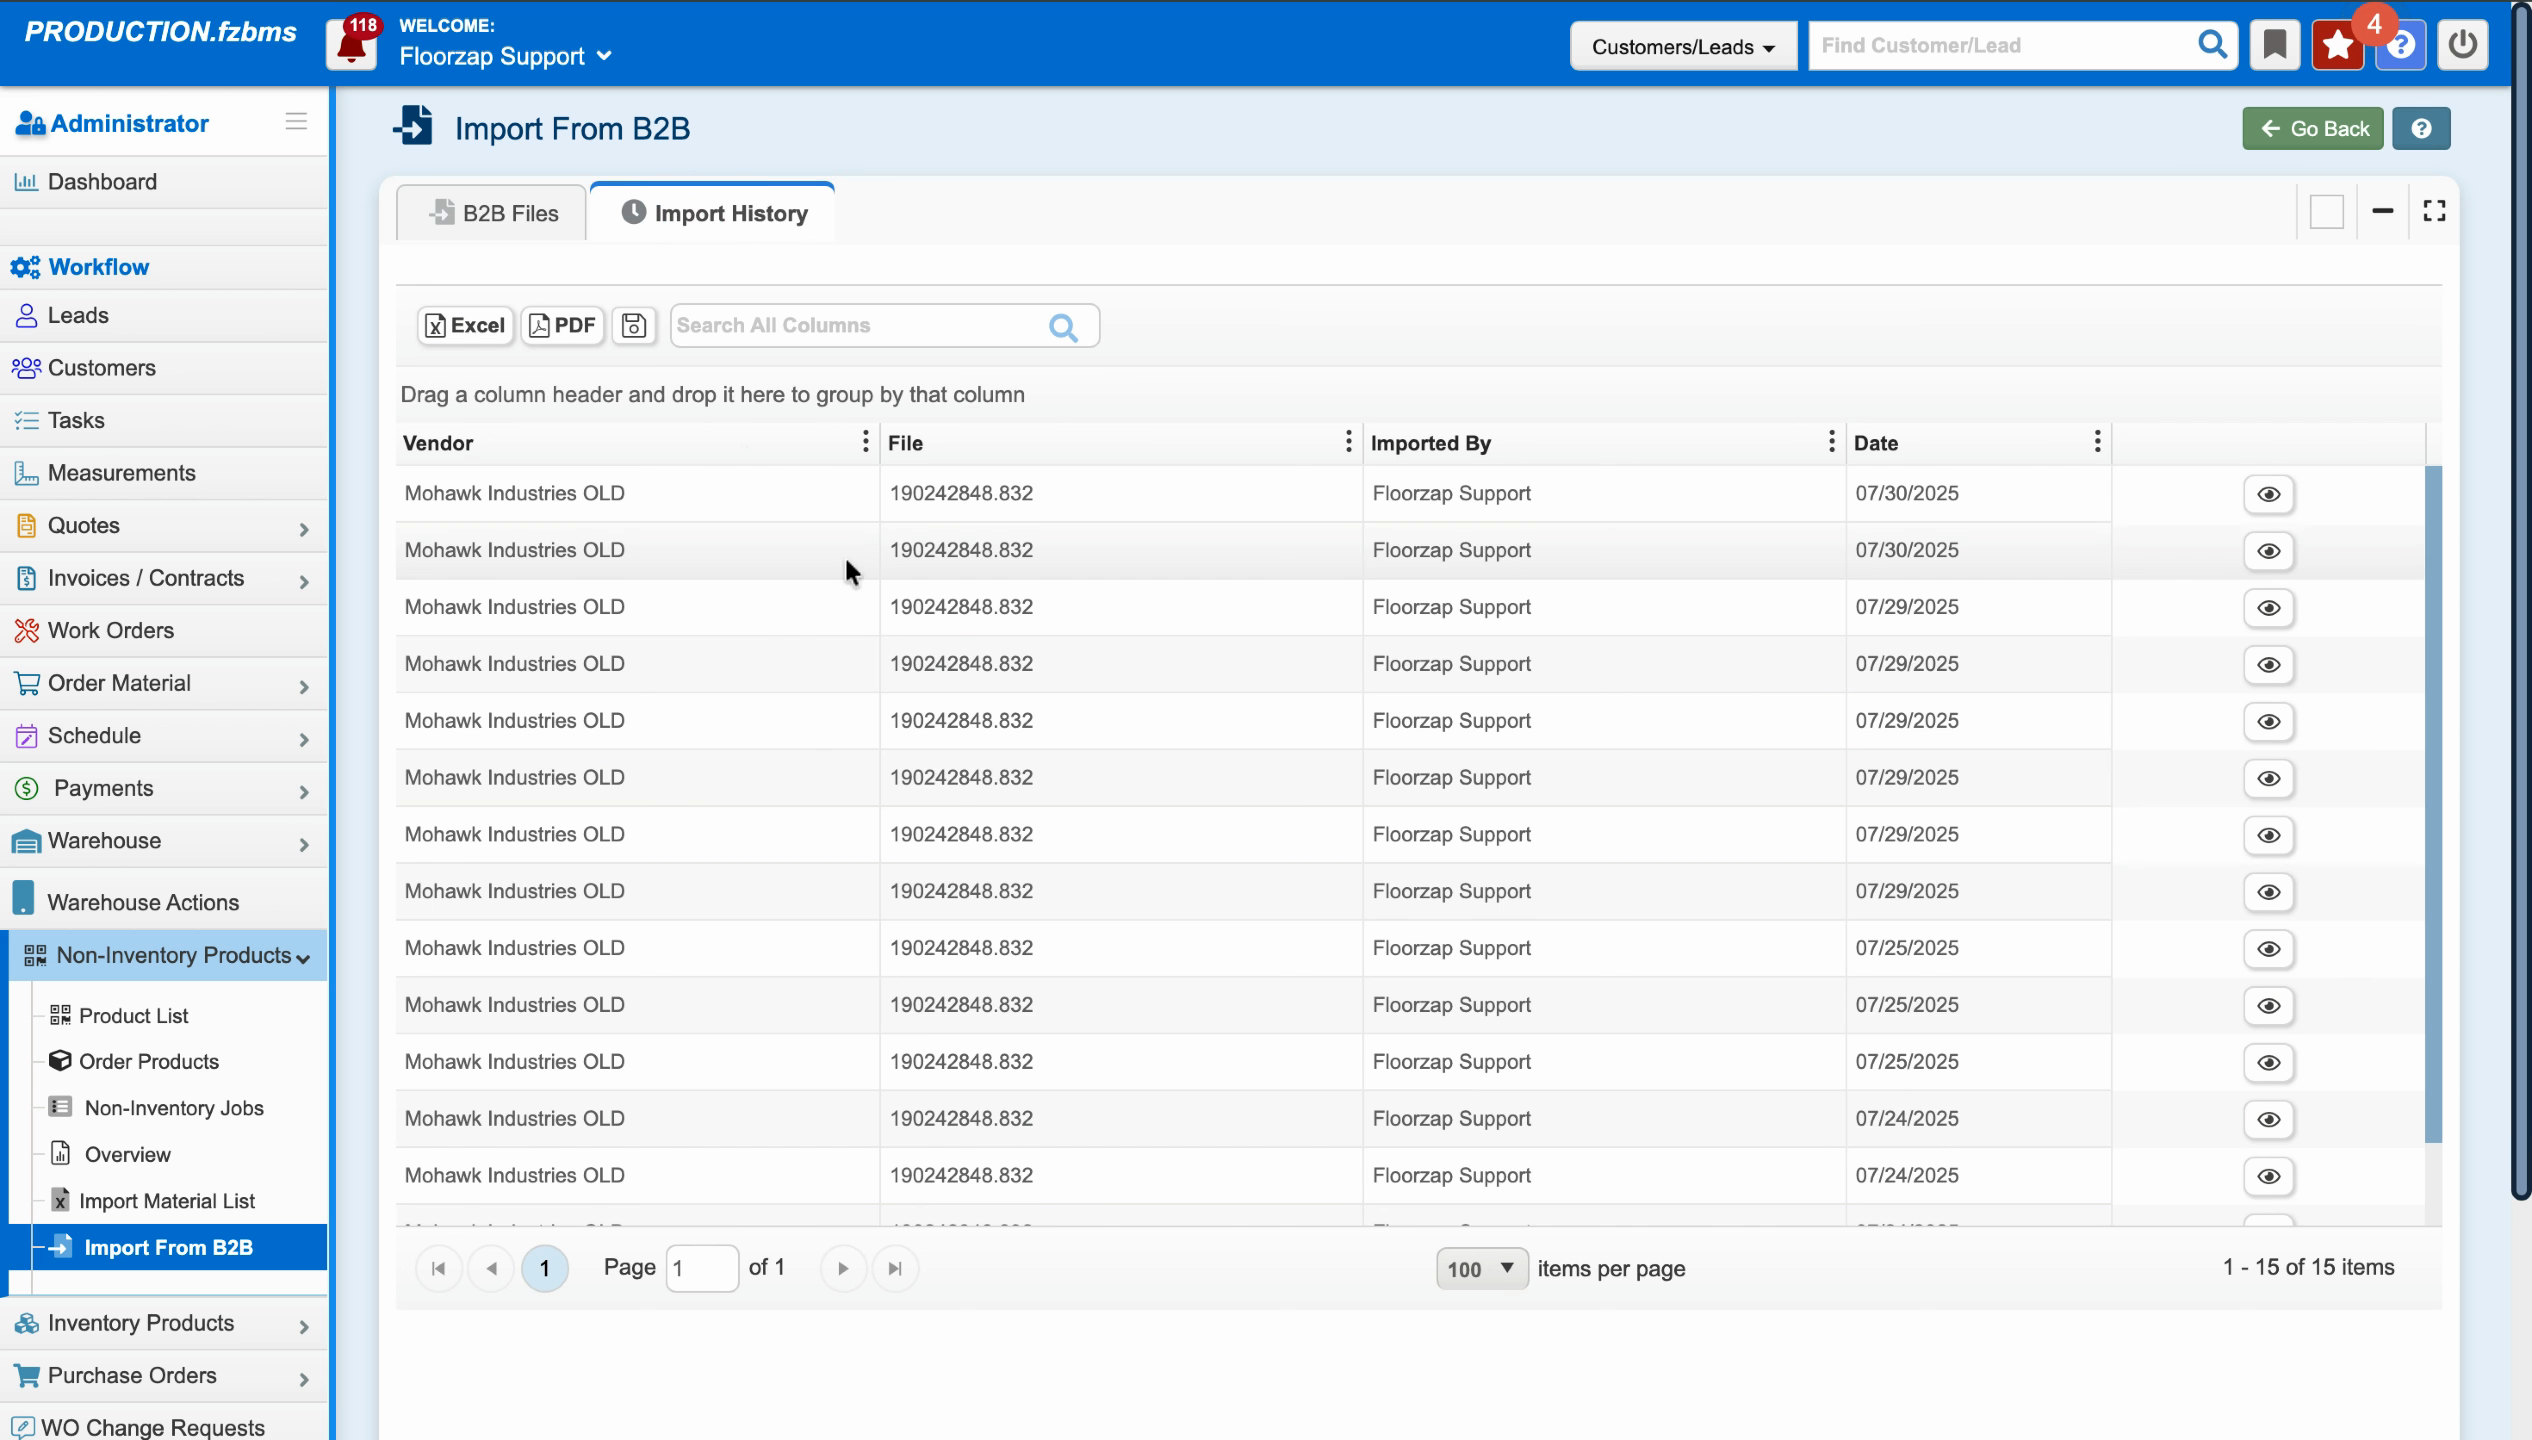
Step 4: To check your previous imports, click Import History.

Step 5: View your import activity, including recent files and dates.
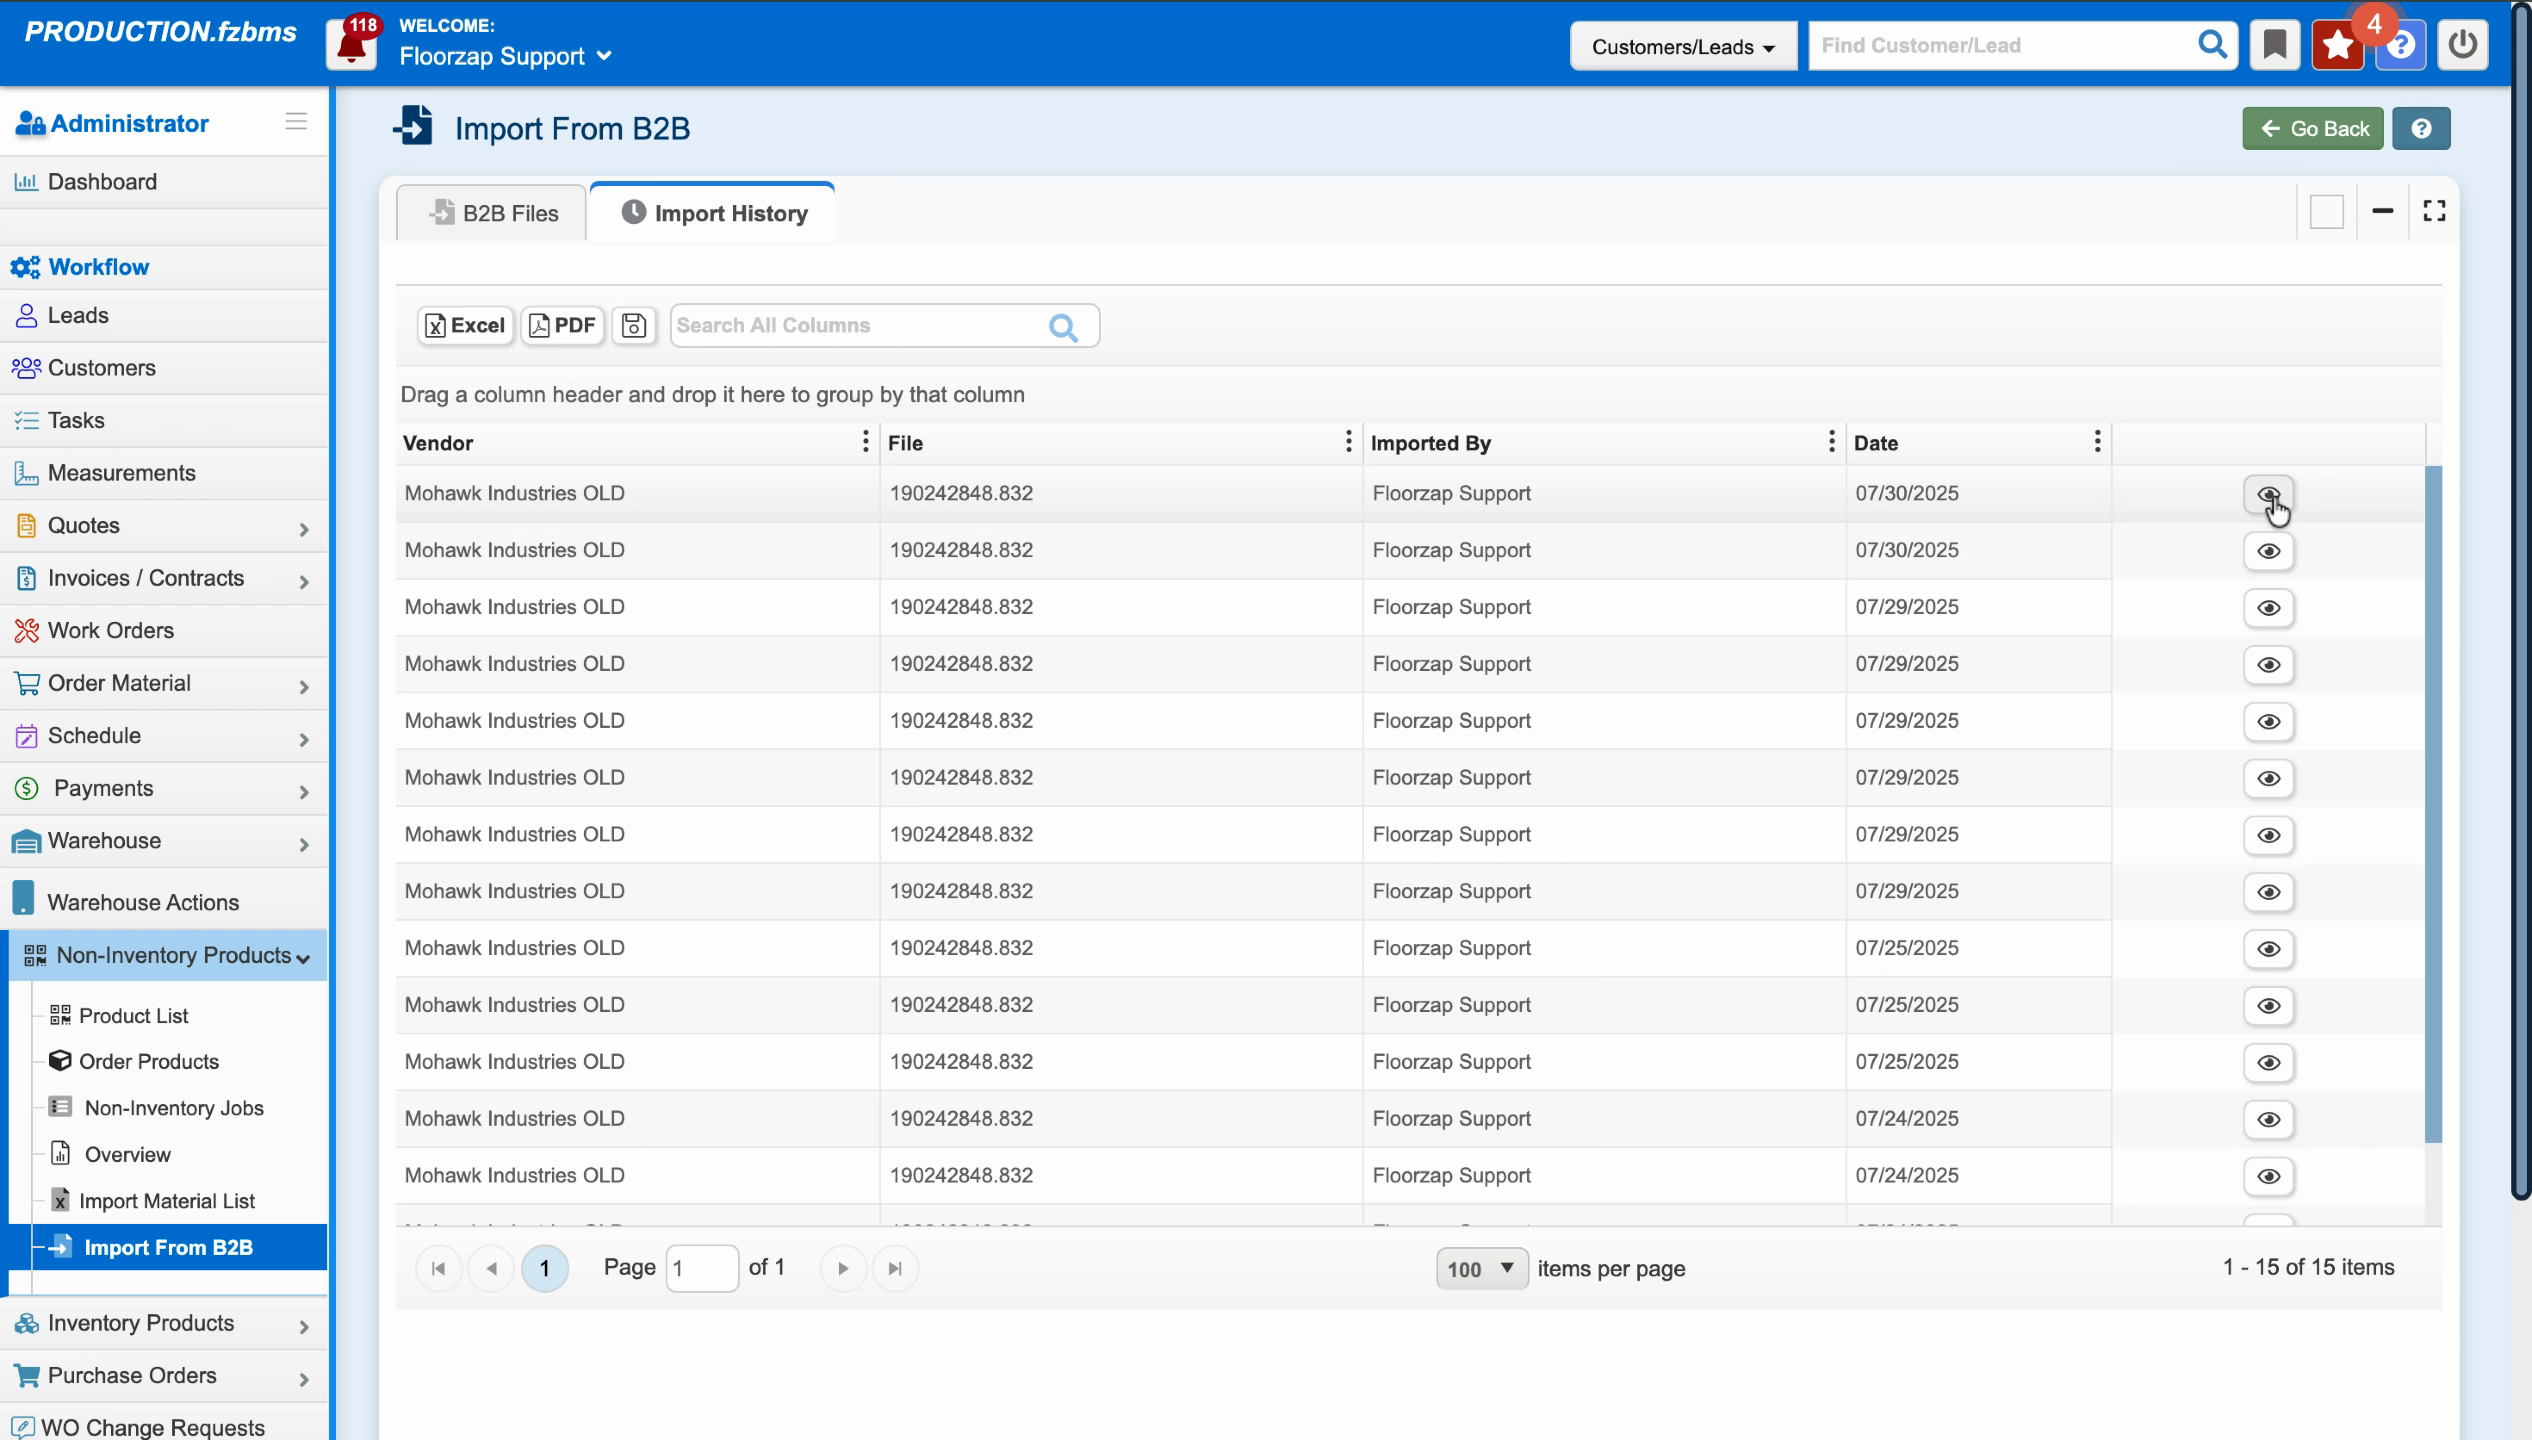
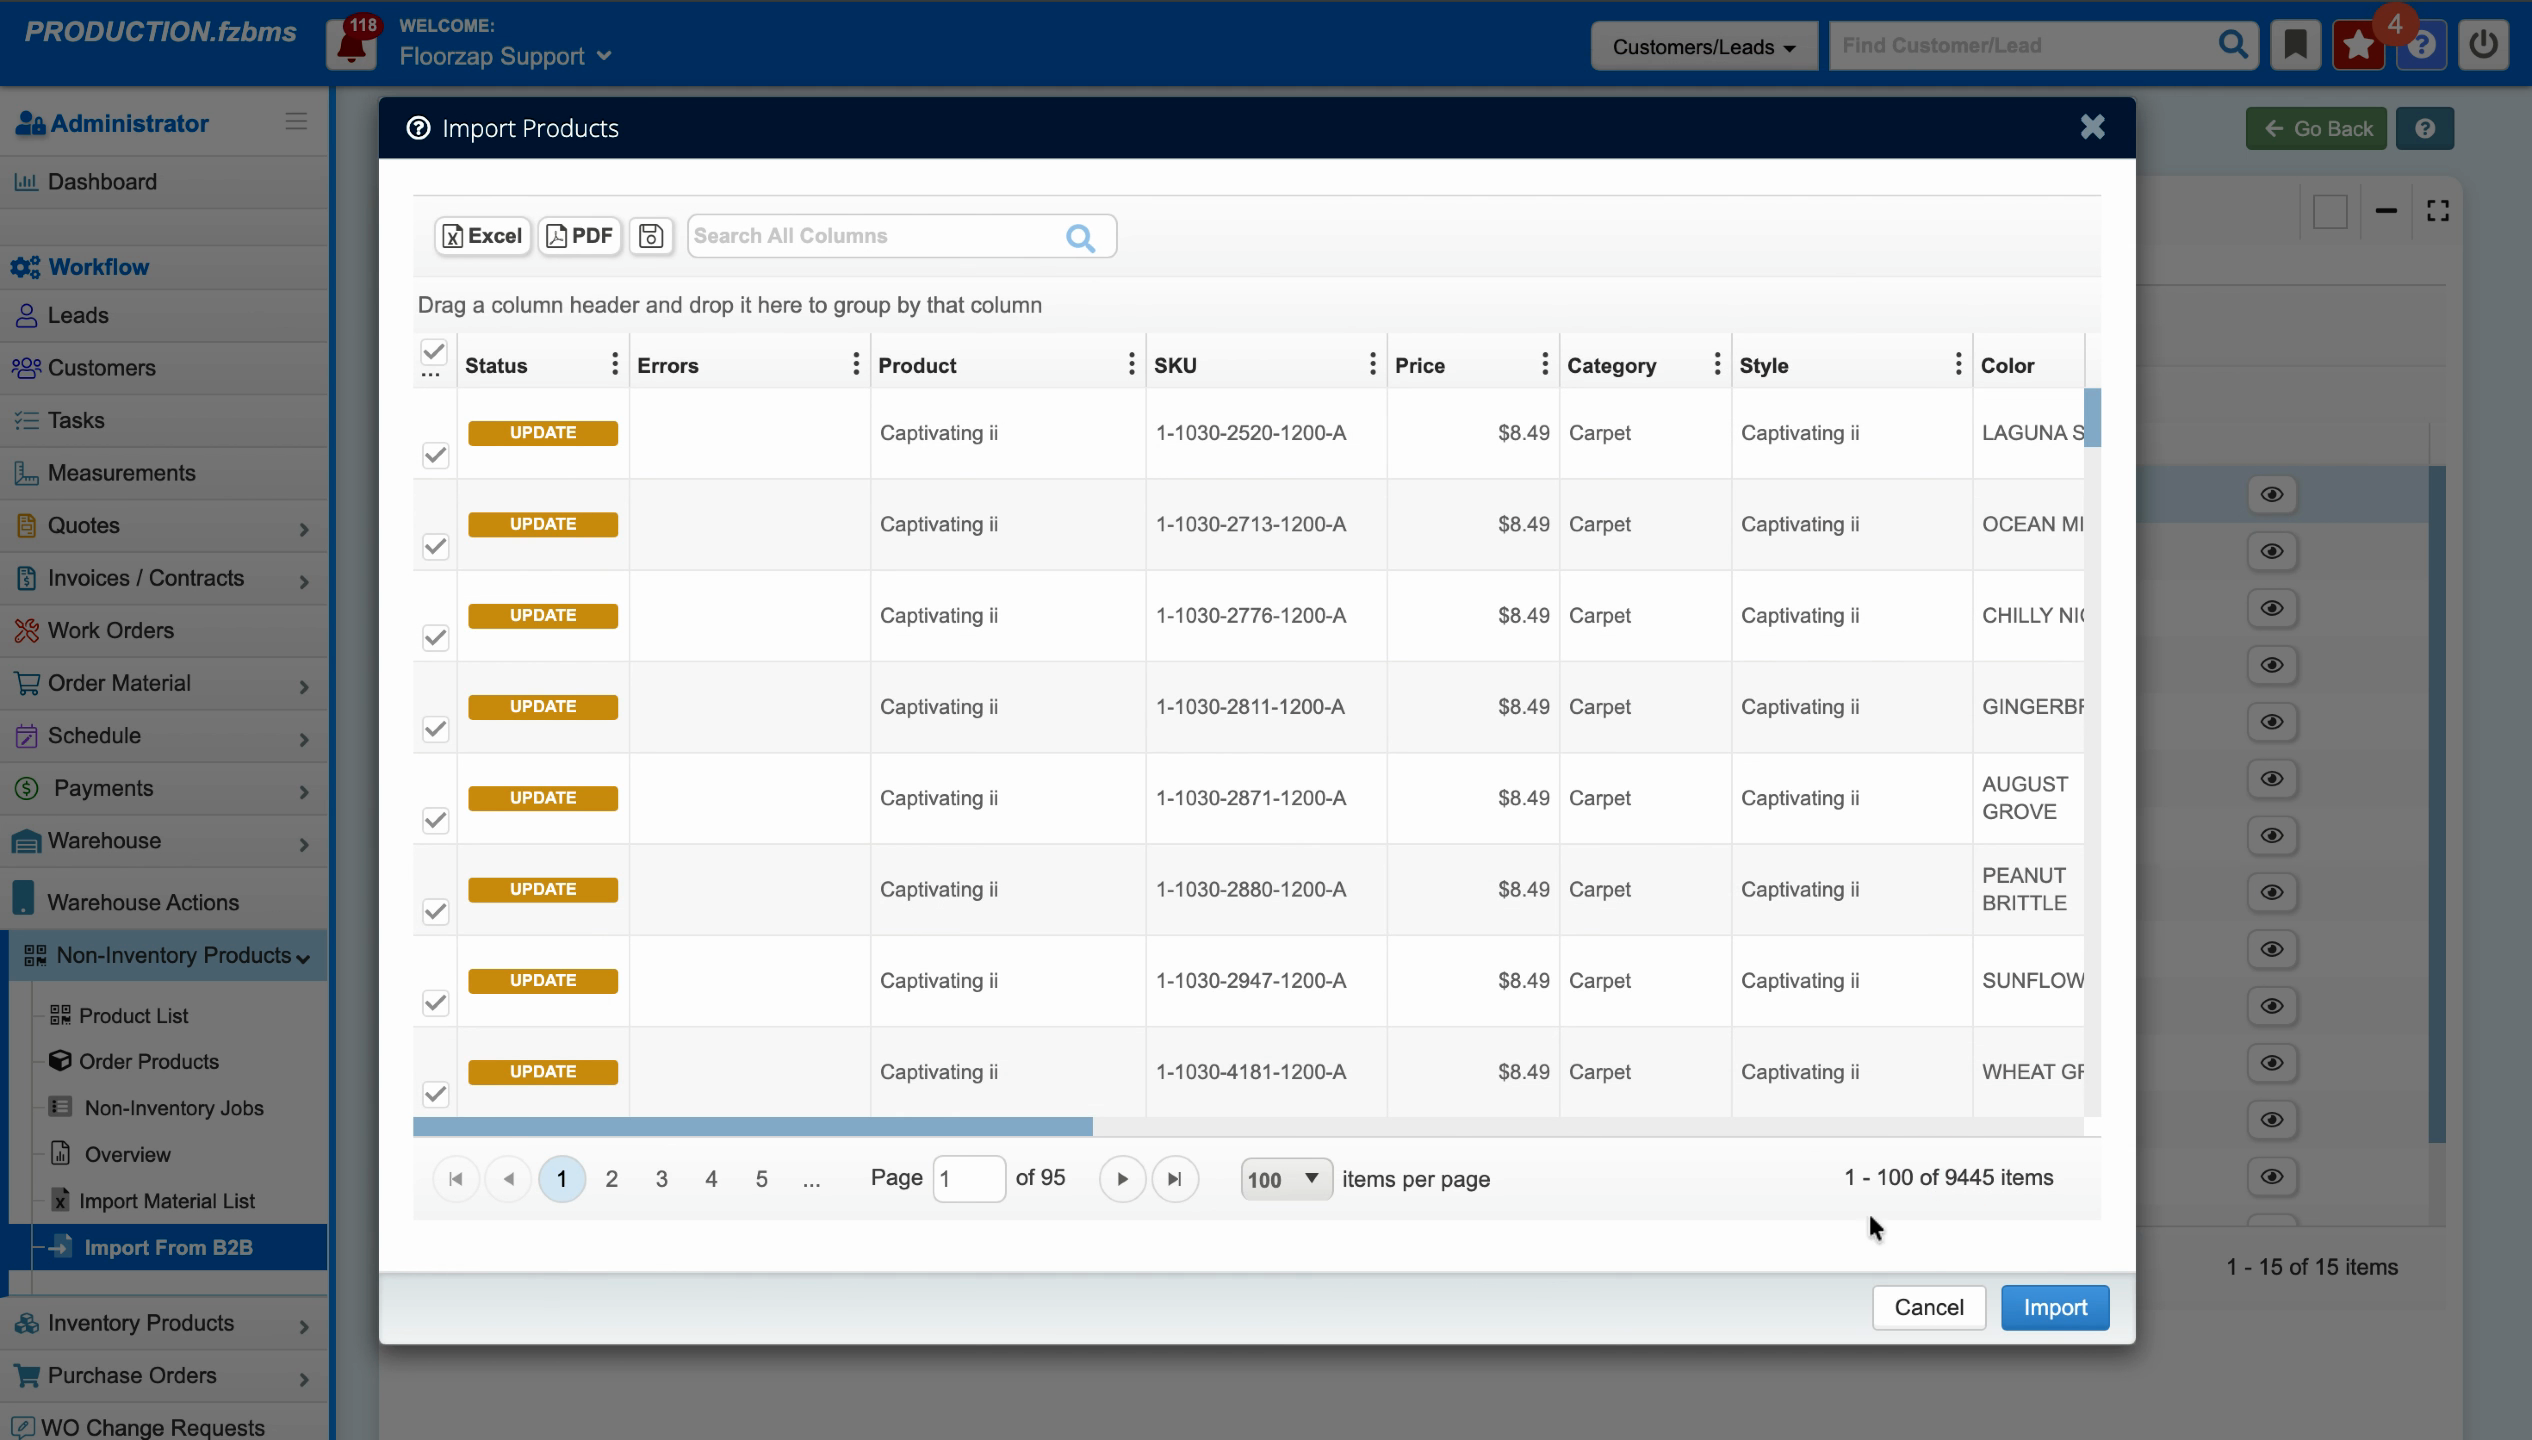
Step 6: For details on a specific file, click the eye icon. This displays the updates in the file.
Step 7: If you need to re-import a file, click Import again from the file details.
Adding and Validating Vendors
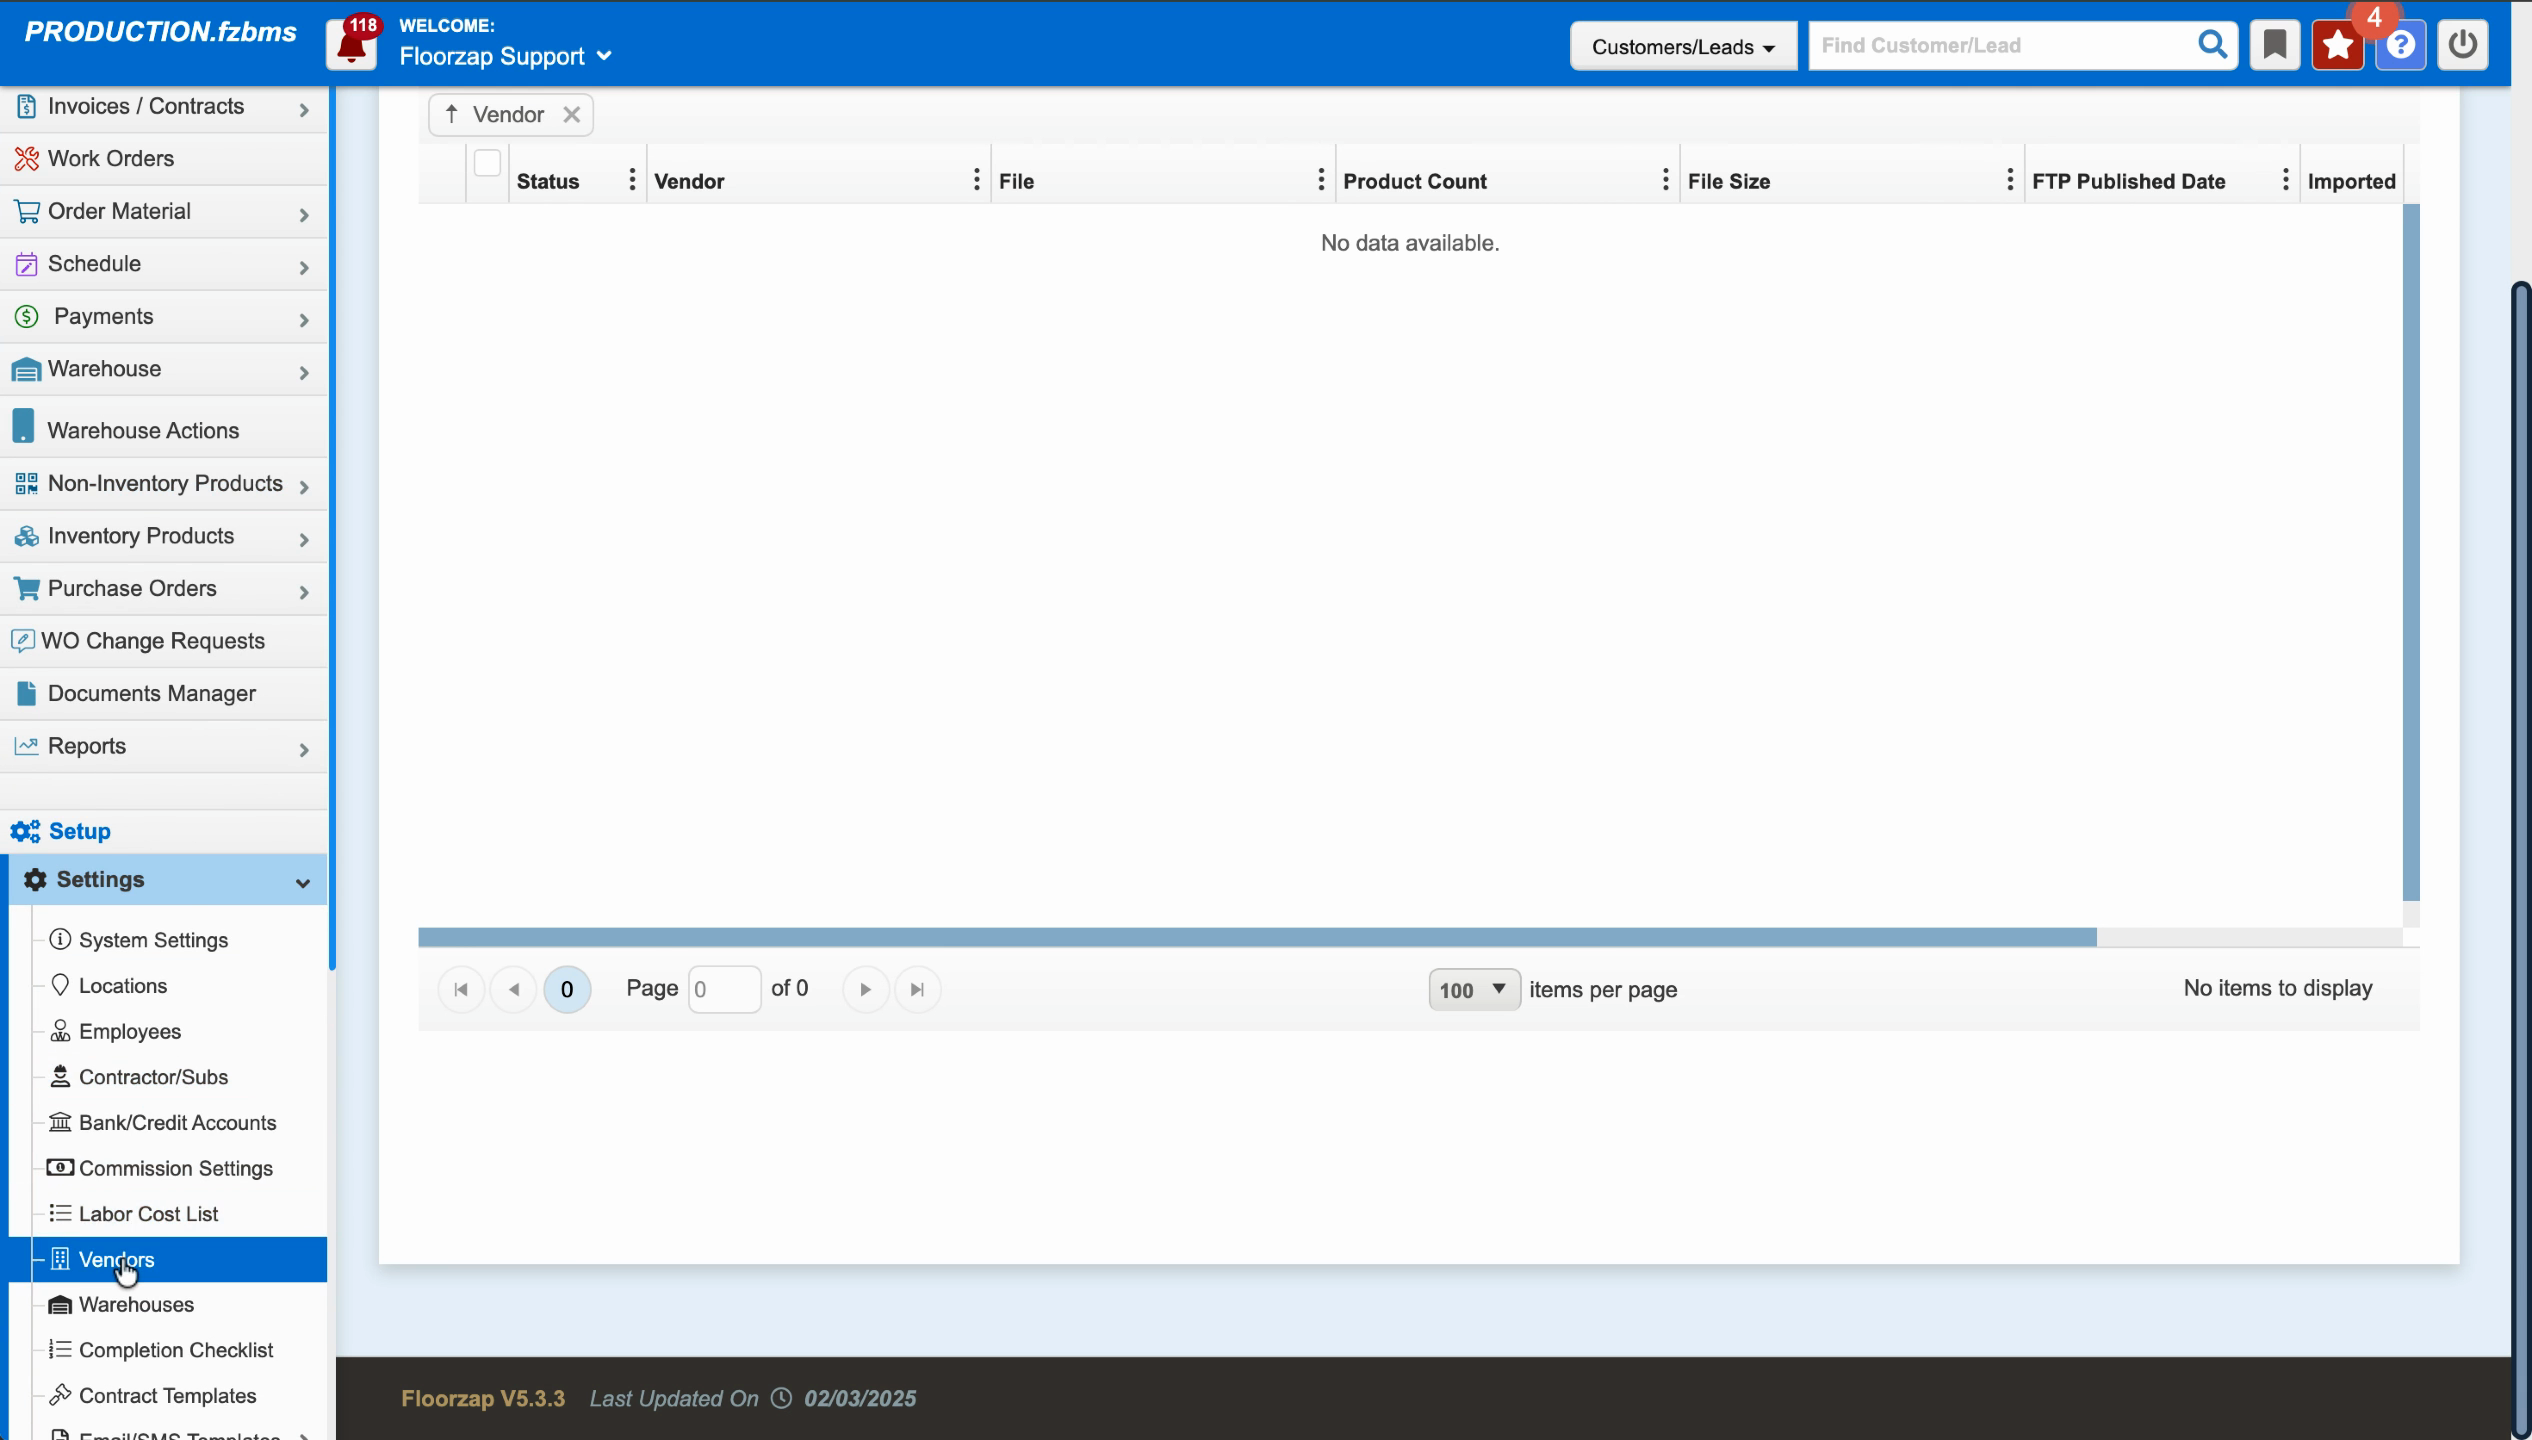
Step 1: Click Settings.
Step 2: Select Vendors.
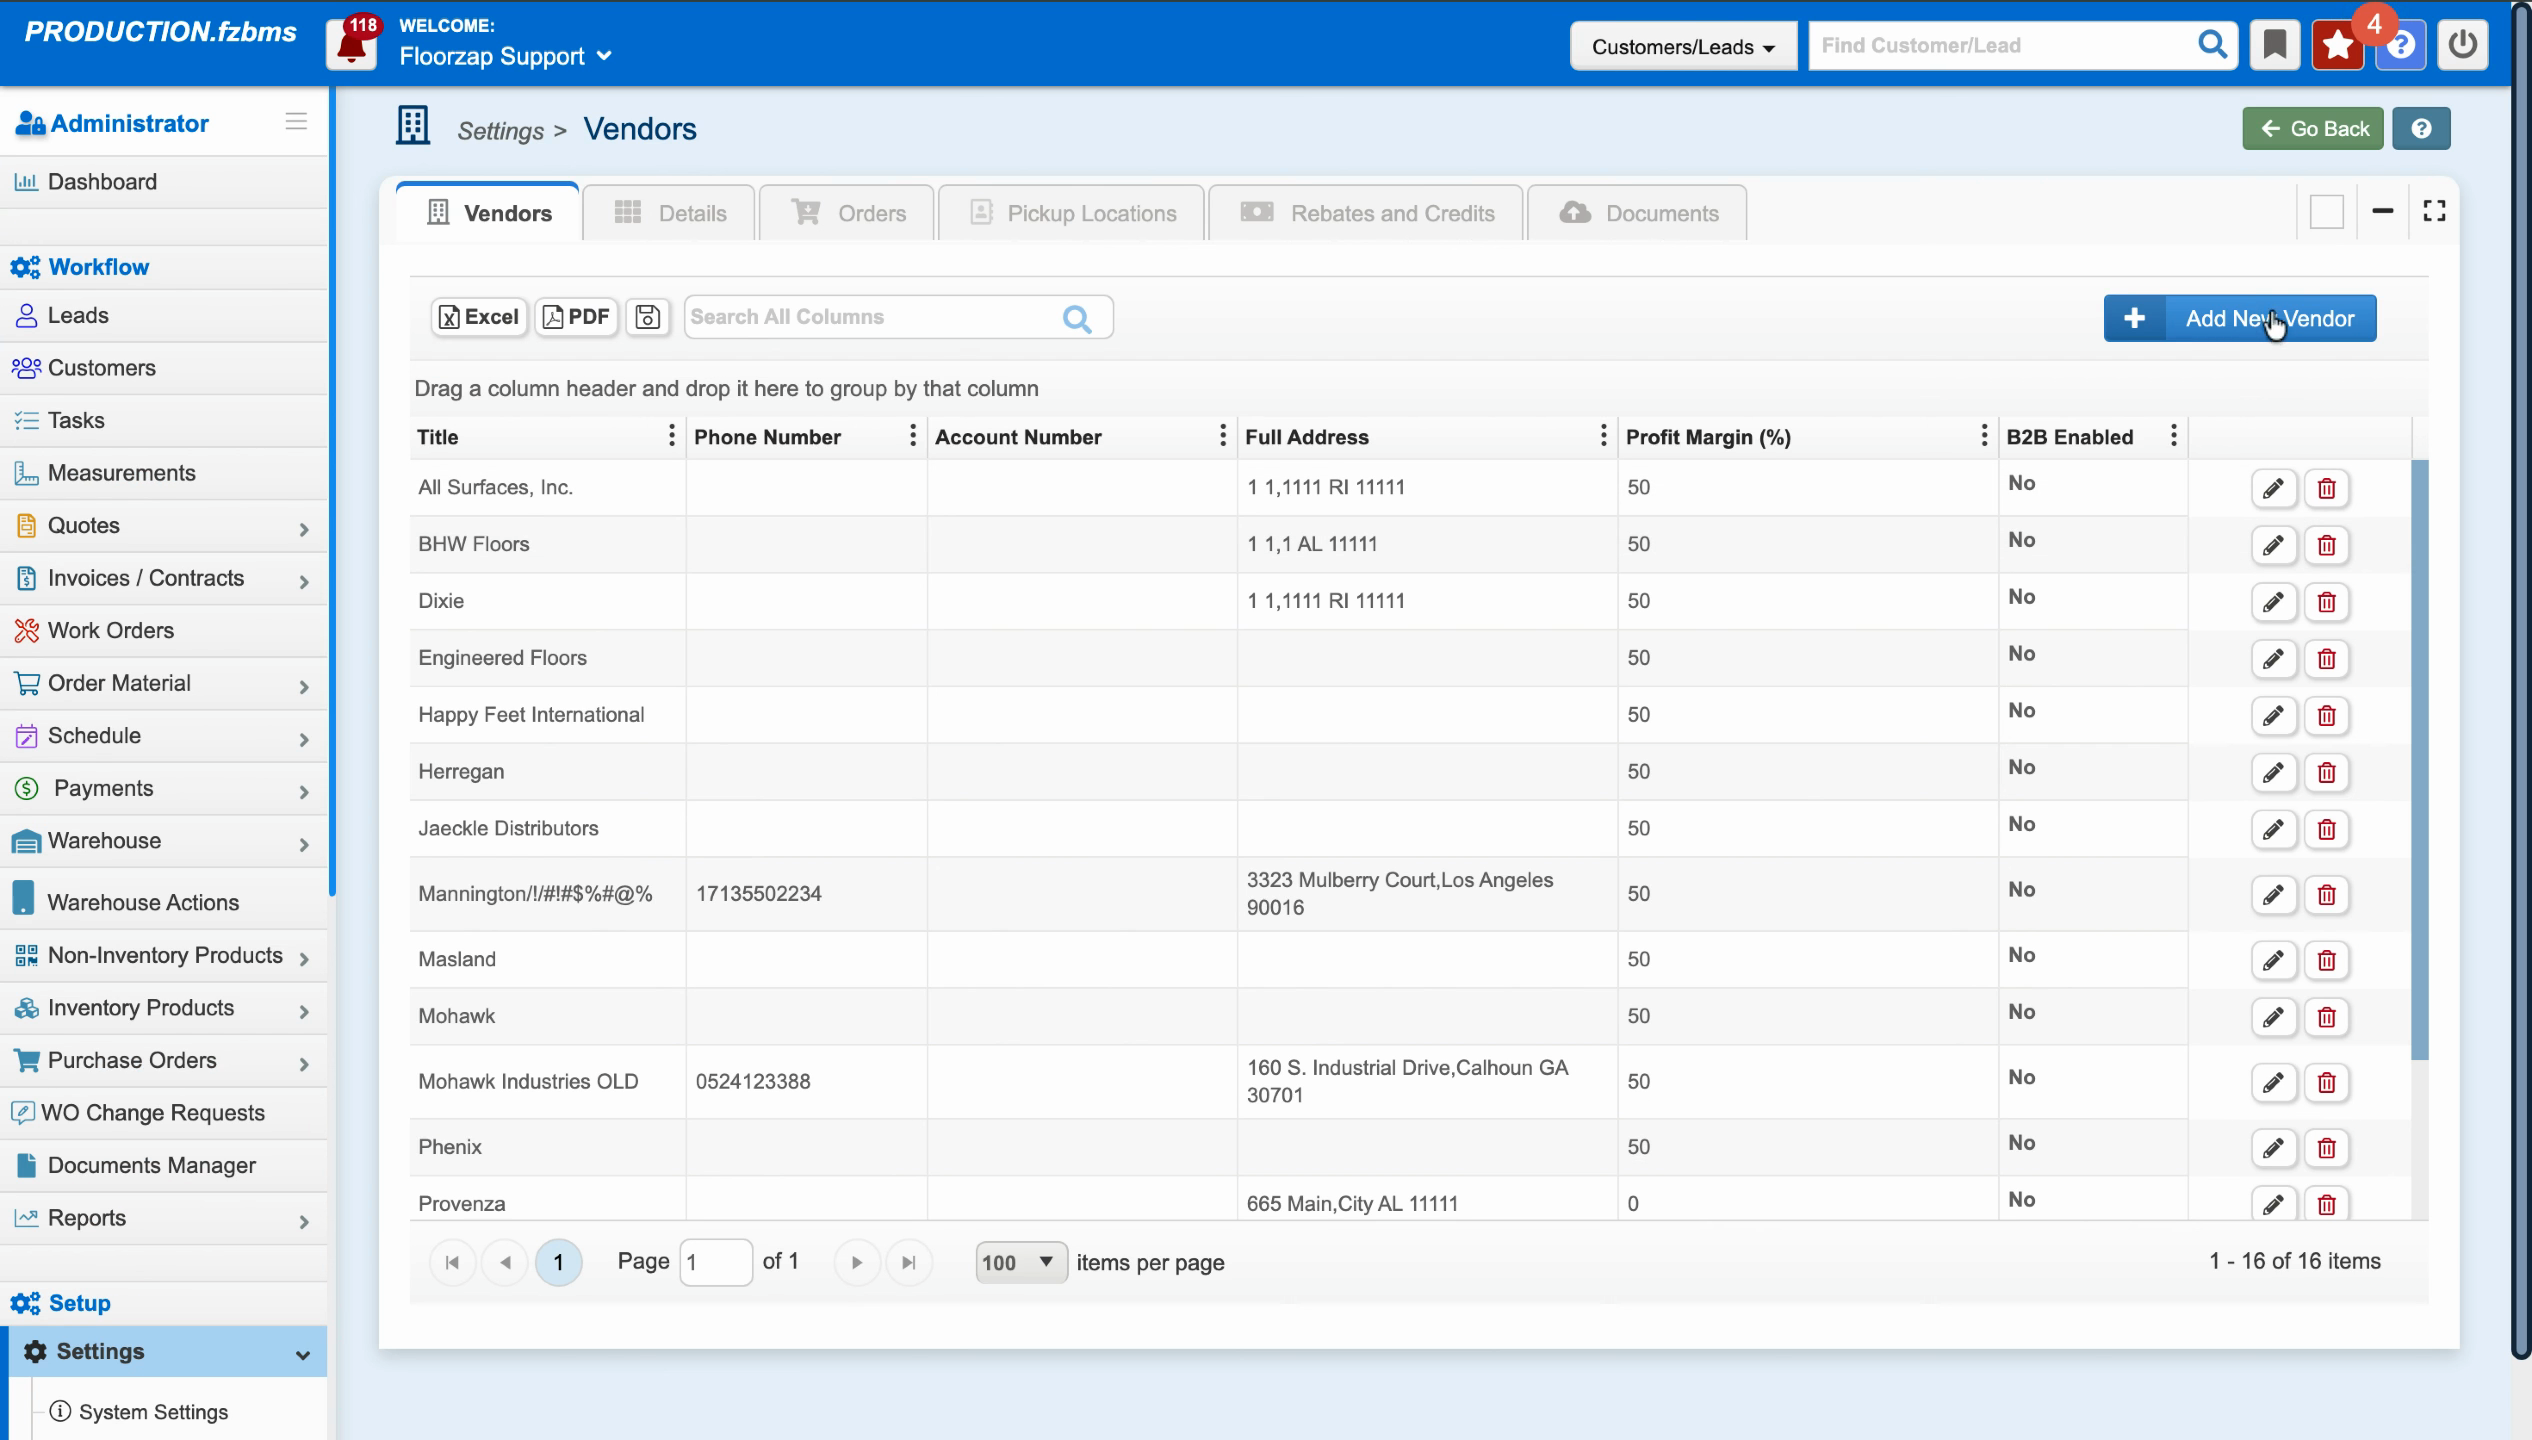
Step 3: Add a new vendor by clicking the button, or search for an existing vendor using the search box.
Step 4: Choose a vendor to view their details and B2B connection settings. Here you’ll see the host URL, username, and password fields.

Step 5: If available, click the Validate button to check the B2B connection. This confirms the setup and lets you know if files are available for import.
Verifying Imports
Step 1: To view available B2B files, return to Non Inventory Products > Import from B2B.
Files ready for import appear here. If a file is listed, it’s ready to be imported.
Importing from B2B vendors helps you keep your product data fresh and organized. Set up vendors, validate their connections, and manage imports—all in a few simple steps.